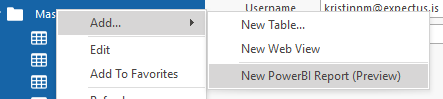
In this article, you will learn how to create a Power BI embedded view in exMon. Power BI can be embedded into the exMon DM Web interface so a user can type in changes to a table and visualize the changes on the same screen. In Order to set up a Power BI interface, you can right-click in the menu tree and click Add New Power BI Report.
First steps
Next, you publish a report to Power BI and set the following attributes:
PowerBI Configuration
- Client GUID - This is an Application GUID which can be obtained through the Application Registration process, see further down in this article under Register exMonDM inside Power BI
- Group GUID - This is the Group Folder GUID where the PowerBI report resides.
- Report GUID - This is the GUID of the Report to be embedded into exMon DM.
- Username - Username for the PowerBI tenant (user@domain)
- Password - Password for the Username
exMonDM Table Configuration
- Select the Table to embed it in the view.
Docked Configuration
- Choose the location of the embedded exMon Table and set Size to heigh in pixels, i.e. 300.
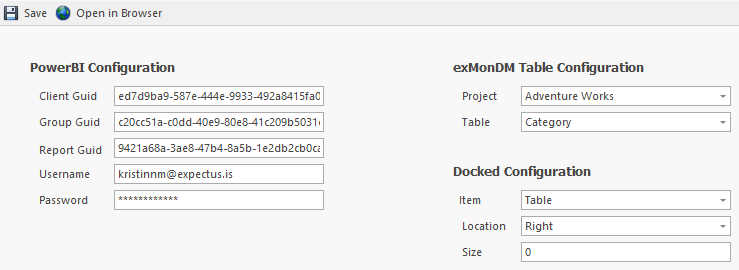
Click Save and Open in Browser, your PowerBI Embedded view should now open in a browser in exMon DM Web.
Register exMonDM Application for Power BI
Go to https://dev.powerbi.com/apps
Note: For further information about App registration see Microsoft documentation, here
- Sign-In with your Office 365 credentials
- Fill out the registration form as follows
- Application Name - exMon DM Web
- Application Type - Native
- API Access - Select All
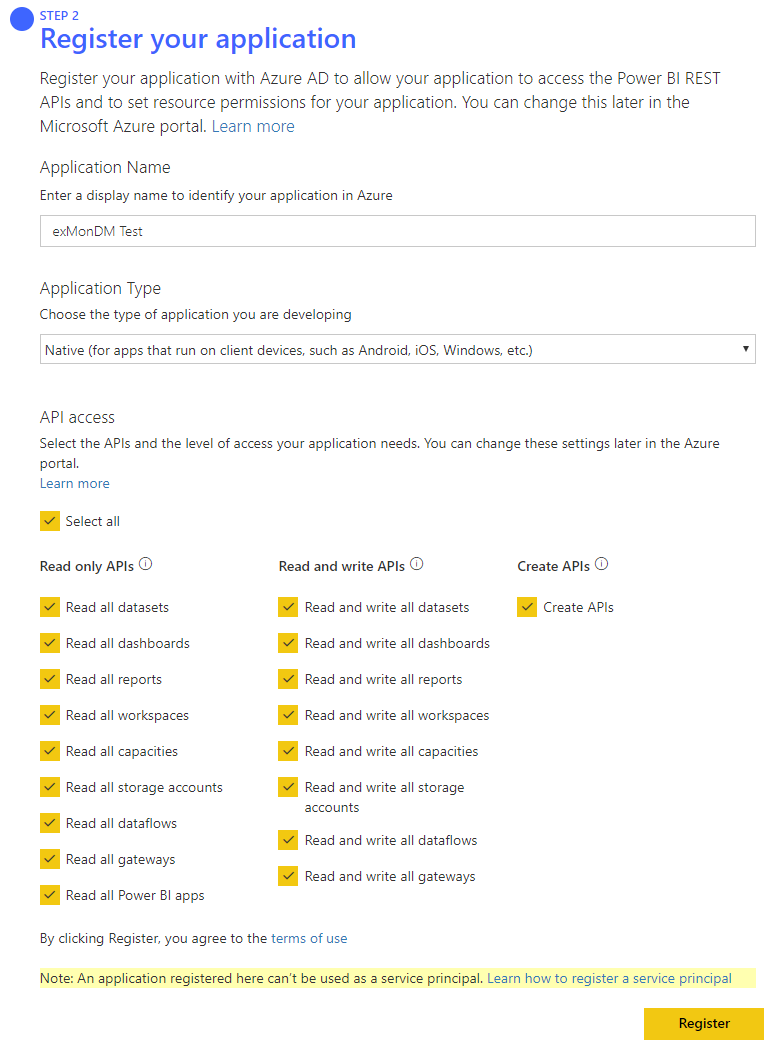
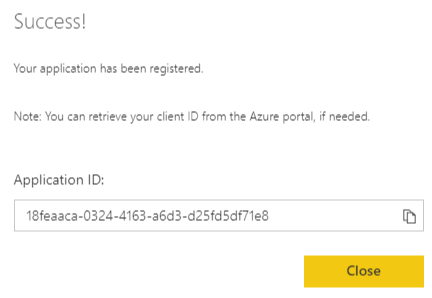
- Click Register and you should see the following dialog
- Copy Application ID and paste it as Client GUID in the exMon DM PowerBI Form
Configure Azure App Registration
To finalize the App registration you will need to make changes in the Azure Portal.
Visit the Azure portal here and find the App under the name you registered (exMon DM Web) in the All Applications tab.
Step 1
App Registration - Authentication - Implicit Grant
- Click on Authentication from the left navigation menu
- Select Access tokens and deselect ID tokens

Step 2
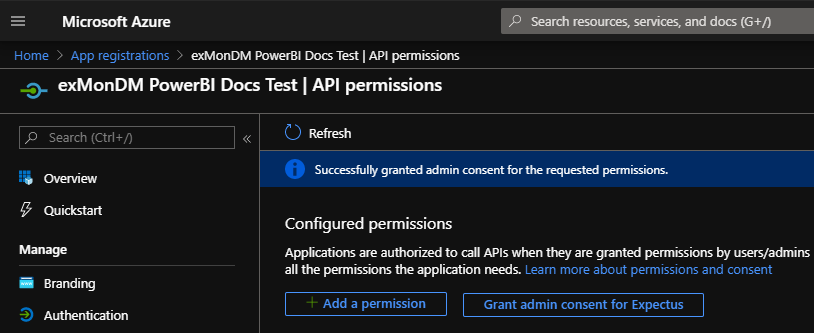
App Registration - API Permissions - Grant Admin Consent for Expectus
- Click on API permissions from the left navigation menu
- Select API permissions and click Grant admin consent for Company