

Applies to TimeXtender 6024.1 and later versions
This article describes the structure of an Ingest Instance Server, and outlines how to add data from a data source to an Ingest Instance and then transfer the data from the Ingest Instance to a Prepare Instance.
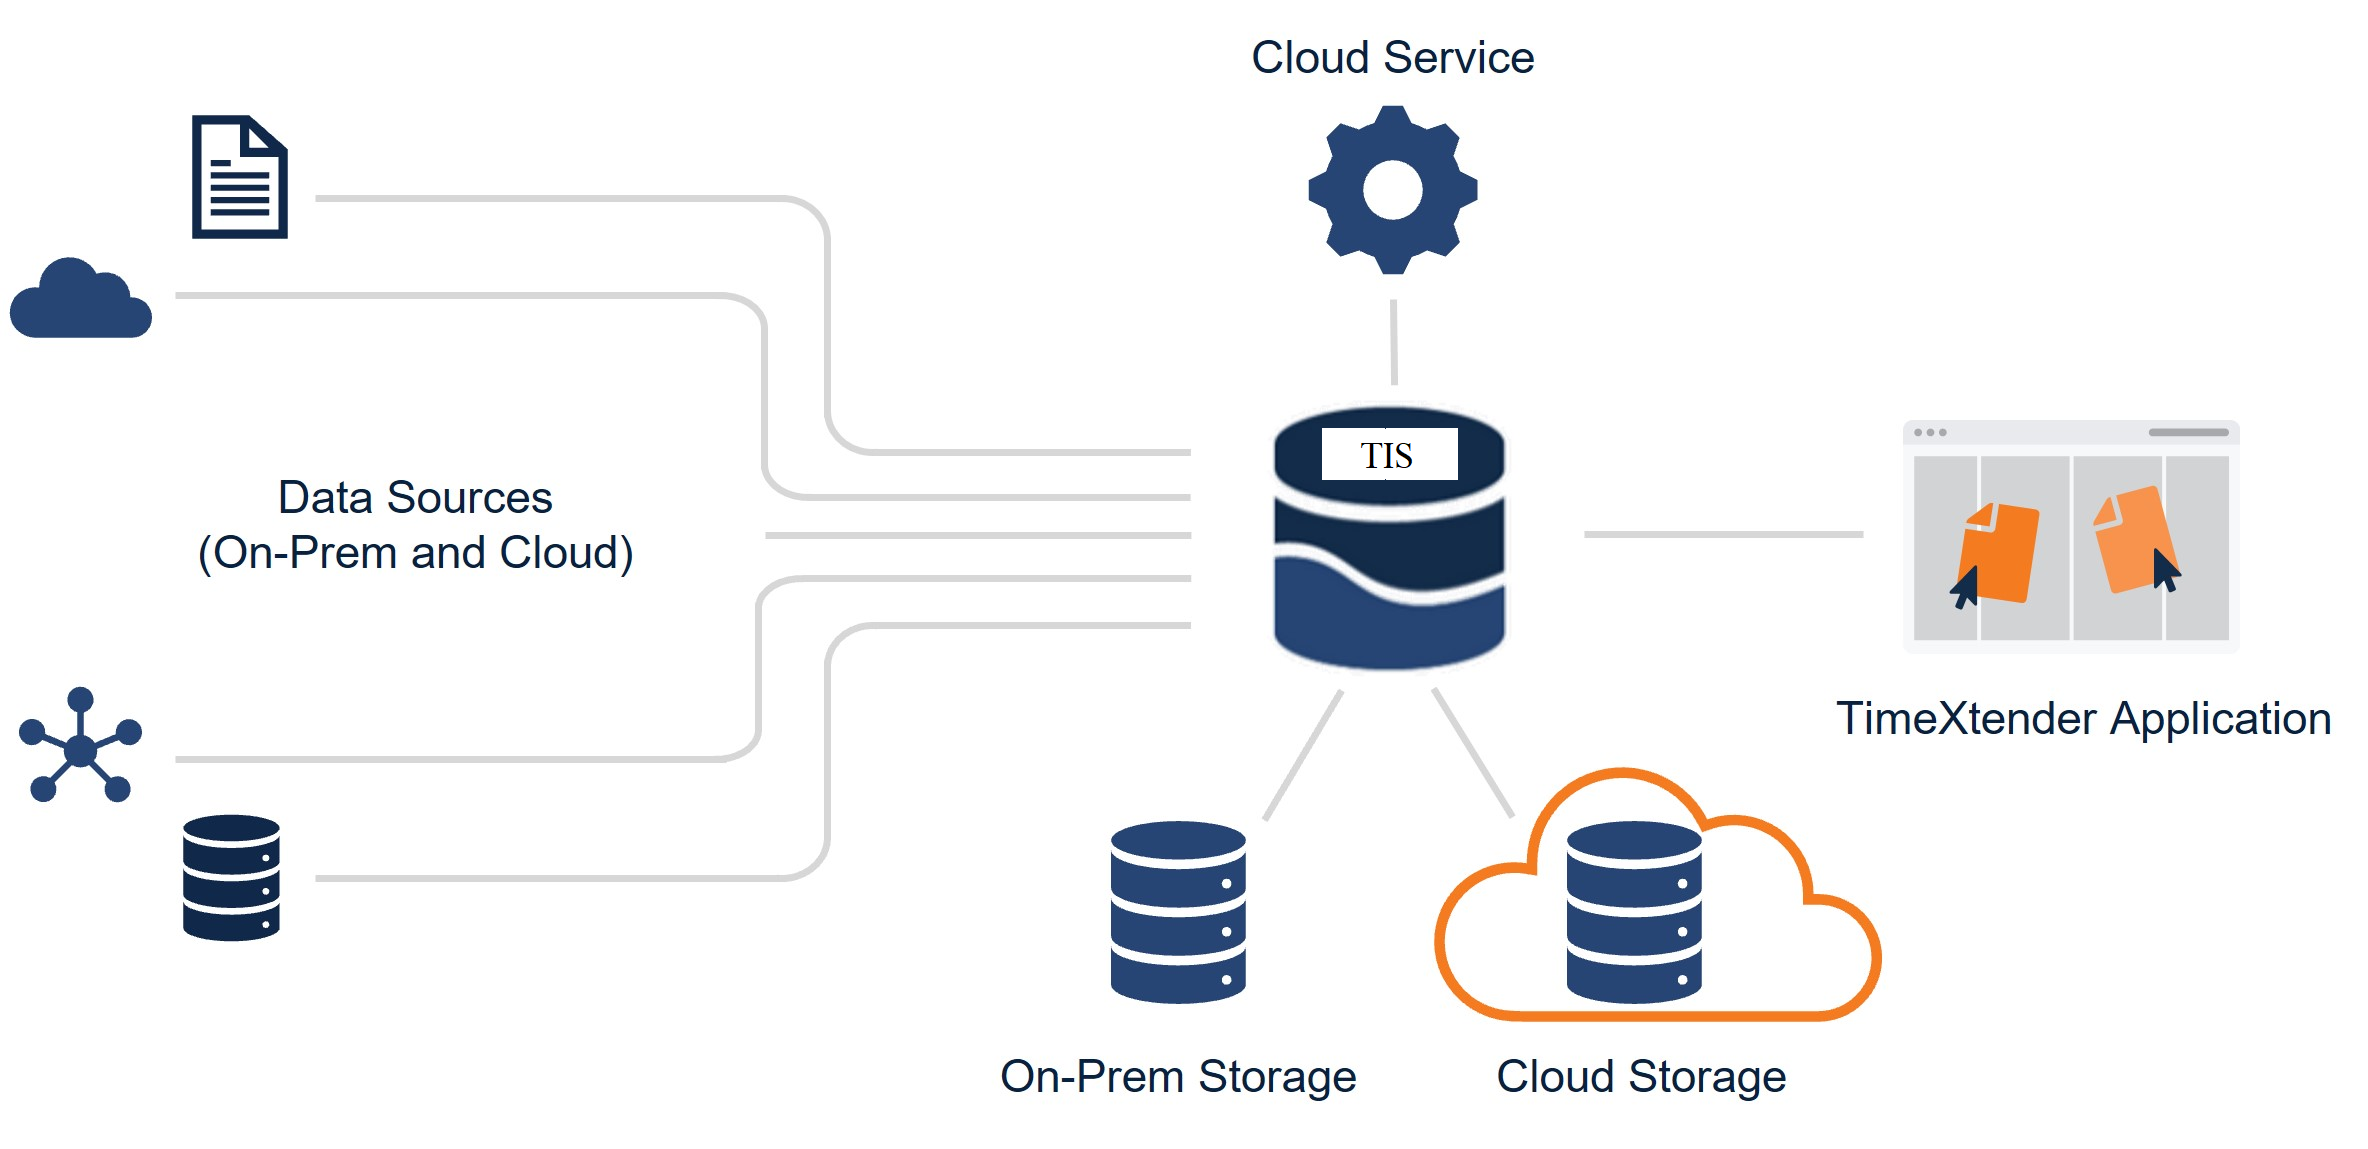
The Ingest Instance Server: Windows-based server software installed on a centrally located physical or virtual machine. This software orchestrates the ingestion of data from various sources.
Though data ingestion tasks are configured by the TimeXtender Data Integration (TDI) software, the actual movement of data is performed by the Ingest Instance server, and because the Ingest Instance Server can be installed within your own environment it ensures that the data is always within your control.
The Ingest Instance server copies data from data sources to a data storage, which can either be on-premise or in the cloud. The data can then be transferred from the Ingest Instance to Prepare Instances using the TimeXtender Data Integration (TDI) application.
Raw Data Storage: You can configure either an Azure Data Lake or SQL Database for the initial storage of raw data from the source. The Ingest Instance automatically handles changes in the source schema by creating a new version of the target table to match, keeping the old version by default (just in case).
You may have multiple on-premises machines with TimeXtender Data Integration (TDI), connecting to a remote Ingest Instance Server. To configure this scenario, review this guide: Connect to a Remote ODX Server from TimeXtender Desktop
Connect to the Ingest Instance in the TimeXtender Data Integration (TDI)
Once the the Ingest Instance Service and the TimeXtender Data Integration (TDI) Application have been installed, and you have made sure that the TimeXtender Ingest Instance Service is currently running by checking the Windows Services, run the TimeXtender Data Integration (TDI) and sign-in.
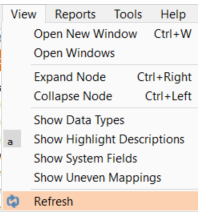
After a successful sign-in, it will connect and list Ingest Instance instances, which the user has access to, in the Solution Explorer in the left-hand side of the main window. For more information on how to grant access to instances in the TimeXtender Portal, see Grant Access to Instances. If any changes are made within the portal to instances or data sources, make sure to refresh in TimeXtender. Either by clicking the refresh button:

Or by selecting view and then Refresh.
Create the Ingest Instance Data Storage within TimeXtender Data Integration (TDI)
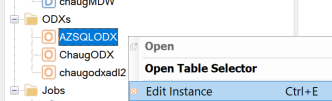
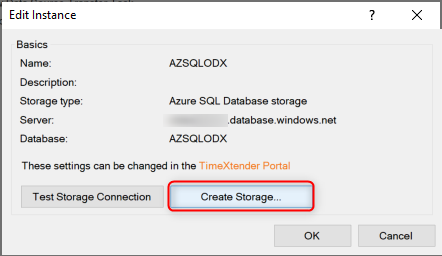
Open the instance, then right-click the instance, click Edit and click Create storage... to create the data storage that has been defined in the portal for the Ingest Instance.
Add data sources to the Ingest instance within TimeXtender Data Integration (TDI)
Opening the Ingest Instance in the TDI allows you to configure your data sources like selecting tables & fields for ingestion, identifying primary keys, configuring Incremental load, & scheduling recurring transfers etc.
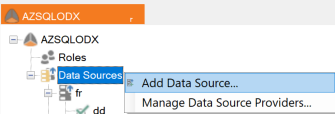
Right-click on data sources and select Add Data Source... Provide a name and then select one of the data sources that has been added and mapped to the ingest instance in the portal.
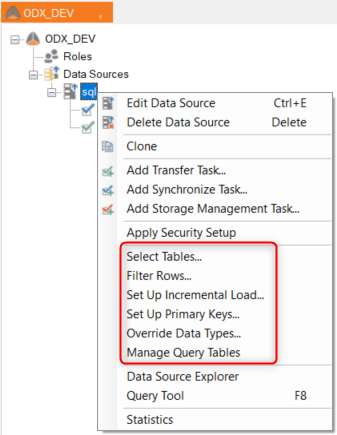
Then add a transfer task by right-clicking on the data source and selecting Add Transfer Task...
You may select specific tables that you would like to transfer in the transfer task, for more information see Selecting Tables from Transfer Tasks.
An Import Metadata task is added automatically when you add a new data source. Whenever one of the below changes is made to the data source, right-click on the Import Metadata task and select Execute in order to apply the changes.
Data Transfer
The Ingest Instance Server service is remotely controlled from the TimeXtender Data Integration (TDI) to facilitate the transfer of data from the source to the Ingest Instance Storage using one of many ADO.net providers or Azure Data Factory. Incremental load ensures only new and updated rows are loaded.
Once the transfer task is executed, data will be transferred from the data source to the Ingest Instance data storage.
To learn more about searching for and previewing data in the Ingest Instance storage, or transferring data from an Ingest Instance, see Transfer data from an Ingest Instance to a Prepare Instance
Related Topics
- Add Ingest Instances
- Tasks in an Ingest Instance
- Incremental Load in an Ingest Instance
- Table and Column Selection in an Ingest Instance
Troubleshooting
Mismatch in Row Counts
Symptoms: When you preview a table in the Ingest Instance, and compare it to the current table rows in the data source (by querying the data source directly), sometimes the row count shows a difference.
Cause: The goal of the Ingest Instance is to ingest all raw data. While the Ingest Instance supports Incremental load and deletes, it does not remove deleted or updated records from the target database with the intention of giving users full control of previous versions of data. The TIS flags these records and communicates this to the Prepare Instance, enabling the Prepare Instance to only extract the latest valid records.
The Ingest Instance also creates new versions of target tables when a schema drift occurs. This may result in duplicate tables with some of the same data.
In other words, the Ingest Instance maintains both deleted and updated records of the current version, which is why you may see a higher row count.
The storage management task only deletes old "Versions", but it does not clear up deleted or subsequently updated rows.
You may want to view the Errors report for this table in the Prepare Instance, which may show some rows being left out due to data cleansing.
