
Reusing work is an obvious way to save time, which is why we’ve added blueprints to TimeXtender. Blueprints - you could also call them templates - are sanitized versions of instances that can be shared between a TimeXtender partner and their customers.
Once the feature has been enabled by the partner, and the customers have opted in, the partner can grant customers access to selected blueprints. By adding new instances based on blueprints, work done for Customer A can be copied over to Customer B removing the need to start from scratch every time.
Enabling blueprints
To use blueprints, a partner must first enable the feature. The partner’s customers will then in turn be able to enable it to participate. In both cases, the steps are the same.
To enable the blueprint functionality
- Sign-in as a user with the Data Estate Admin permission, go to Admin > Basic info and then click the toggle under Blueprints
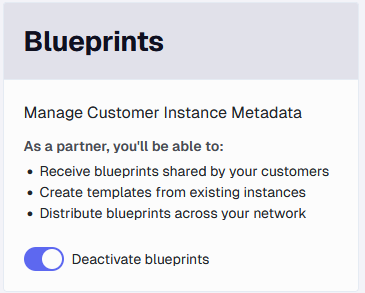
Blueprint card for a partner 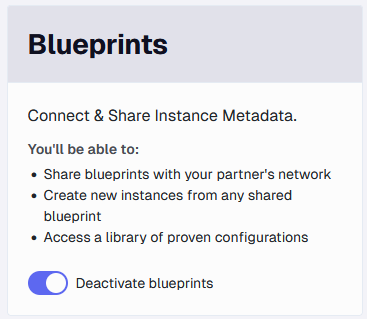
Blueprint card for a customer
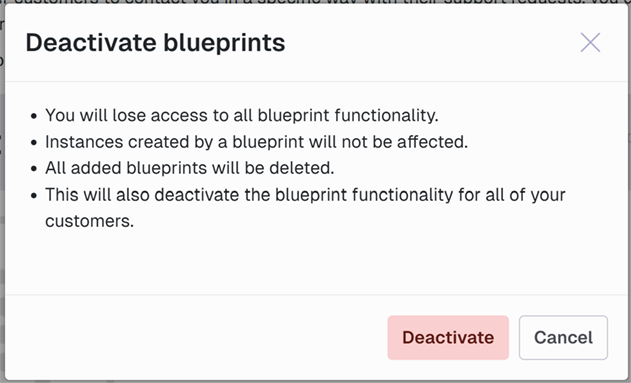
As a customer, you can disable the blueprints feature and you’ll no longer be able to share blueprints or add new instances based on blueprints, but no data will be deleted. If you’re a partner, disabling the blueprints feature will delete all blueprints and disable blueprint functionality for the partner and the customers, but will not affect existing instances created from blueprints.
To disable the blueprint feature, follow the steps below
- Sign-in as a user with the Data Estate Admin permission, go to Admin > Basic info and then click the toggle under Blueprints.
- In the Deactive blueprints modal, click Deactivate.
Sharing an instance as a blueprint
When the feature has been enabled, partners and customers can share blueprints with each other.
Note: No customers have access to a newly created blueprint. The partner will have to edit the blueprint to grant access before it can be used by any customers.
To share an instance as a blueprint, follow the steps below.
- Navigate to an existing instance (Ingest/Prepare/Deliver), and click Share blueprint.

- In the Share blueprint modal, fill out the Blueprint name and (optionally) the Blueprint description fields.
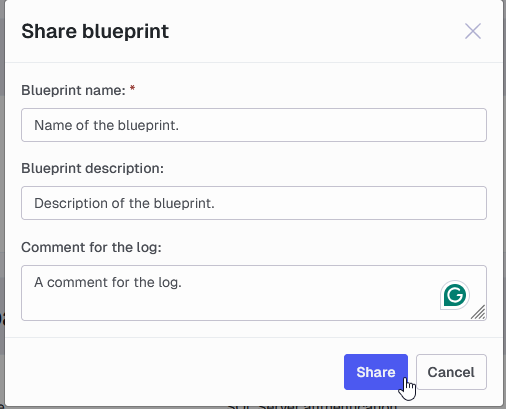
- (Optional) Type a Comment for the log
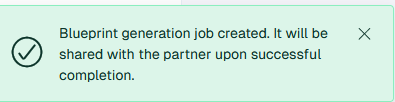
- Click Share. A message will confirm that the blueprint is being generated.
Adding an instance based on a blueprint
When a blueprint has been shared, the partner and other participating customers can add new instances based on it.
Note: If you’re adding Ingest, Prepare and Deliver instances that are part of the same data flow, we recommend adding them in that order.
Note: Data source connections are not part of the blueprint, so we recommend that you add data source connection before you add the Ingest instance they’ll be used with. For more information, see the ‘Remapping invalid data sources in TDI’ section below.
To add an instance based on a blueprint, follow the steps below.
- Navigate to Data estate > Instances and click Add Ingest/Prepare/Deliver instance.
- On the Add Ingest/Prepare/Deliver instance page, enter an Instance name, and then click the blueprint you want to use in the Create from Blueprint list.
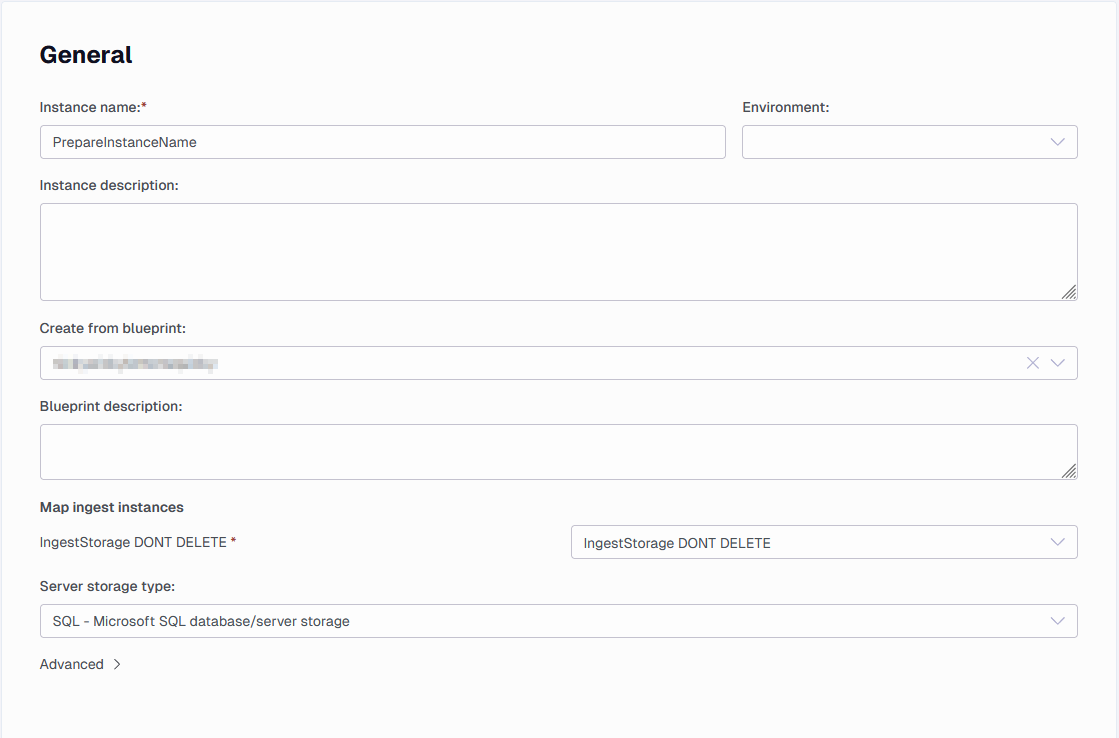
- If you’re adding a Prepare or Deliver instance, map the Ingest instances (for Prepare) or Prepare instances (for Deliver) under Map Ingest/Prepare instances
- Fill in the other required fields, then click Save.
Note: Creating an instance based on a blueprint can take a few minutes. Once it is ready, it’ll appear on the Instances page.
- Depending on the instance type, some follow-up work is required to integrate the instance with your existing instance. See the ‘Integrating an instance based on a blueprint’ section below.
Integrating an instance based on a blueprint
When you have added a new instance based on a blueprint, some follow-up work is required to integrate it with your existing data sources and instances. As mentioned, it is recommended that you add instances that are part of the same data flow in the order Ingest, Prepare, and Deliver. That makes the required remappings detailed in this section a lot easier.
Remapping invalid data sources in TDI
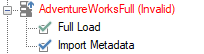
Data source connections are not part of a blueprint, so if you have created an Ingest instance based on a blueprint that had mapped data source connections - which ought to be the case! - data sources will be ‘invalid’ when you open TimeXtender Data Integration. You fix this by remapping the data sources to new data source connections created in the Portal.
Step 0: Create data source connections
Before you get started with the remapping, you naturally need to add the required data source connections.
- For each data source connection in the Ingest instance, add a new data source connection. See Add and Map a Data Source Connection in the TimeXtender Portal for instructions.
- If you have access to the solution that is the source of the blueprint (e.g., as a consultant setting an environment up for a customer), you can speed the process by exporting the data source connections from the source and importing them in the destination. See Import/export data source connections for instructions.
Step 1: Update the Data Source in the Portal
- Open the TimeXtender Portal and go to Data estate > Instances.
- Find and select the ingest instance based on the blueprint.
- Scroll to Mapped data source connections list

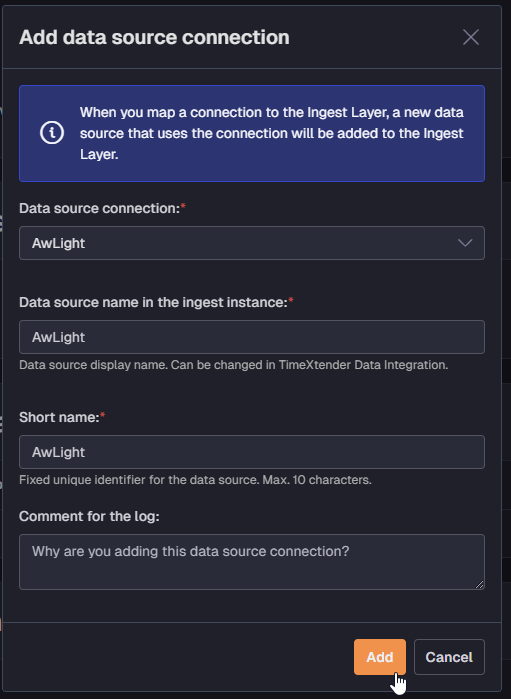
- Add a new data source that matches the invalid data source.
Step 2: Remap in TDI
Follow the steps below for each invalid data source.
- Open TimeXtender Data Integration, or click Refresh if you have the application open.
- Right-click on the invalid data source and click Edit Data Source.

- In the Edit Data Source window, click Change.
- Choose the newly added data source connection and click OK.
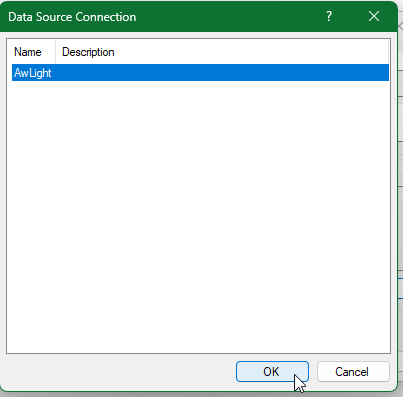
- Click OK again to confirm.
- Click Refresh to update the UI
Remapping Deliver instances based on a blueprint
As mentioned above, there is an extra option when you add Deliver instance based on a blueprint. Namely, you have to map the Prepare instance(s) that the Deliver instance should get data from. In addition to that you should synchronize the Deliver instance with the Prepare instance(s) in TDI
To synchronize the Deliver instance, follow the steps below.
- Open TimeXtender Data Integration, right-click the Deliver Instance in the Solution Explorer, and click Synchronize with Remapping.
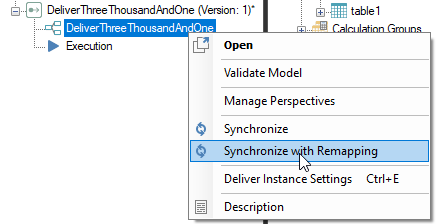
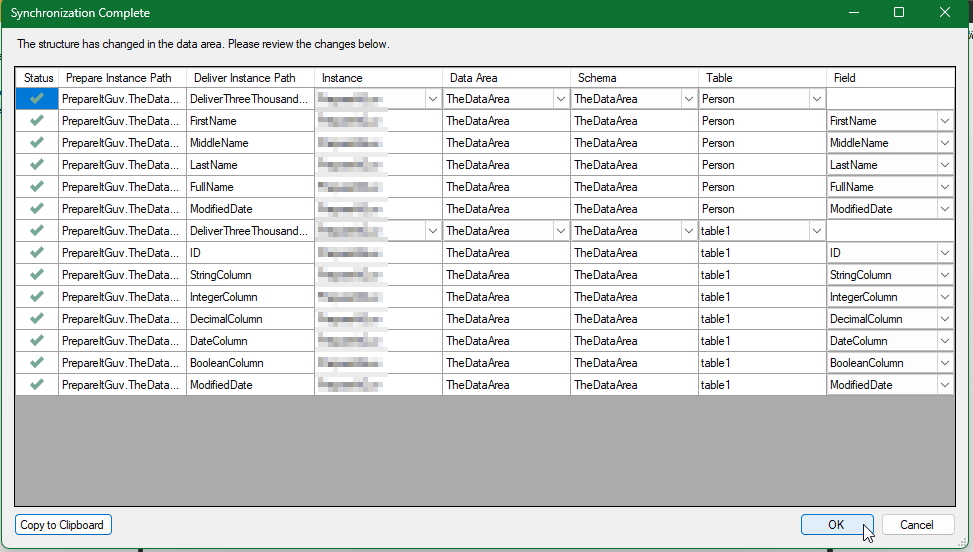
- When the Deliver instance has been synchronized with the Prepare instance(s), verify that everything looks OK, then click OK.
Managing blueprints (partners only)
As a user in the partner organization, you can see a list of the blueprints shared by you and your customers and manage them. You can edit the name and description of individual blueprints, delete them, and grant/revoke access.
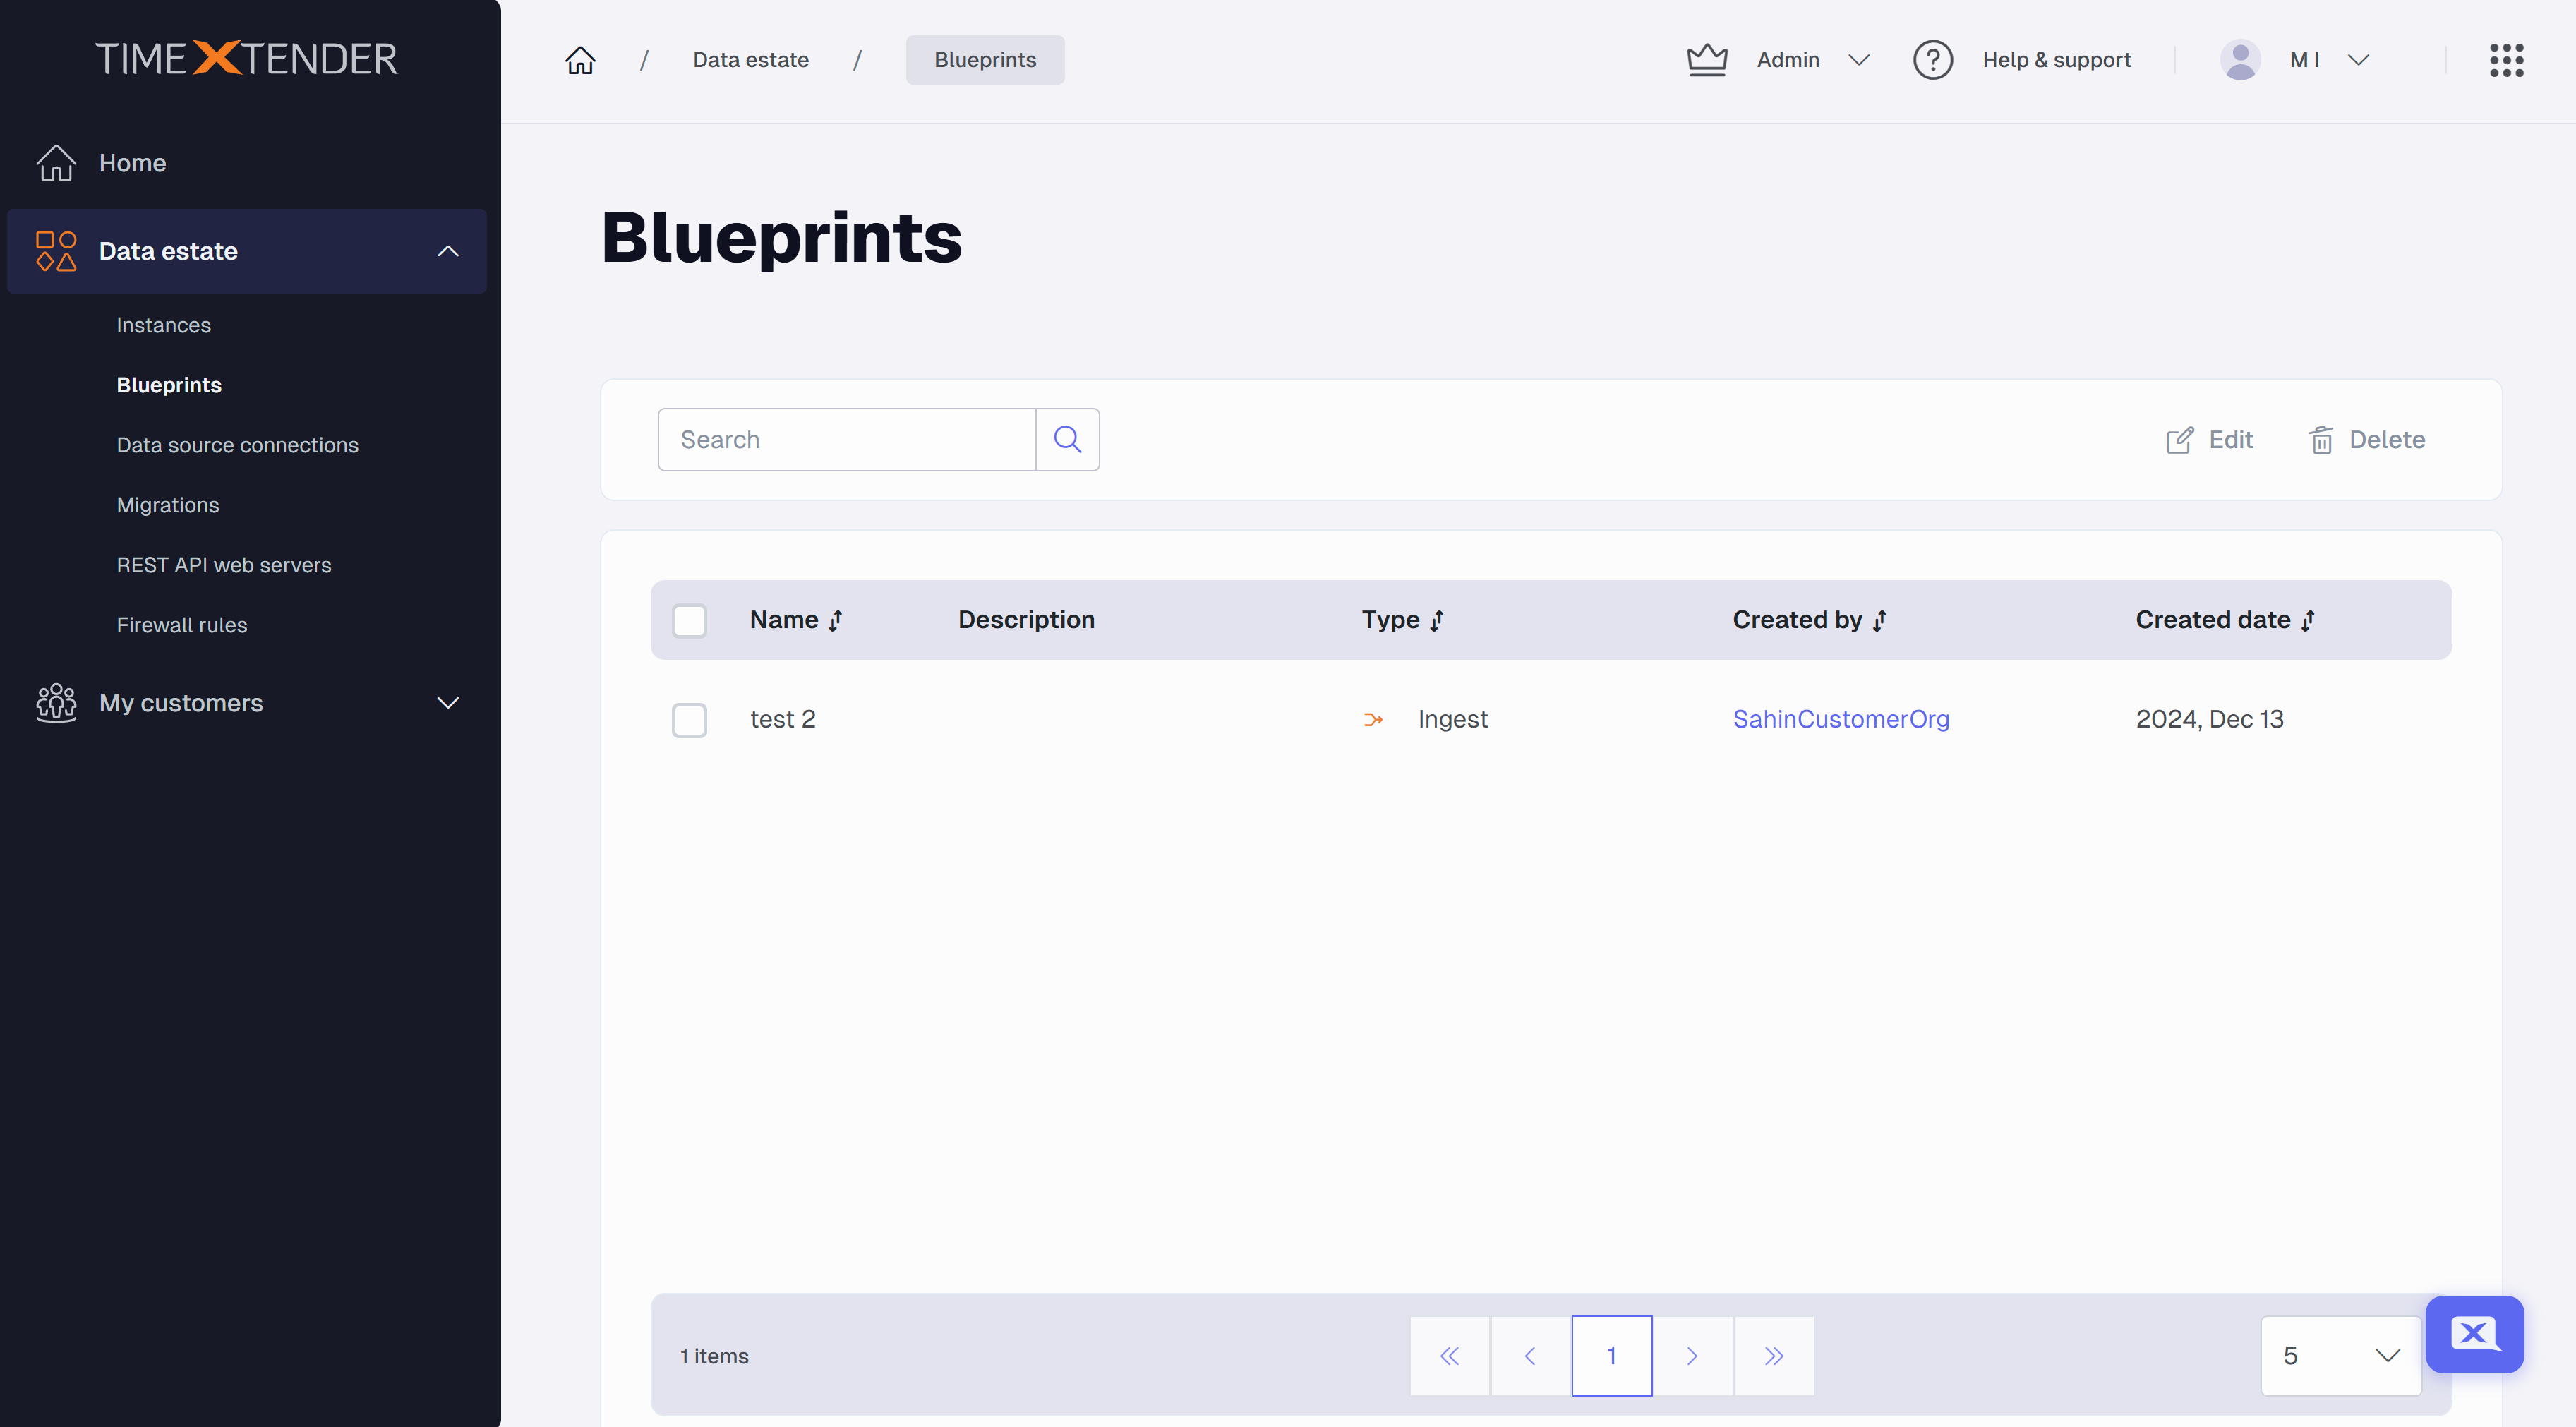
To view a list of blueprints
- Go to Data estate > Blueprints
To edit a blueprint, follow the steps below.
- Go to Data estate > Blueprints
- Select the checkbox next to the name of the blueprint you want to edit, then click Edit.

- In the Edit blueprint modal, make the required changes to the Blueprint name and Blueprint description fields.
- In the Customer access list, select the customers that should be able to use the blueprint.
- (Optional) Type a Comment for the log
- Click Update
To delete a blueprint, follow the steps below.
- Go to Data estate > Blueprints
- Select the checkboxes next to the names of the blueprints you want to delete, then click Delete.

- In the Delete blueprint modal, type a Comment for the log (optional).
- Click Delete.
Database sanitization after blueprint creation
While instances are purely metadata, some data is still sensitive and/or unnecessary dead weight in a blueprint. For this reason, the blueprint is created as a sanitized copy of the instance you’re sharing as a blueprint.
After creating a database from a blueprint, certain sensitive or environment-specific information is automatically sanitized to maintain security and prevent unintentional data leaks. This process is handled by the stored procedure [ENV].[SanitizeData], which ensures that credentials, emails, logs, and other potentially sensitive data are either anonymized or removed. Additionally, the procedures [ENV].[CleanUpVersions] and [ENV].[CleanLogs] are executed to remove source instance versions and clean up logs, further maintaining database integrity and security.
