
For reporting and troubleshooting purposes, taking a deep dive into the logs and other metadata in your instances can be useful. With the meta collection feature, you can access TimeXtender metadata in TimeXtender Data Integration.
To not put unnecessary load on the underlying databases, metadata is exported to a data lake once every 24 hours. From the data lake, you can copy the data to your own Ingest instance through a standard TimeXtender data source connection. Each load to the data lake overwrites yesterday’s files, so setting up incremental load to your own Ingest instance will usually be the way to go.
Enabling metadata collection for selected instances
Follow the steps below to select the instances you want to collect metadata from.
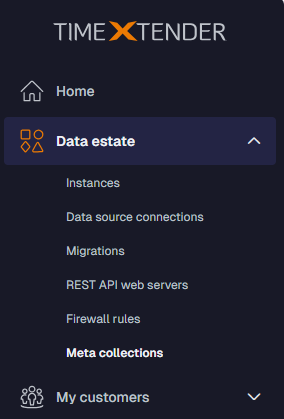
- In the menu, go to Data Estate > Meta collection
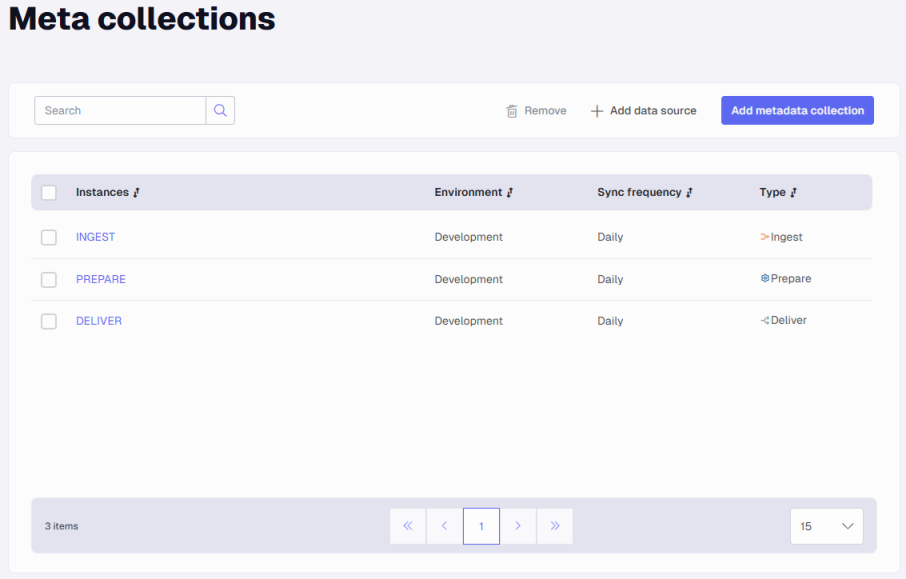
- On the Meta collection page, click Add metadata collection
- In the Add meta collection instances modal, select the instances you want to export metadata from under Instances.
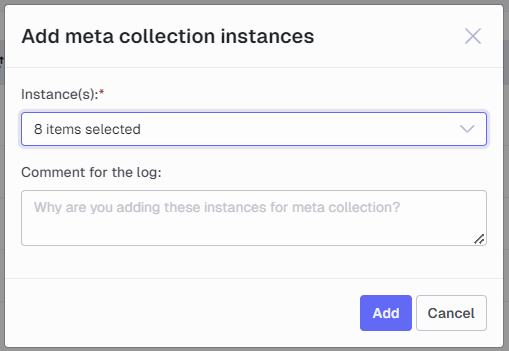
- (Optional) Add a Comment in the log for tracking changes.
- Click Add to submit your changes.
Disabling meta collection for selected instances
If you no longer want to export metadata from a specific instance, follow the steps below to disable meta collection.
- In the menu, go to Data Estate > Meta collections
- Select the checkboxes next to the instances you want to disable.
- Click Remove in the action bar.
- In the Remove meta collection from instances modal, review the selected instances and optionally add a Comment in the log for tracking changes.
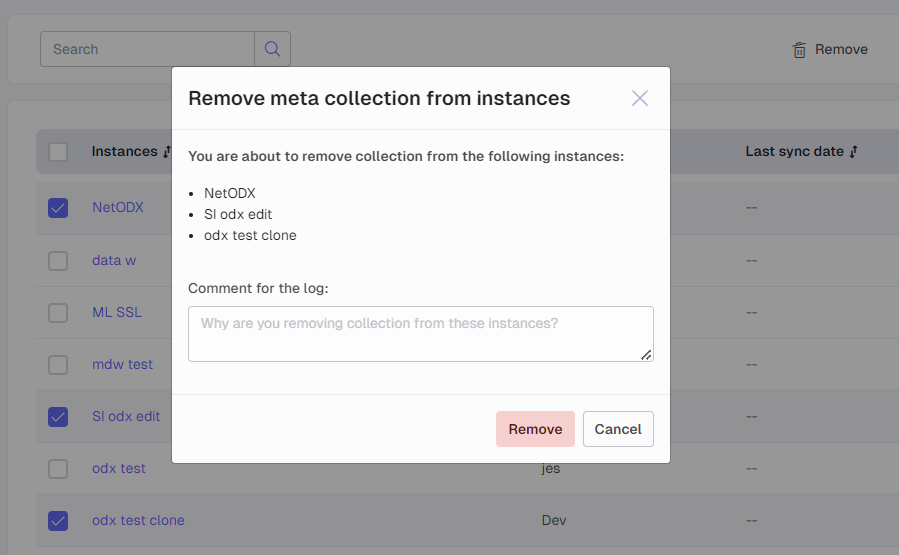
- Click Remove to submit your changes.
Consuming the meta collection data
To enable access to the data gathered from the selected instances, the Portal will generate a TimeXtender Parquet data source in the latest available version for you at the click of a button. This data source will then be available for mapping in your Ingest instance(s). Follow the steps below!
- In the menu, go to Data Estate > Meta collections
- Click Add data source. The Add meta collection datasource modal will appear.
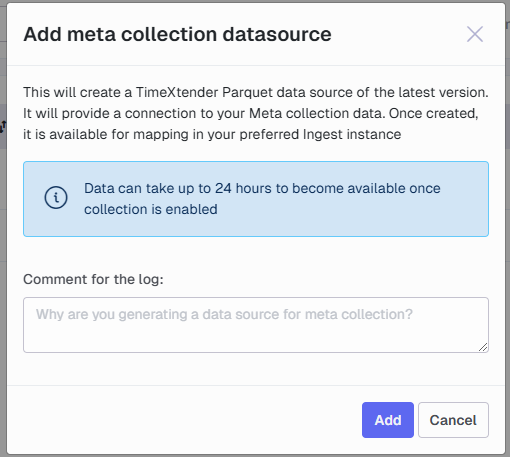
- (Optional) Add a Comment in the log for tracking changes.
- Click Add. A TimeXtender Parquet data source connection called ‘TX-Meta-collection’ will be generated using the latest provider version.
- Map the data source connection to an Ingest instance, open the instance in TimeXtender Data Integration, and set up transfer tasks to copy the collected data to your ingest instance. Remember to enable incremental load if you want to work with more than 24 hours of data.
Note: You will not be able to use the 'Test connection' feature from the Portal on the generated data source. The access level does not allow it, so the test will fail.
How the data is structured
When you select instances for meta collection, data will be combined across instances of the same type. So if you are collecting from 3 different Prepare instances, you'll find the logs of all of them in the ‘Prepare_ExecutionLogs’ parquet file. Every file includes a column which tells you exactly when this data was collected and a column that tells you which instance it came from.
Warning: Strings in the Parquet files are given a default type and size ‘nvarchar(4000)’ which might not be enough for some columns. Keep this in mind if some tables fail on 'value would be truncated' initially. Override the datatype to allow for more characters to resolve this.

