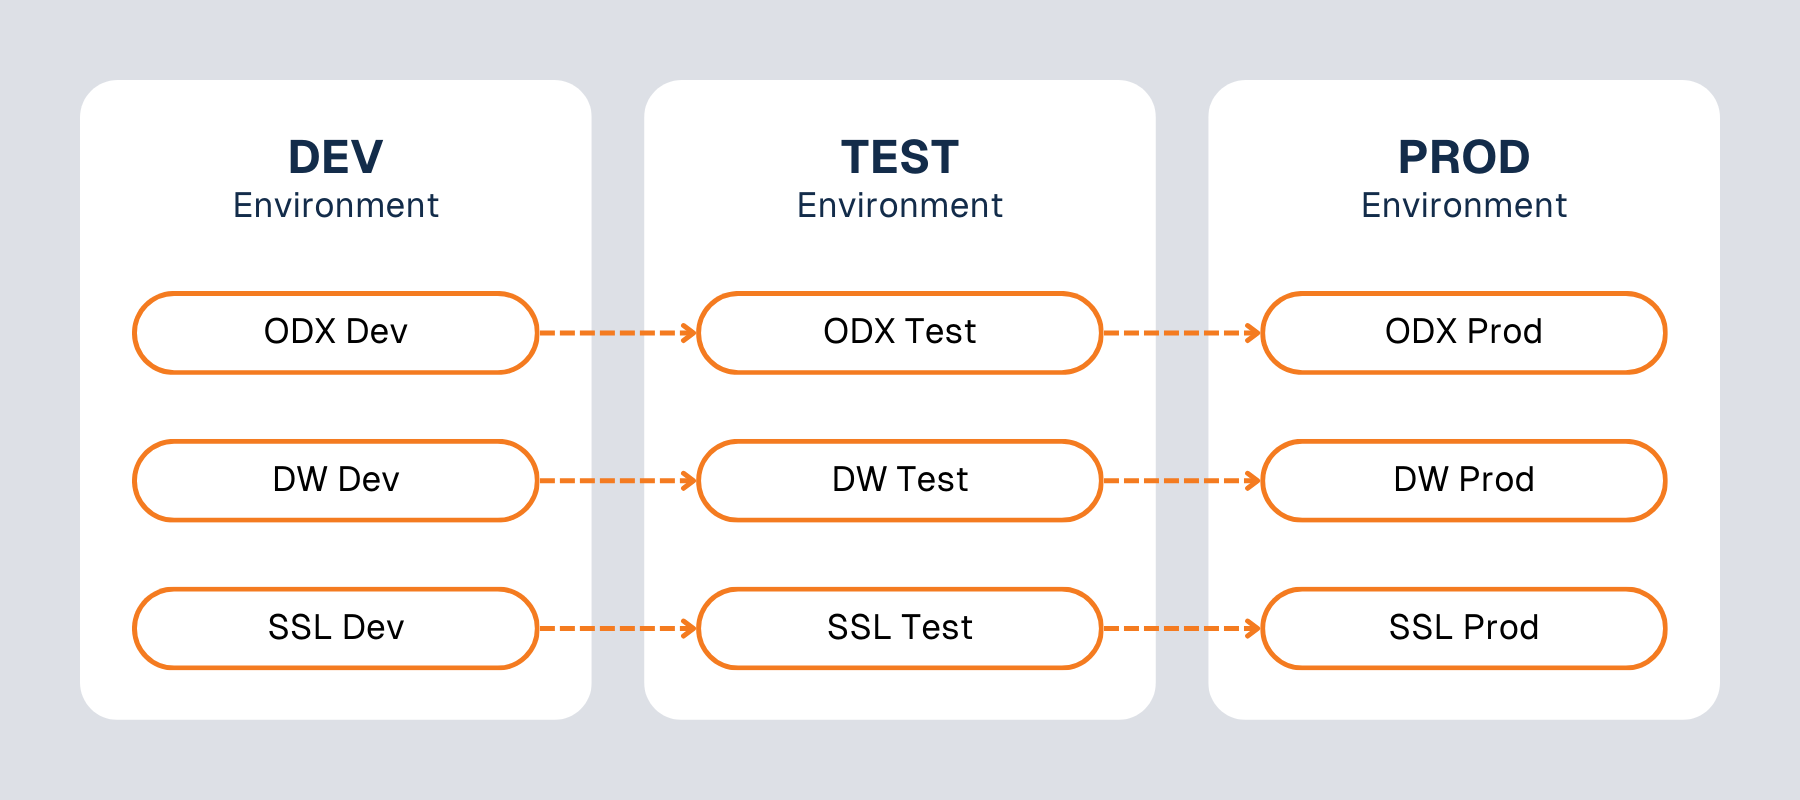

TimeXtender supports multiple environment deployments that allow developers to create separate environments for development, testing, and production. These environments can be comprised of separate instances that can then be related to one another.
This article clarifies the steps to configure and and utilize these environments as follows:
- Create the development, test, and production environments.
- Add separate instances to each of the environments.
- Edit an environment.
- Delete an environment.
- Perform Instance migrations between instances to promote changes to a higher environment.
Adding a New Environment
Before you add environments, it's a good idea to add your instances. While you can always add and remove instances from environments, it saves you a bit of time if you can include all the relevant instances in the environment when you create it.
The Instances menu is where you can do this.

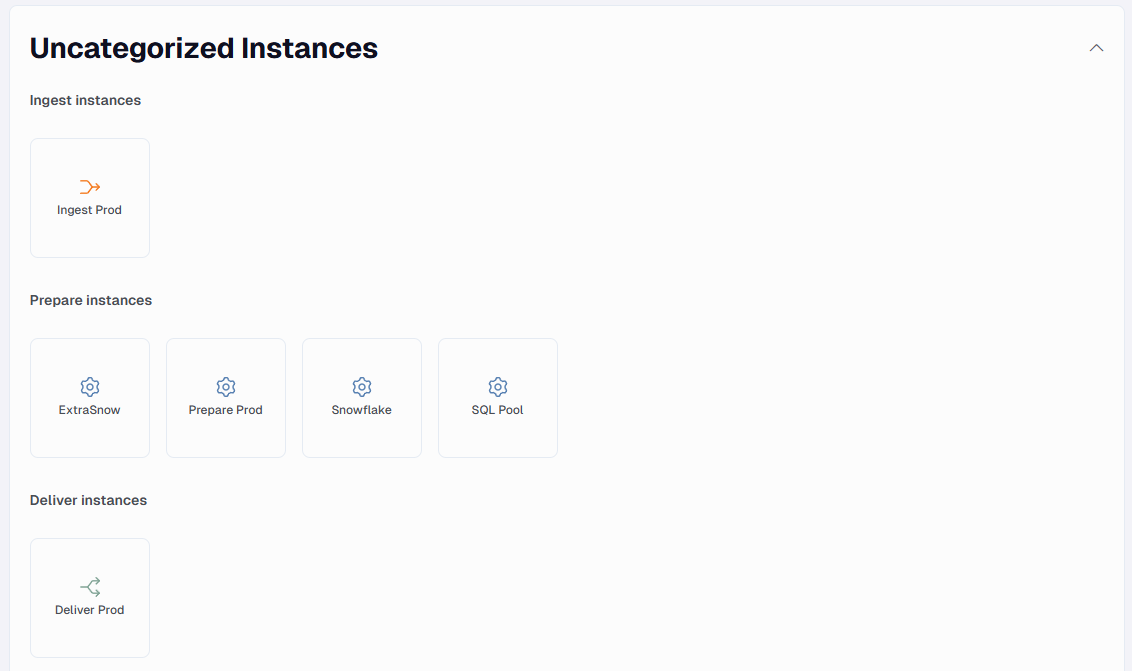
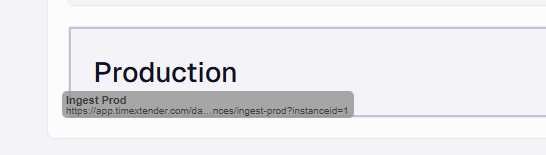
When a instance have been created but not added to an environment it will be shown as Uncategorized Instances.
Add a new environment
- Navigate to Data estate > Instances and click Add new environment
- Name the environment and select the instances to include in the environment
- Click add to add it.
An alternate method for adding or removing instances is to use Drag and Drop to move the instances to and from the Environment.
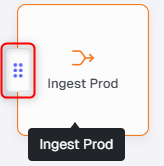
When you hover over an instance, you will see six squares icon on the left side which you can click. When you do that you can drag it to the instance where you want to add it
Edit an environment
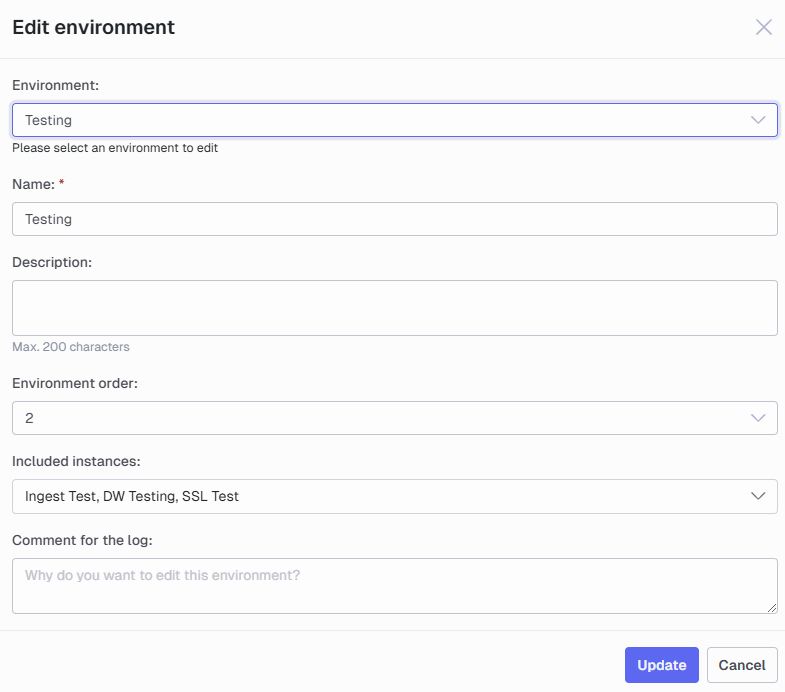
You can edit environments after they have been made by clicking on the edit icon. Doing so will give an menu where you need to choose the environment to edit.

Choosing one will show the same menu as creating an environment, the only difference is the name of the menu as it is now called Edit environment.
Delete an environment
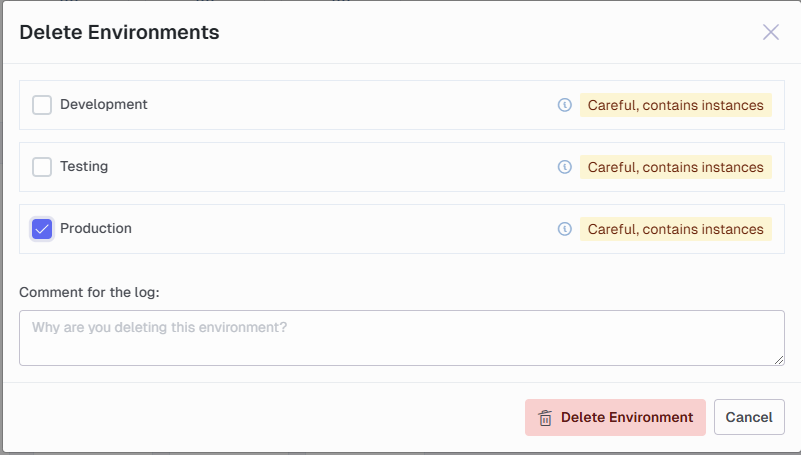
You can delete an environment as well. You do so by clicking on the Delete icon and choosing the environment you want to delete and clicking the Delete Environment button.
When an instance is deleted, you will see that the instances will be shown in the Uncategorized Instances area.
Migrate Instances
When you migrate an instance, you move the metadata in the instance to another instance, making the destination instance a copy of the source instance. This enables you to move work through multiple environments from development to production, you can only migrate an instance to another instance of the same type, but the instances don't have to be part of different environments. The flow is slightly different when you migrate between Ingest instances compared to Prepare and Deliver instances. More on that below.
Note: You cannot migrate to an instance that has never been opened in TimeXtender Data Integration since the metadata structure is created when the instance is first opened.
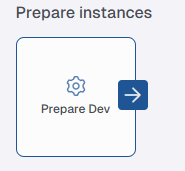
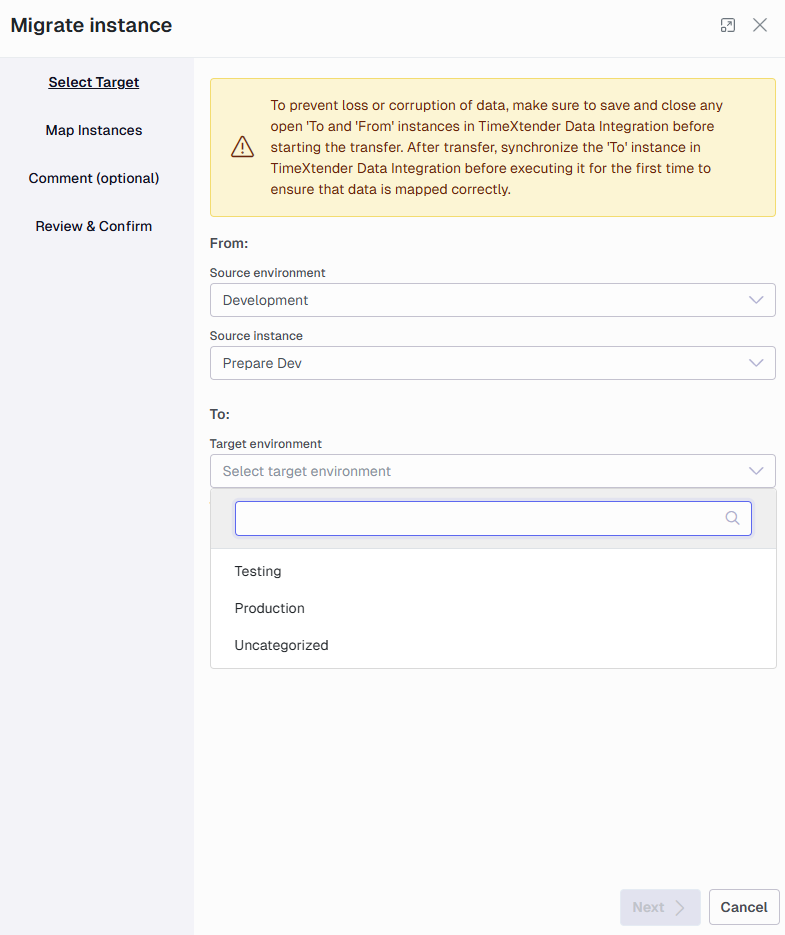
To promote changes from one instance to another, navigate to Migrations select the arrow next to the instance containing the changes that are to be promoted, and then select the target instance to promote to.
- Select the destination instance in the To field. This is the same no matter what Instance type you migrate. The difference is what you point at.
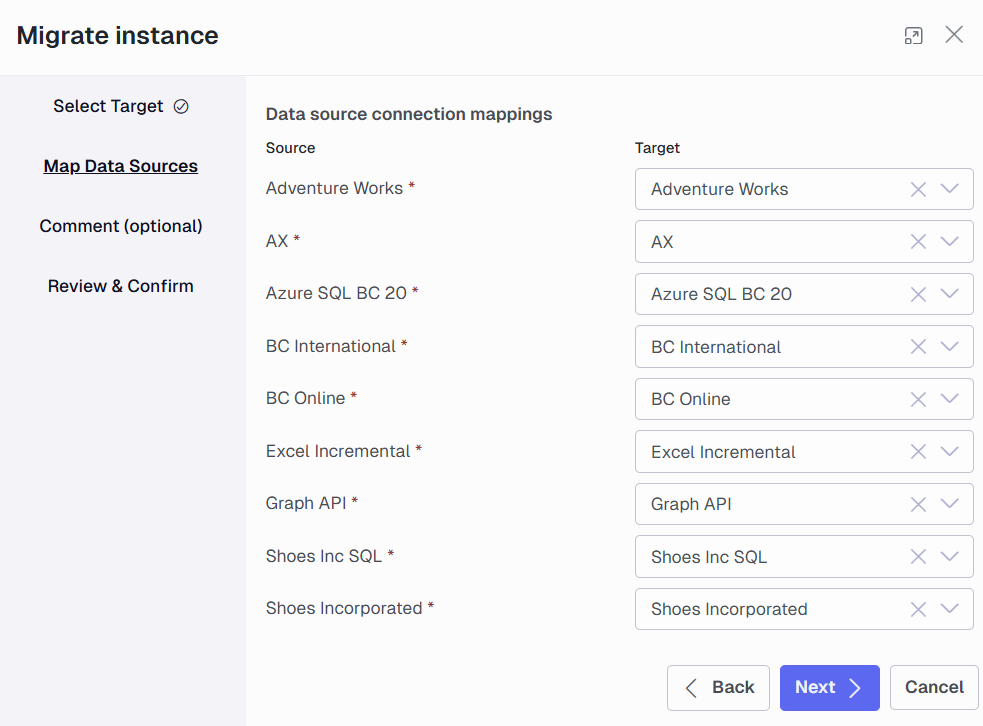
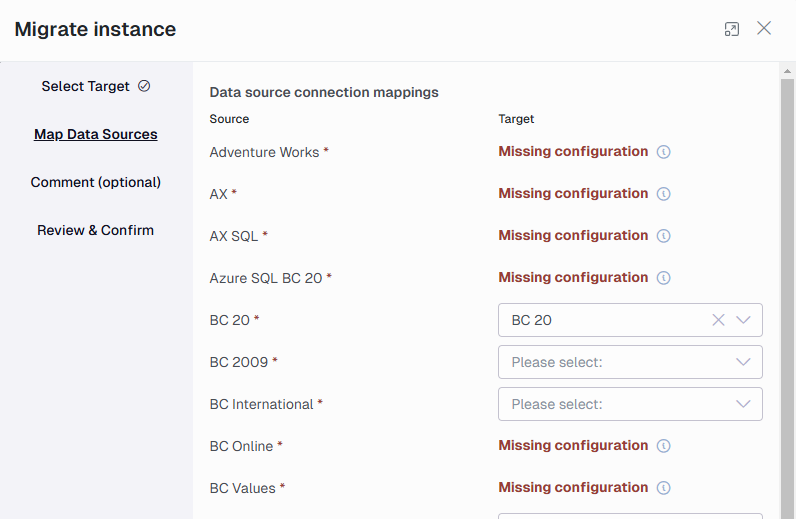
- For Ingest instances, the second step is to map the data sources connections. Select the corresponding target data source connection, for each source data source connection. When you migrate this will not change the settings of the data source connection in the portal. This will migrate the configurations for the data source in the ingest instance. For example if the table selections have been changed this change will be migrated, or PK rules or incremental selection rules have been defined for the data source then these will be migrated.
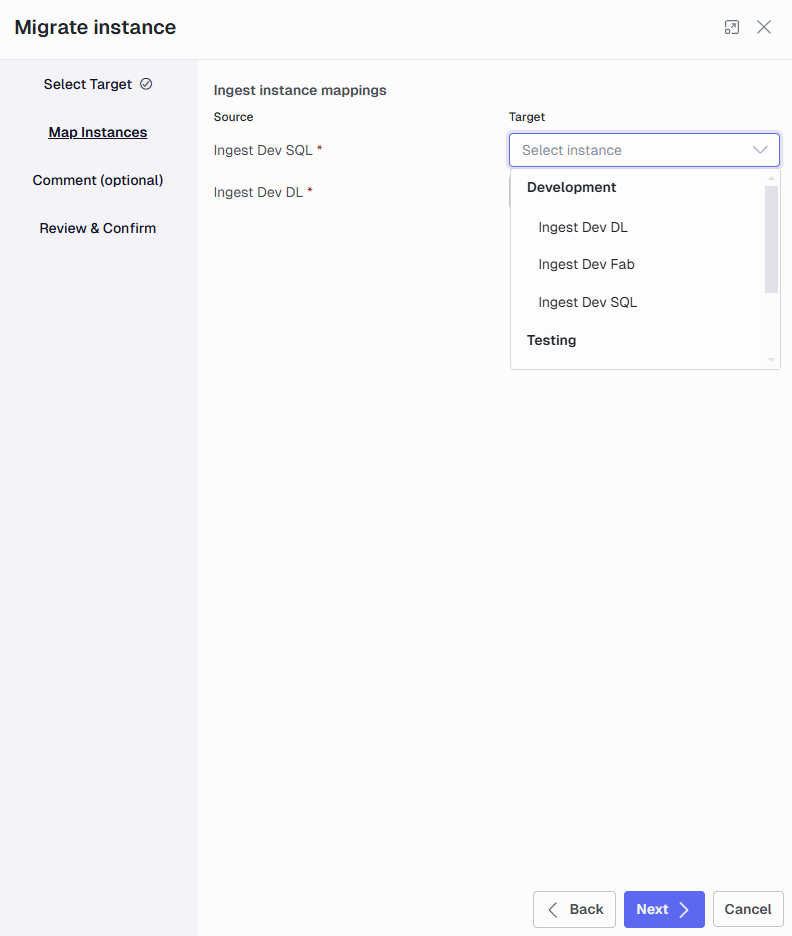
- When migrating prepare instances, the second step is to map the Source Ingest instance and the Target Ingest Instance.
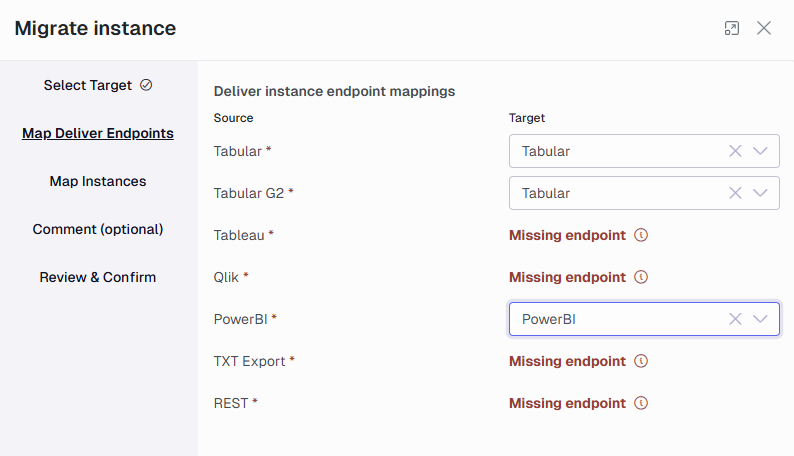
- When migrating Deliver instances, the second step is to map the endpoints.
- Add a comment on what is to be transferred.
- Finally you can verify what changes are to be done.
When you click Migrate the process will be added to the queue and the instance will show the following icon.
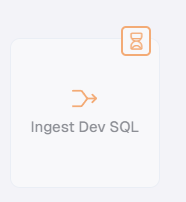
Note: When you migrate something to an Ingest instance, the Ingest service has to be restarted.
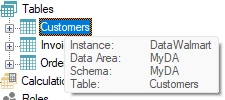
Known issue: Migrating a Deliver instance will not update the data in the tool tip shown when you hover over a Deliver table in TDI. To fix this, synchronize the Deliver instance with the Prepare instance. Even if there are no changes, this will update the text.
Undoing a migration (Prepare and Deliver)
When you migrate a Prepare or Deliver instance, it creates a new version in the "to" instance with the content of the "from" instance. If you need to undo the transfer, you can use the standard version system in TimeXtender Data Integration to go back to a previous version.
To open an instance as the previous version and make it the latest version, follow the steps below:
- Open TimeXtender Data Integration, right-click the "to" instance, and click Open Version... to open the Select Version window.
- In the list, click on the previous version and click OK.
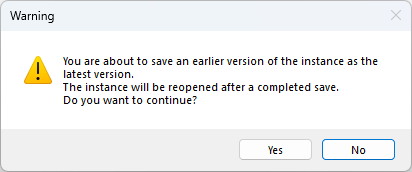
- You can only save an instance if it has unsaved changes. Make an inconsequential change like renaming a table and then renaming it back, then click File > Save. A warning message - "You are about to save an earlier version of the instance as the latest version" - will appear.
Troubleshooting
Warning: During the migration, the instances involved will be unavailable when data is being copied. Make sure that the instances are not being used for scheduled executions or development work during the transfer to prevent data loss or corrupted data.
Missing configuration when migrating instance
Make sure both source and target instances have similar mapped data source connections to proceed with the migration.
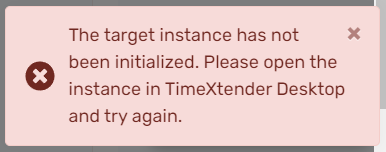
Target instance has not been initialized when migrating instance
Open TimeXtender and then open the target instance to initialize the instance. Then navigate back to the TimeXtender portal and migrate the instance.