

If you need to connect to a text file or a CSV file, we have three options. Ideally, you would choose the enhanced option, but all three will be explained below.
Adding a CSV data source
We have released a CSV data source for the Enhanced data provider type. So this can be updated independently of TX classic. You can read about enhanced data types here.
Once you have added an Enhanced Data source, choose the CSV provider from the list.
Connection Settings
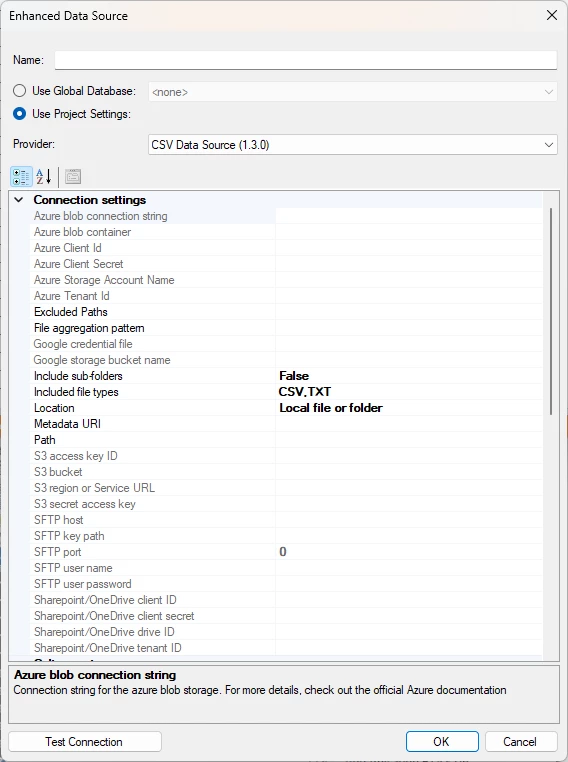
This area is generally the same for all of the file-based providers, as the connection method is generally the same.
You have this list of options to choose from.
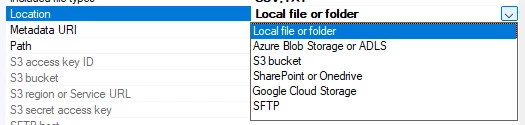
You can point at a file or a folder, but if it is a file, it needs to end in one of the included file types if you want to point at a specific file. Pointing at just the folder will make it attempt to add all the files based on the included file types.
You can read how to connect to each type of location in this guide.
The fields specific to CSV are the following.
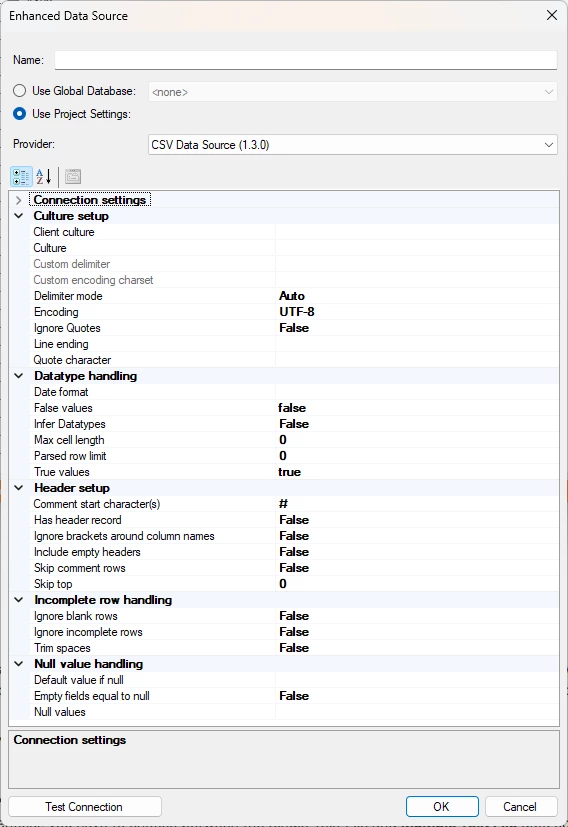
Culture Setup
- Client Culture: Specific culture to use for metadata parsing. The culture is used to determine the default delimiter, default line ending, and formatting. Defaults to the Culture setting.
- Culture: Specific culture to use for data processing. Defaults to the InvariantCulture.
- Custom delimiter: You can set a custom delimiter if the one in the file isn’t part of the options in the Delimiter mode field.
Note: This option will only be available if Delimiter mode is set to Custom.

- Custom encoding charset: A charset to use for parsing the file. It must be supported by the system TX is installed.
Note: This option will only be available if the Encoding field is set to Custom Encoding

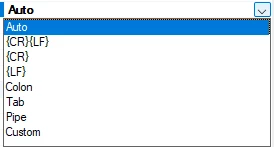
- Delimiter mode: The delimiter between fields. Auto will detect the following common delimiters. comma, semicolon, pipe, and tab. These are the options besides Auto
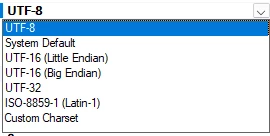
- Encoding: Character encoding of the file. There is a whole list of options. The default is UTF-8.
- Ignore Quotes: Setting this to True makes it interpret quotes as literal text instead of control characters.
- Line ending: Separator character or character sequence between lines. You should specify a specific column delimiter as well.
- Quote character: Character to wrap around a string containing control characters.
Data Type Handling
- Date format: A comma-separated list of supported custom date formats following .NET custom date and time format strings. The default value is derived from the culture settings. If the culture is set, the date formatting will be ignored.
- False values: A comma-separated list of case-insensitive values representing a boolean false. The default is false.
- Infer data types: If this is set to True, the setup will attempt to infer the column data types. If set to False, all fields will become nvarchar(500) fields.
- Max cell length: Maximum length to be used with text columns. Set to 0 by default, which makes it attempt to set the length based on the content.
- Parsed row limit: The number of rows parsed to extract metadata. Set to 0 by default, which means all rows will be parsed.
- True values: A comma-separated list of case-insensitive values representing a Boolean true. The default is true.
Header Setup
- Comment start character(s): The character or character sequence that identifies a comment row. It is by default set to #
- Has header record: Whether to use the first row of the file as names for the fields or not.
- Ignore brackets around column names: Brackets [] around column names should not be parsed as part of the name of the column. So ignore these brackets if the first row is like
[Id];[Text];[Date]. - Include empty headers: Whether to include columns without a header name. These columns will have a default name like Field1. If set to False, the related column values will be ignored. This only applies if the Has header record is set to True.
- Skip comment rows: This field will skip the comment rows explaining the content of the file. The Comment start character(s) field setting controls what this option will look for.
- Skip top: The number of rows skipped for parsing, from the top (excluding the header row, if this exists).
Incomplete row handling
- Ignore blank rows: This will make it ignore rows without any content and not fail or attempt to change the parsed setup.
- Ignore incomplete rows: This will make it ignore the row if it doesn’t contain all cells; otherwise, it will terminate the process.
- Trim spaces: This will make it remove whitespaces in front of and after a field. So “ value “ will become “value”.
Null value handling
- Default value if null: This will be the default value applied if a field is found to contain null. It only applies if the Empty fields equal to null field is set to True or the value is defined in the Null values list.
- Empty fields equal to null: This field will process empty fields as null if it is set to True.
- Null values: This field can handle a comma-separated list of case-insensitive values representing a null value. So if a field contains “null” instead of “”, it will handle it as so.
Adding a Text File Data Source
While virtually identical, you have to choose between the Single Text File and Multiple Text File data sources when you set up a text file data source. The Multiple Text File data source is usually preferable even if you only have one text file, since it enables you to add more text files as sources should you need them sometime in the future. To add a text file data source, follow the steps below:
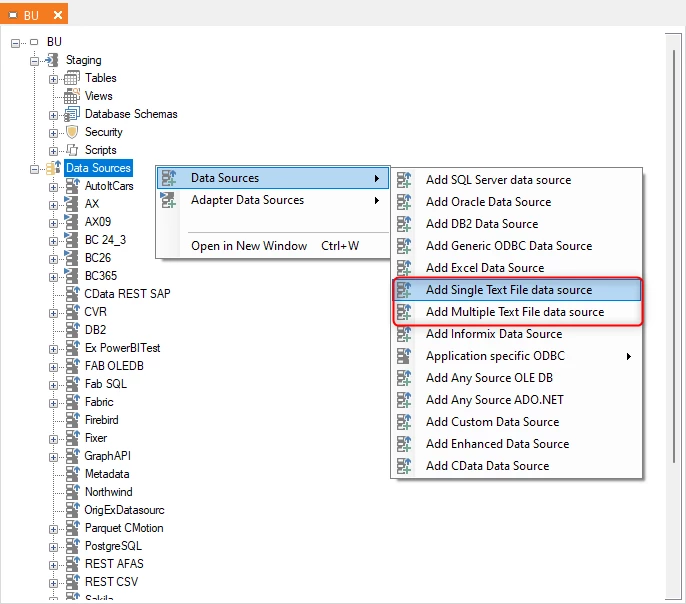
- Open a business unit, right-click Data Sources, click Data Sources, and then click Add Multiple Text File data source/ Add Single Text File data source.
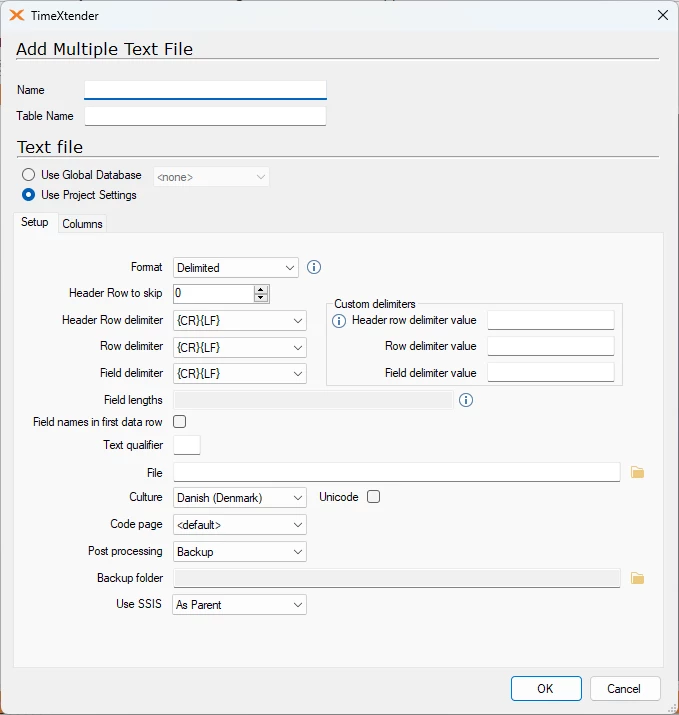
- The Add Multiple Text File or Add Single Text File window appears.
- In the Name box, type a name for the data source.
- In the Table Name box, type the name of the table that is created in the staging database. The table is prefixed with the data source name. If you want to set your own prefix, clear the Auto Prefix Tables and type the prefix you want to use in the Manual Table Prefix box.
Setup
- In the Format list, click the format of the text file, e.g., how TimeXtender should make sense of the content of the file.
- Select Delimited if rows and fields are separated by a character and click the relevant characters in the Header Row delimiter, Row delimiter and Field delimiter lists.
- Select FixedWidth if the fields have a fixed length and type the lengths in Field lengths in a semicolon-separated format, e.g., "2;4;8;3".
- Select RaggedRight if the last field is delimited by a character, while the previous fields are fixed-width. Click the relevant characters in the Header Row delimiter, Row delimiter lists, and type the lengths in Field lengths in a semicolon-separated format, e.g., "2;4;8;3".
- Select Field names in first data row if the first row of data contains a field name, i.e., not data.
- Type a Text Qualifier, often a quotation mark, if you would like TimeXtender to strip from the fields before loading data into the staging database.
- If you are adding multiple text files data source, enter the path to the files you want to process, separated by semicolon (;) in the File box. You can also use wildcards. Use "*" for any number of characters and "?" for a single character. You can also click the folder icon next to the File box to choose the file to process.
- OR -
If you are adding a single text file data source, click the folder icon next to the File box to choose the file to process. - In the Culture list, click the language of the text file.
- In the Code page list, click the codepage of the text file.
- Select Unicode if TimeXtender should treat your file as Unicode.
- In the Post processing list, click the action you want TimeXtender to perform when the file has been processed.
- Select Backup to move the file to a backup folder, and click the folder icon next to the Backup folder field to select the folder.
- Select Delete to delete the file.
- Select None to leave the file as it is.
- In the Use Integration Services for transfer list, you can click Yes or No to change the setting from the default As Parent.
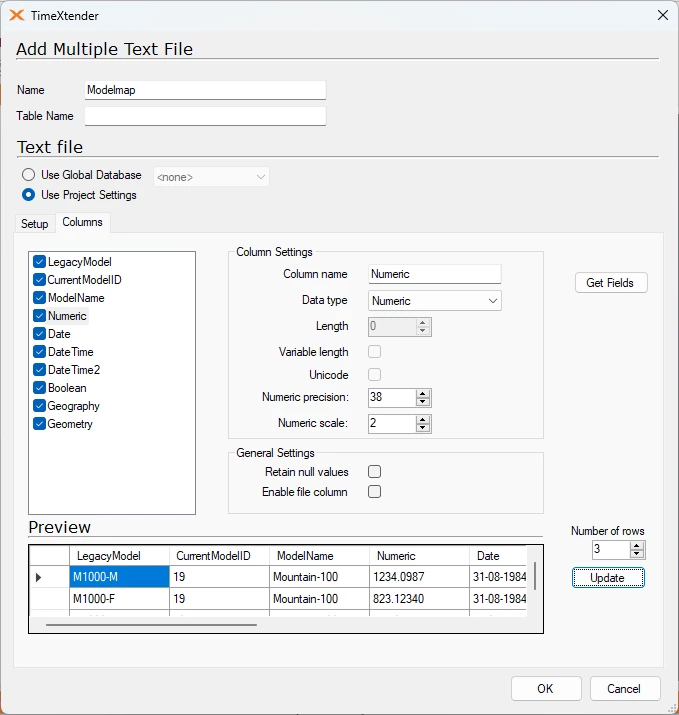
Columns
- Click the Columns tab and click Get Fields to load the fields, which will then be displayed in a list in the left-hand side of the window. You can select one or more fields in the list and adjust different settings for them:
- Column name
- Data type: You can choose from a list of data types
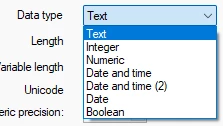
Each one will have a different set of fields, and those not usable will be grayed out.
- Text length: Enter the maximum number of characters in the field. For Text fields, it is 4000, which is the maximum length.
- Variable length: Select if you do not want the field to have a fixed length.
- Unicode: Select to convert data to Unicode
- Number of decimals: Enter the maximum number of decimals allowed in the field.
- (Optional) Select Retain null values to set the value of empty fields to the field's data type's default value instead of null.
- (Optional) Select Enable file column to add a column with the name of the source file to the data.
- Click Update to show a preview of the data as TimeXtender understands it with the settings you have chosen. You have the option of adjusting the Number of rows to see more or fewer rows.
- Click OK to add the data source.
