

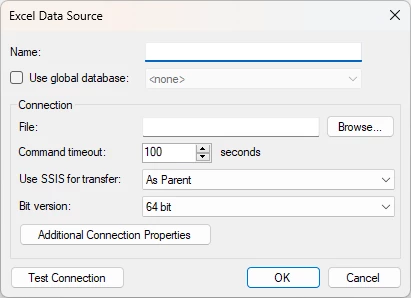
Old Excel data source provider
You can create this, Excel data source.
New TimeXtender Enhanced Excel data source provider
What you really should do is to create an Enhanced Data source and then choose the Excel Provider
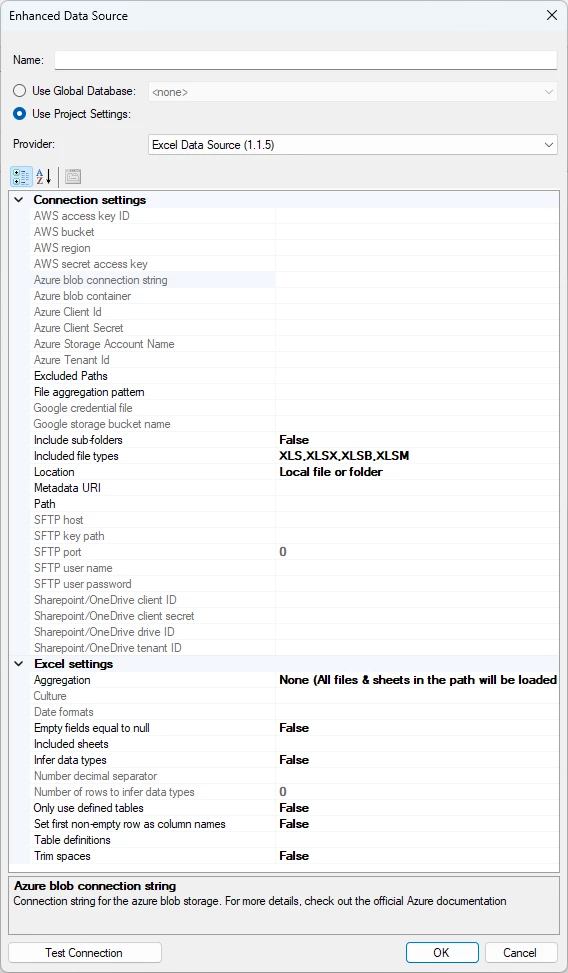
Connection Settings
You can read about the various location options here.
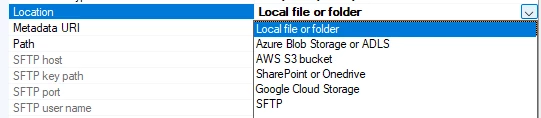
Once you have connected to the file or folder containing the file/s, you have some options.
Excel Settings
These settings relate to the behavior of the Excel reader and how to treat the content of the Excel documents.
Aggregation
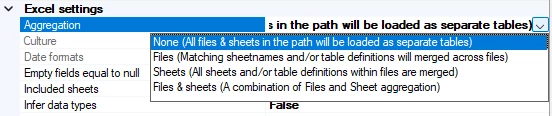
Here, you can choose the type of aggregation you want to apply when ingesting Excel document(s). The options are:
- None (All files & sheets in the path will be loaded as separate tables)
- Files (Matching sheetnames and/or table definitions will be merged across files)
- Sheets (All sheets and/or table definitions within files are merged)
- Files & sheets (A combination of Files and Sheet aggregation)
None – No aggregation is applied, and all tables are returned with unique names using the following naming structure:
<filename>_<sheet name> or <filename>_<sheet name>_<table definition name>
Files – Tables within files are named using the following naming structure:
<sheet name> and/or <sheet name>_<table definition name>
The data is then aggregated over files by table name.
Sheets – Data is aggregated over sheets and returned as a single table per file, plus any table definition tables. Table definitions are also aggregated.
Files & sheets – Same as above, but in the order that Sheets are aggregated first for each file, and then files are aggregated, will return a single table plus a single table for any table definitions.
Culture
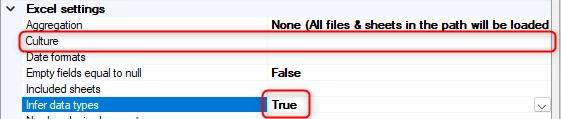
Here you can specify the culture of the read Excel files. For example, if the source is different than yours or does not match InvariantCulture.
Note: This option only becomes available when you set Infer data types to True.
Date formats

Here you can specify a custom date format. You can apply more than one by applying them in a comma-separated format within brackets.
[YYYY-MM-DDTHH:MM:SS],[yyyy-MM-DD HH:MM:SS]
It is important that you leave no blank spaces between format setups.
Note: This option only becomes available when you set Infer data types to True.
Included sheets
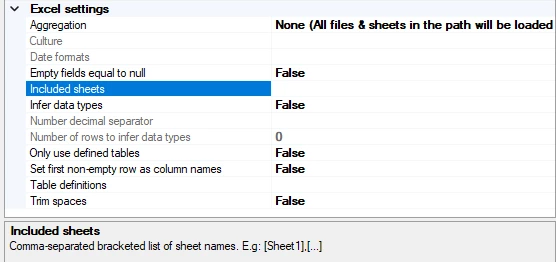
Here you can specify a list of sheet names to select, by applying the names in a comma-separated bracketed list.
[Sheet1],[Sheet2]
It is important that you leave no blank spaces between the sheet names to be included.
Infer datatypes
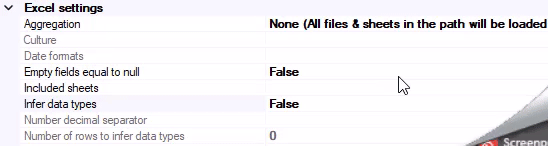
Set this to True to infer data types from your Excel documents. If unchecked, all data types will be strings.
It is also necessary for the following options. Culture, Date Formats, Number decimal separator, and Number of rows to infer data types.
Number decimal separator
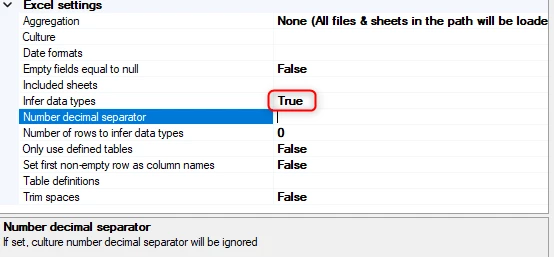
Here, you can provide the number decimal separator used when inferring numeric data types.
Note: If you set this while also using a specific culture, this will be ignored.
Note: This option only becomes available when you set Infer data types to True.
Number of rows to infer data types

You can provide the number of rows to use for inferring the datatypes. This is because there is a small overhead of doing the inference. Setting the number to 0 or a negative number will result in all rows being used for inference.
Note: This option only becomes available when you set Infer data types to True.
Only use defined tables
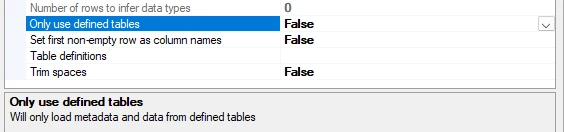
When set to True, only tables defined using Table definitions will be ingested. If not checked all tables defined using table definitions will be ingested along with the whole sheet(s) tables from the file(s).
Set first non-empty row as column names

Set this to True if your Excel documents have header records. This will then use the first non-empty record to set the names of your resulting columns. If set to False, a generic column name will be generated. E.g. “Column_1, Column_2, …”
Table definitions
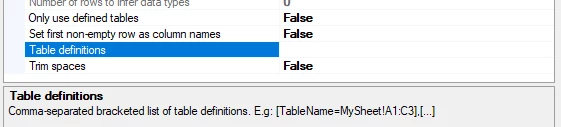
Here you can provide a comma-separated list of table definitions to ingest from your Excel document(s). A table definition has the following structure:
<Table name>=<Sheet name>!<Starting cell>:<Ending cell>
E.g. “Table1=Sheet1!E6:H9”
The table will then be ingested with data from within the range provided in the definition. The definition is also dependent on the option “Has header record”; if checked, the first record is used for column names. Aggregation options will also affect defined tables.
It is also possible to provide wildcards for some of the parts in the definition. A wildcard is defined by using a “*” star symbol. You can provide wildcards for “Sheet name”; this will then ingest data from all sheets within the range defined. This data is not aggregated unless aggregation options are selected. A wildcard can also be provided for the row part of the “Ending cell” part. E.g. “H*”. The reader will then read all rows within the defined columns.
Example of a table definition using wildcards: “Table1=*!E6:H*”
Trim spaces

Setting this option to try will remove all whitespace or blank spaces around any fields.
