This article clarifies two different methods of adding a SharePoint site as a data source in the TimeXtender Portal.
Method 1: Basic Authentication
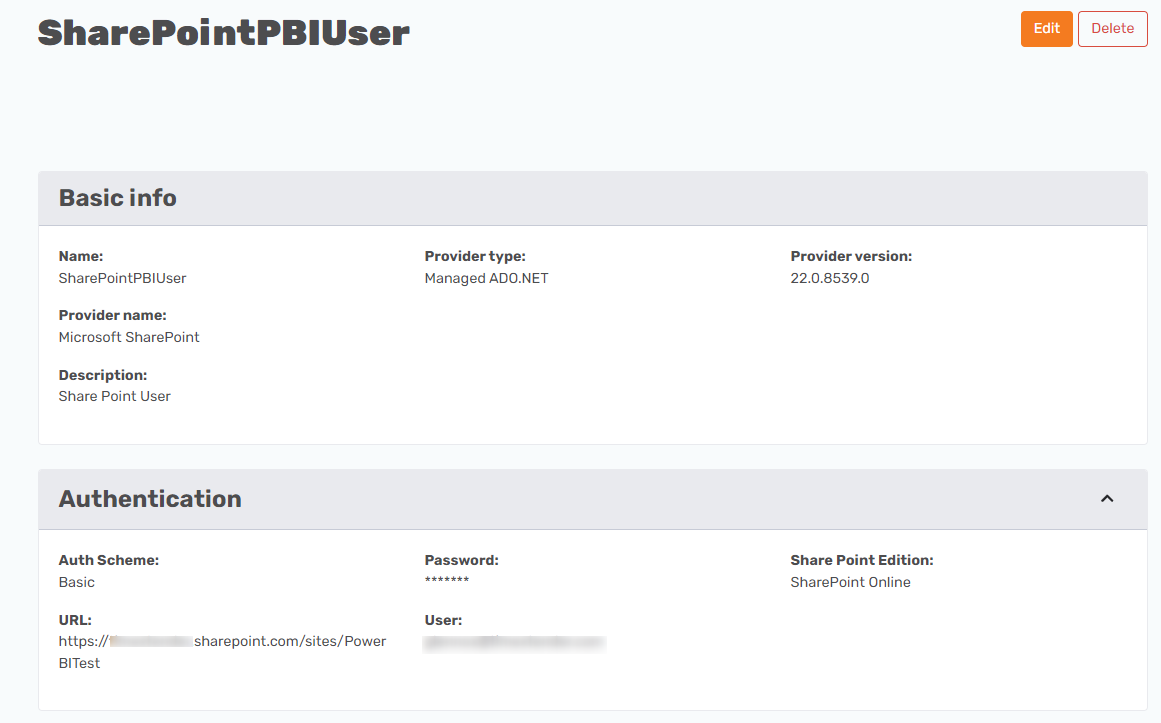
This method specifies a user account that does not have MFA two factor authentication enabled and has been granted access to the SharePoint site. The configuration in the TimeXtender Portal for the SharePoint data source is as follows:
- Provider: Microsoft SharePoint
- Auth Scheme: Basic
- Share Point Edition: SharePoint Online
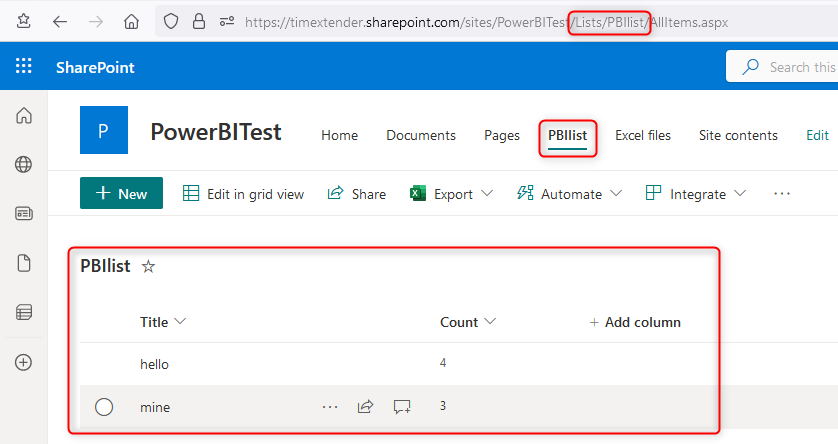
- URL: <SharePoint Site URL> i.e. https://contoso.sharepoint.com/sites/PBI
- User: <username> of a user that has been granted access to the site.
- Password: <password> for the specified user.
Method 2: OAuth
This method uses an Azure App Registration and OAuth to connect to the specified SharePoint site.
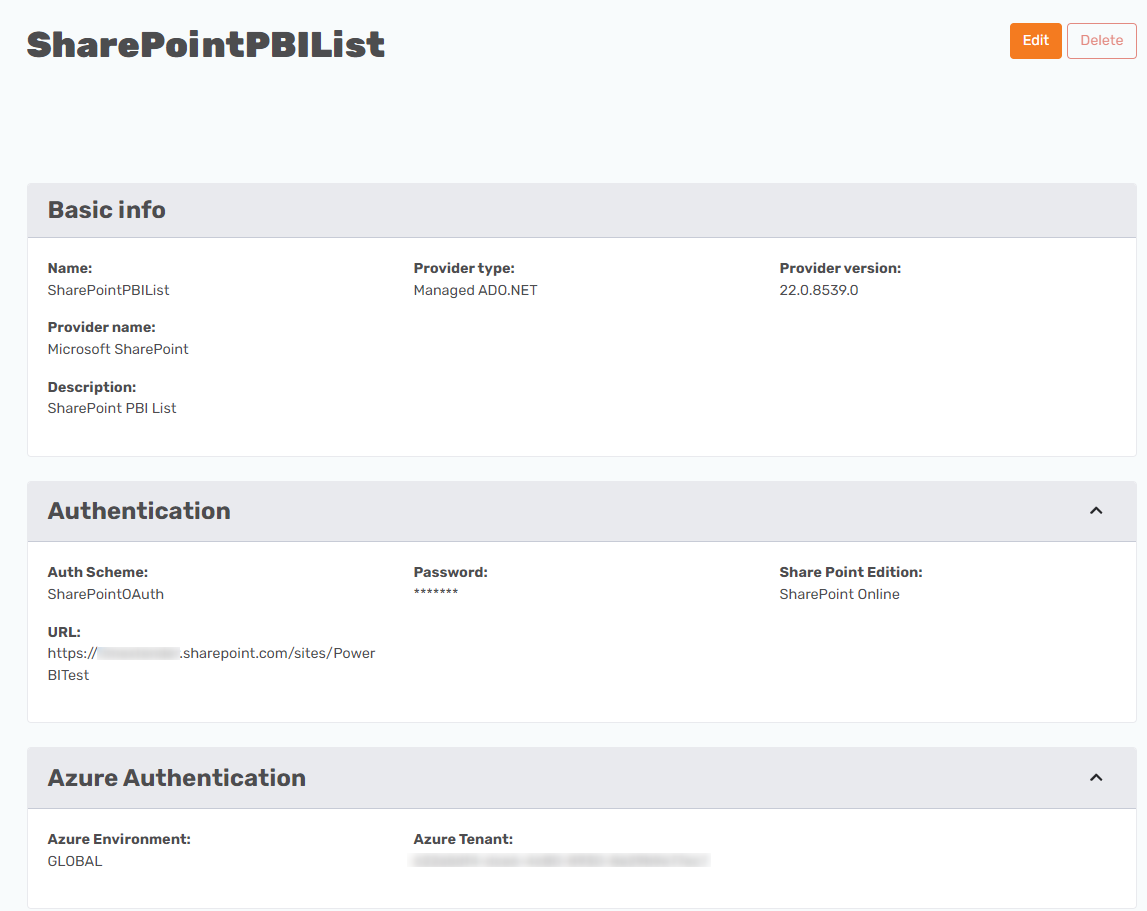
- In the TimeXtender Portal, create a new data source and set the provider to be “Microsoft SharePoint”.
- Auth Scheme: “SharePointOAuth”.
- Share Point Edition: SharePoint Online
- URL: <SharePoint Site URL> i.e. https://contoso.sharepoint.com/sites/PBI
- Azure Tenant: <Azure Tenant ID> for your SharePoint site.
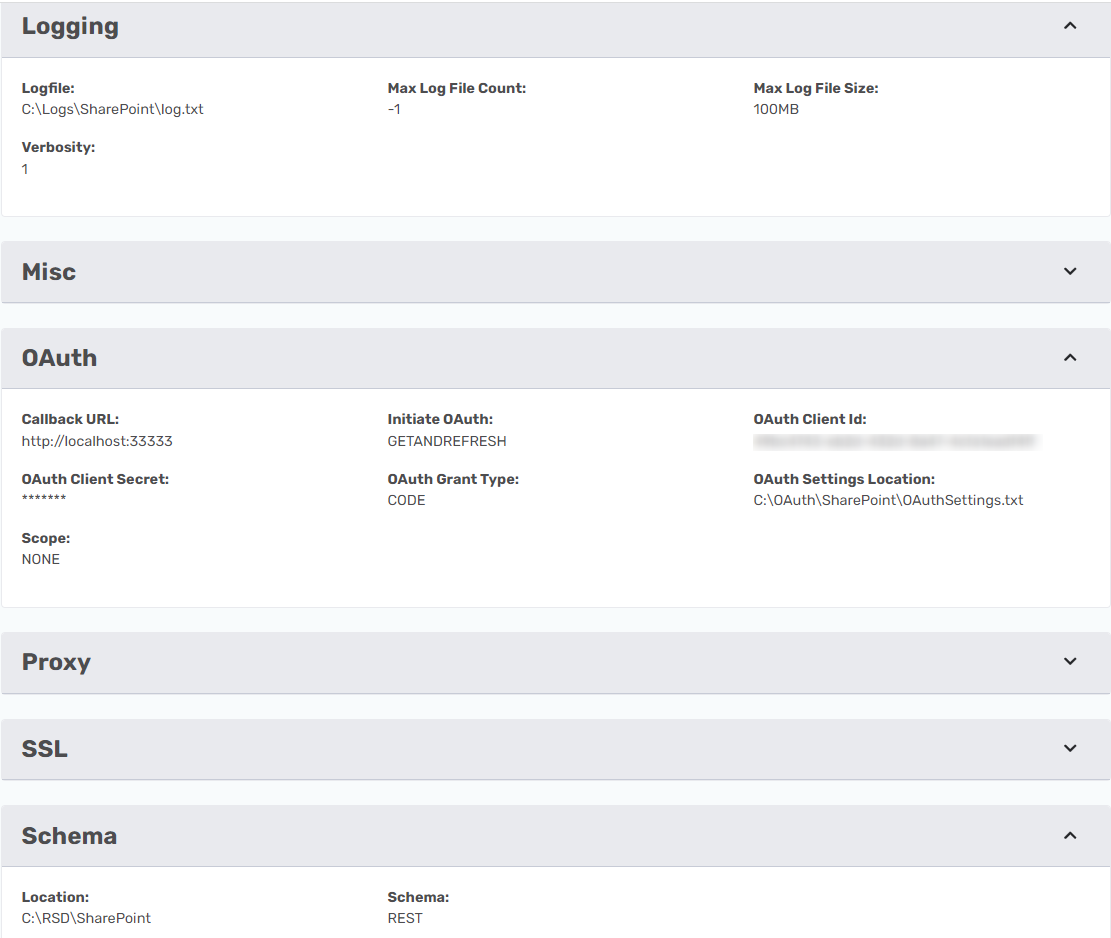
- In the Azure Portal, create or open the App Registration. From the Overview page, copy the Application (client) ID and paste this into the “OAuth Client ID” field in the OAuth Section of the SharePoint data source in the TimeXtender Portal.
- From the “Certficates and Secrets” page copy the value for your secret and then paste the secret value into the “OAuth Client Secret” field in the OAuth Section of the SharePoint data source in the TimeXtender Portal.
- In the App Registration “Authentication” page, set the Web Redirect URL to http://localhost:33333. Paste the “Web Redirect URL” into the “Call Back URL” field in the OAuth Section of the SharePoint data source in the TimeXtender Portal.
- In the TimeXtender Portal, set the “Initiate OAuth” to GetAndRefresh.
- Set the “OAuth Grant Type” equal to Code.
- Enter a path and filename in the “OAuth Settings Location”
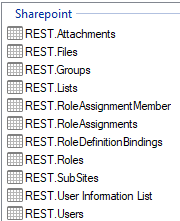
- Set the Schema to “REST”.
- Click “Save” to save this new SharePoint data source.
- In the TimeXtender Portal, open an Ingest instance and add this new data source to the “Mapped Data Sources” section.
- Open the TimeXtender Data Integration, and double click on the Ingest instance that contains the data source.
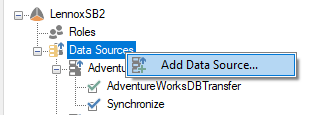
- In the opened pane, right-click on “Data Sources” and select “Add Data Source”.
- Complete the fields to create Synchronization and Transfer tasks for the new SharePoint data source.
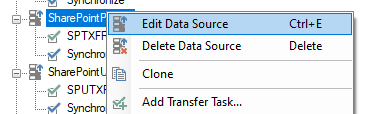
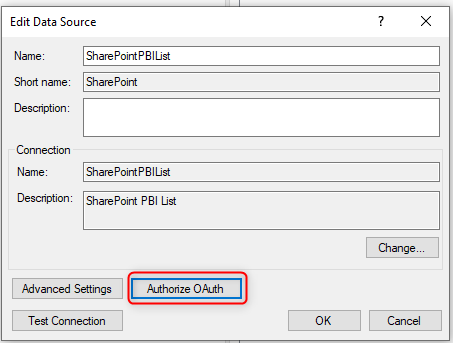
- Right-click on the SharePoint data source and select “Edit Data Source”.
-
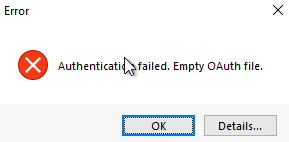
Click on the “Authorize OAuth” button to create the OAuth settings file.
- Go back to the portal and edit the data source. Locate the Initiate OAuth field and change it to REFRESH. Click Save.