

Warning: CData data source providers are no longer supported. We strongly recommend that you use or upgrade to TimeXtender-branded providers.
There are three methods to connect to excel files with CData - Excel, SharePoint Excel, and Excel Online.
This article discusses the Excel Online one.
If you want to connect to more than one excel file at a location, the only option is to use this one, however, you will also have to these files stored in SharePoint or OneDrive to connect to them.
Connect with the Excel Online CData provider
Excel online can connect to your company's excel files stored in SharePoint or OneDrive. The files you can see are based on the setup you use. By default, it will show the files your own Azure AD user is allowed to see.
You do not need to add a location to look for, the files you can access are entirely based on what sort of authentication you use.
There are three ways to generate access. You can read about them here Establishing a Connection
Authentication options using OAuth Authentication (AzureAD)

To authenticate using OAuth, you may create a custom app to obtain the OAuthClientId and OAuthClientSecret to use custom OAuth credentials. In addition to those properties, set CallBackURL. See Using OAuth Authentication for more information.
- Auth Scheme: Set this to AzureAD.
Authenticating using Azure Service Principal
Azure Service Principal is a connection type that goes through OAuth. Set your Auth Scheme to AzureServicePrincipal and see Using Azure Service Principal Authentication for an authentication guide.
Authenticating using MSI Authentication
If you are running Excel Online on an Azure VM, you can leverage Managed Service Identity (MSI) credentials to connect:
- AuthScheme: Set this to AzureMSI.
The MSI credentials will then be automatically obtained for authentication.
Creating an app to use for OAuth
Steps to Create a Custom OAuth App for OAuth Authentication
Follow the steps below to obtain the OAuth values for your app, the OAuthClientId and OAuthClientSecret.
- Log in to https://portal.azure.com.
- In the left-hand navigation pane, select Azure Active Directory then App Registrations and click the New registration button.
- Enter an app name and set the radio button for the desired tenant setup. When creating a custom OAuth application in Azure Active Directory, you can define if the application is single- or multi-tenant. If you select the default option of "Accounts in this organizational directory only", you will need to set the AzureTenant connection property to the Id of the Azure AD Tenant when establishing a connection with the Provider for Excel Online. Otherwise, the authentication attempt will fail with an error. If your app is for private use only, "Accounts in this organization directory only" should be sufficient. Otherwise, if you want to distribute your app, choose one of the multi-tenant options.
- Then set the redirect URL to something such as http://localhost:33333, the provider's default. Or, set a different port of your choice and set CallBackURL to the exact reply URL you defined.
- Define the app authentication type by going to the Certificates & Secrets section.
- Create a new application secret: In the Certificates & Secrets section, select New Client Secret for the app and select its duration. After saving the client secret, the key value is displayed. Copy this value as it is displayed only once, and it is used as the OAuthClientSecret.
- Select API Permissions and then click Add. If you plan for your app to connect without a user context, select the Application Permissions (OAuthGrantType = CLIENT). Otherwise, when selecting permissions, use the Delegated permissions. Application permissions require an admin to consent for it to work.
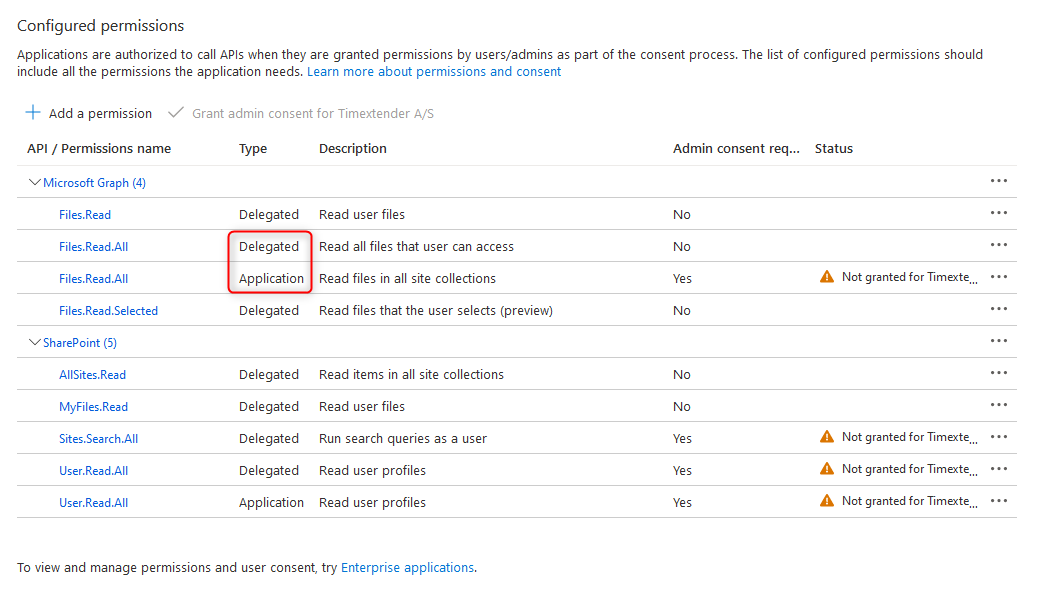
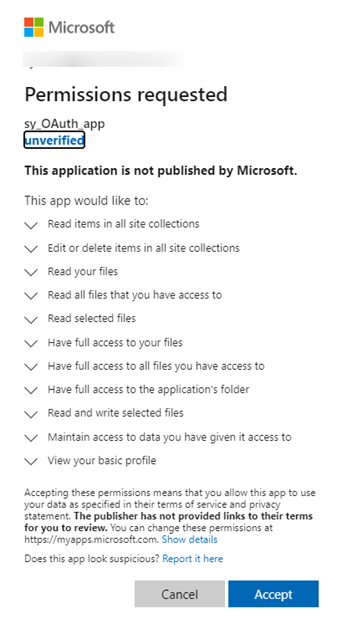
- Add the following application permissions: Sites.Read.All, Files.Read, Files.Read.All, Files.Read.Selected, and offline_access.
- Save your changes.
- If you have selected to use permissions that require admin consent (such as the Application Permissions), you may grant them from the current tenant on the API Permissions page. Otherwise, follow the steps under Admin Consent.
Running the stored procedures mentioned in the above link will be difficult, it would be easier to get an admin to authorize it.
Steps to Create a Custom OAuth App for Azure Service Principal Authentication
Follow the steps below to obtain the OAuth values for your app.
- Log in to https://portal.azure.com.
- In the left-hand navigation pane, select Azure Active Directory then App Registrations and click on New registration button.
- Enter an app name and set the radio button for "Any Azure AD Directory - Multi Tenant". Then set the redirect URL to something such as http://localhost:33333, the provider's default.
- Copy the Application (client) Id value displayed on the Overview section after creating the app, since this value is used as the OAuthClientId
- Define the app authentication type by going to the Certificates & Secrets section.
- Create a new application secret: In the Certificates & Secrets section, select New Client Secret for the app and select its duration. After saving the client secret, the key value is displayed. Copy this value as it is displayed only once, and it is used as the OAuthClientSecret.
- In the Authentication tab, make sure to check the option: Access tokens (used for implicit flows).
- Open the Subscriptions page by searching and selecting the Subscriptions service from the search bar.
- Select the particular subscription to assign the application to, then open the Access control (IAM) section, and click on the Add role assignment button.
- Select Owner as the role to assign to your created OAuth app.
Set up the OAuth connection to the source
Once you have a working app you can connect to your file source.
Set the Auth Scheme to what option you want to use. The available options are explained in the earlier setup options.
Authentication with your OAuth App
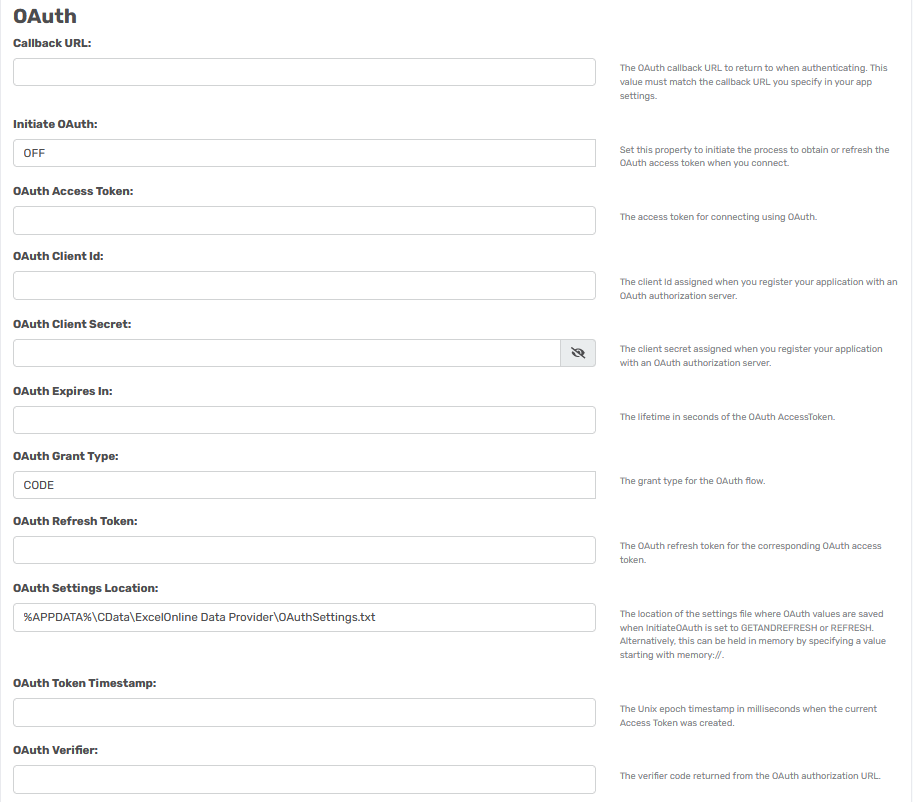
Set up the following fields:
- OAuthClientId: Set this to the Client Id in your app settings.
- OAuthClientSecret: Set this to the Client Secret in your app settings.
- OAuth Settings Location: Set this to a specific folder that is visible for all developers and service accounts that could use this data source.
- AuthScheme: Set this to the "AzureAD" in your app settings if you use OAuth Authentication, or set it to "AzureServicePrincipal" if you use the Azure Service Principal.
- InitiateOAuth: Set this to GETANDREFRESH initially.
- Create a data source in your Ingest Instance using the Portal setup.
- Give it a name and choose the data source.
- Select all tables in the data source
- Add a transfer task
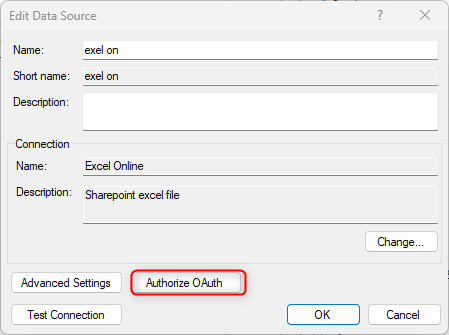
- Once created right-click on the data source and click Edit.
- Click on Authorize OAuth
- It will open a browser, see that it goes through the flow successfully.
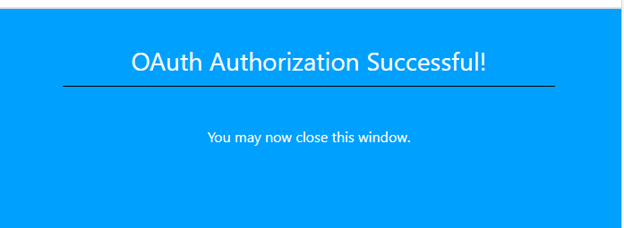
- Once you get this message, go to the portal and edit the data source.
- Change the Initiate OAuth field to REFRESH.
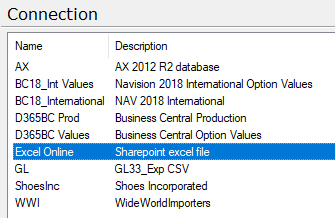
Connection
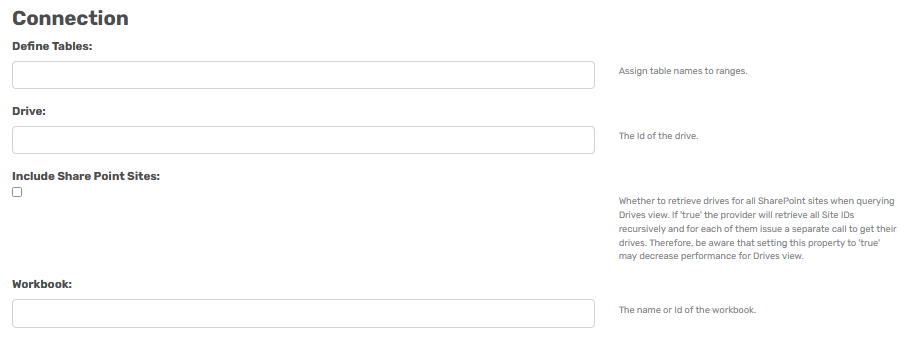
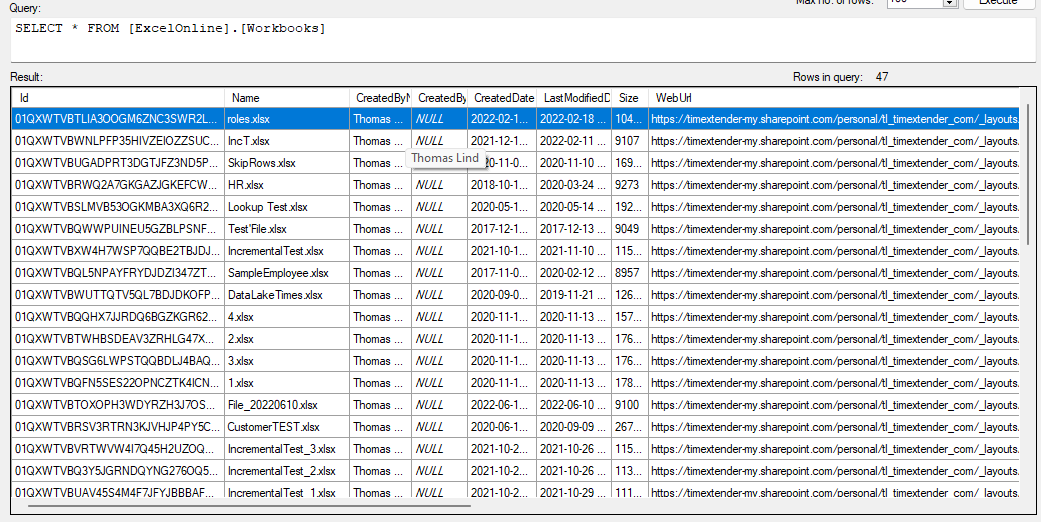
When you synchronize the data source, you will get some default tables that will show you what files you are allowed to see. This can be specified with the fields in the connection area.
- Define Tables: This is the same as in the other two and can be used to specify what files you want to connect to.
- Workbook: Essentially refers to this table called Workbooks and you can add the ids or names of files in a comma-separated list.
- Drive: Refers to the drive/s you look at. Same as for Workbook there also is a table where you can specify the id to see a specific drive.
- Include SharePoint Sites: Whether to retrieve drives for all SharePoint sites when querying Drives view. If 'true' the provider will retrieve all Site IDs recursively and for each of them issue a separate call to get their drives. Therefore, be aware that setting this property to 'true' may decrease performance for Drives view.
Misc
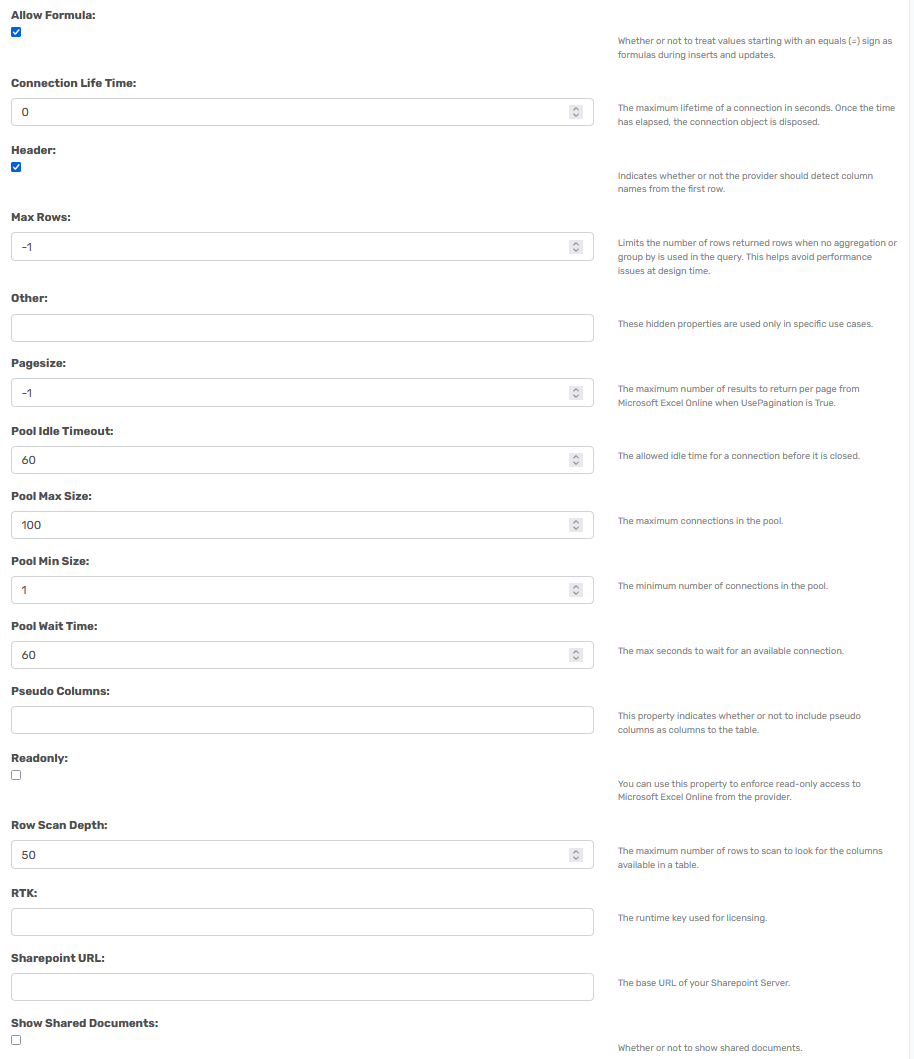
Here you can set extra settings that will increase performance or allow a specific appearance to be allowed.
- Show Shared Documents: If set to true, shared documents will be listed alongside user-owned workbooks as database tables.
- Use Pagination: decides whether or not Excel Online should use client-side paging. Set this to true in case of a large dataset.
- Pagesize: set this to a value different than -1 if you also use Pagination.
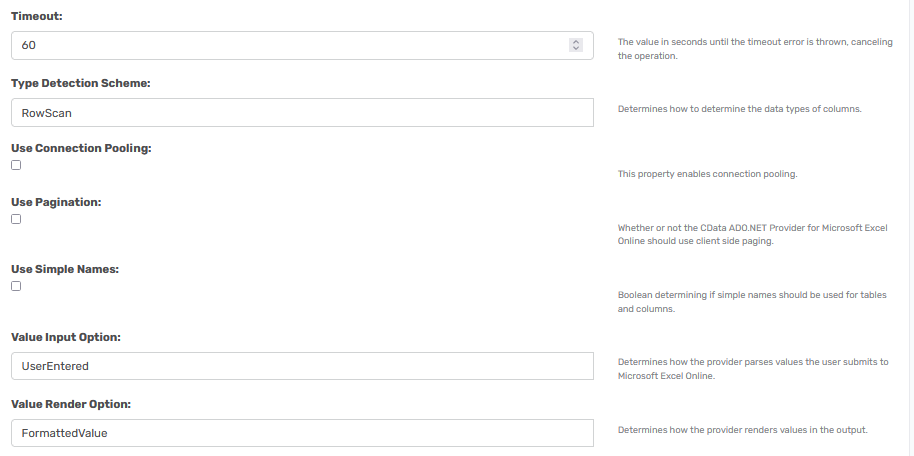
- Use Simple Names: set this to true if the names of fields are too long. The limit is 128 characters.
- SharePoint URL: Not necessary to set, but can be set to point at a specific site, which will limit the amount of files you synchronize. Like so, https://timextender.sharepoint.com/Sites/mysite
