Warning: This article refers to Jobs and the TimeXtender Jobs API which have been deprecated. Please schedule TDI execution packages via TimeXtender Orchestration rather than using jobs
This guide shows how to use our own TimeXtender API endpoints for a TimeXtender REST data source.
The benefit of this is to show how you can add endpoints that get populated with dynamic values from other endpoints.
Essentially, when you have the following URL https://apim-txportal-prod.azure-api.net/public/jobs/{jobId}/logs you will be able to add the {jobId} part from another endpoint.
Content
Prerequisites
You need two things to use this.
- You need to set up the APIKey. To do this go to Admin and Security and permissions
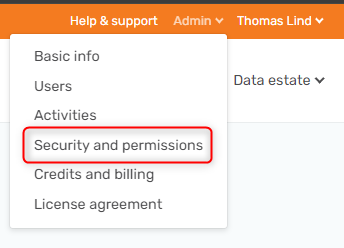
Set up an APIKey.
-
If you have gone through the TX API documentation you will find a Postman collection. In that, you can find the domain value. This one
apim-txportal-prod.azure-api.net.
Initial setup
Common Settings
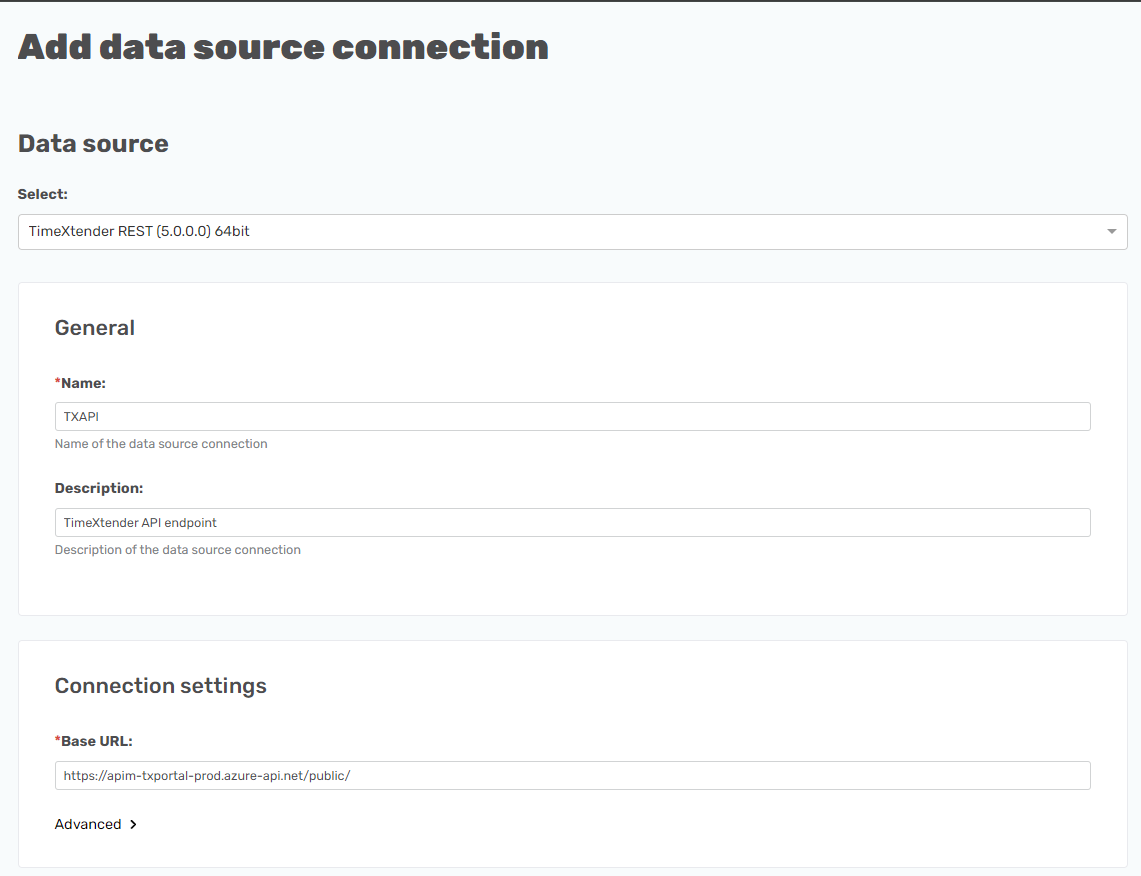
I start by adding a new data source and choosing TimeXtender REST. Then I give it a name and add the following in the Base URL
https://apim-txportal-prod.azure-api.net/public
Like so.
Then I click Add in the Header and apply the APIKey like so.
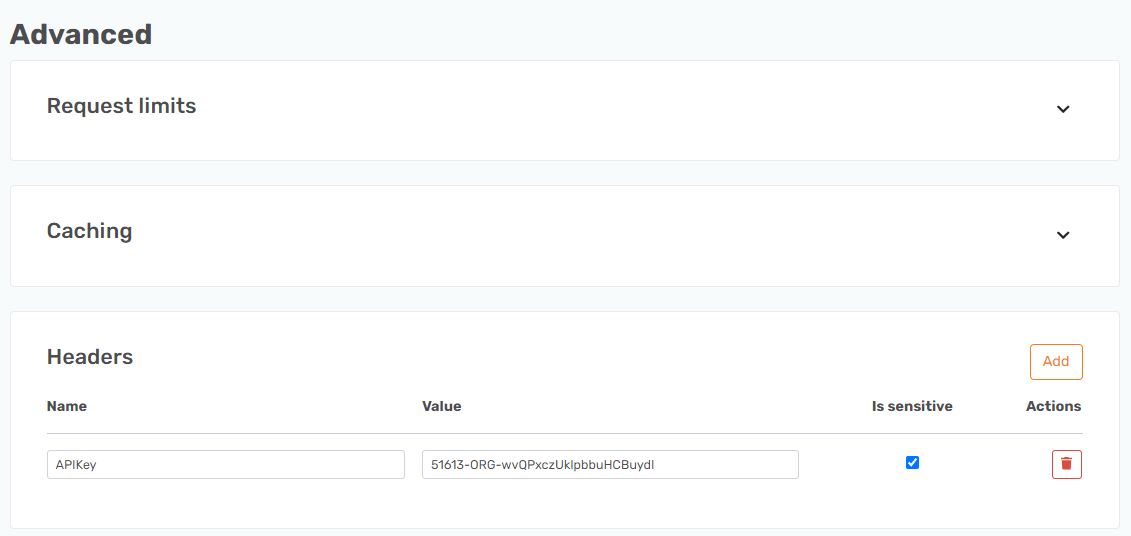
Be sure to set it to Is sensitive.
All Jobs endpoint
In the endpoint path field add jobs change the name to All jobs and click Add endpoint.
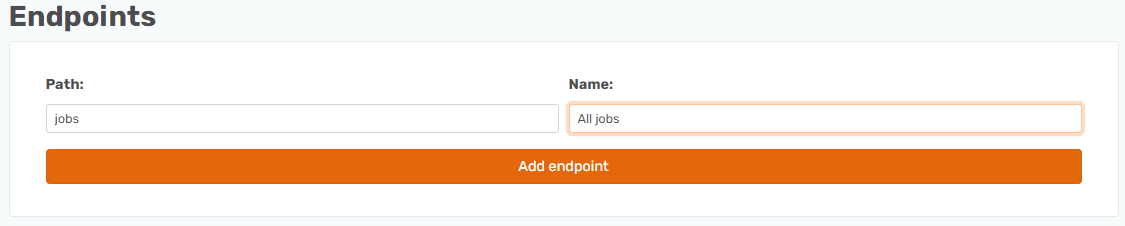
This is all needed, no other settings should be applied.
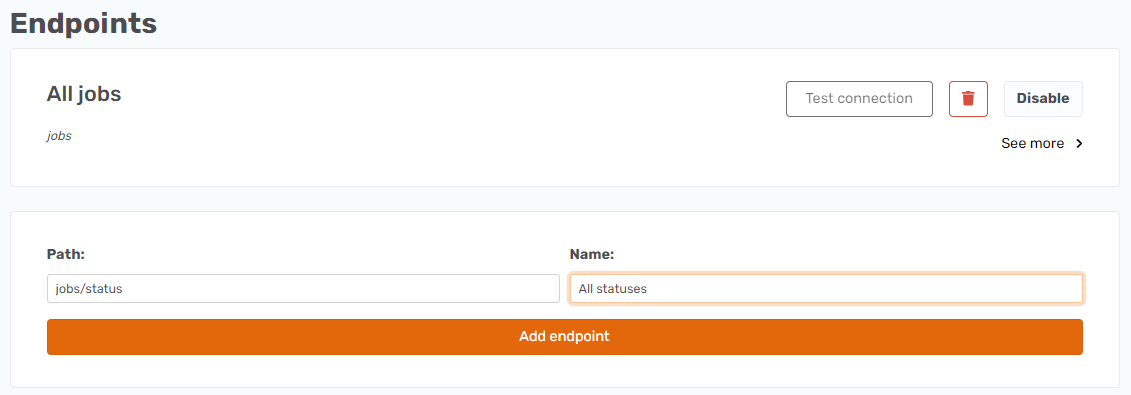
All statuses endpoint
In the endpoint path field add jobs/status, change the name to All statuses, and click Add endpoint.
That is all needed for the initial setup.
Dynamic value endpoint
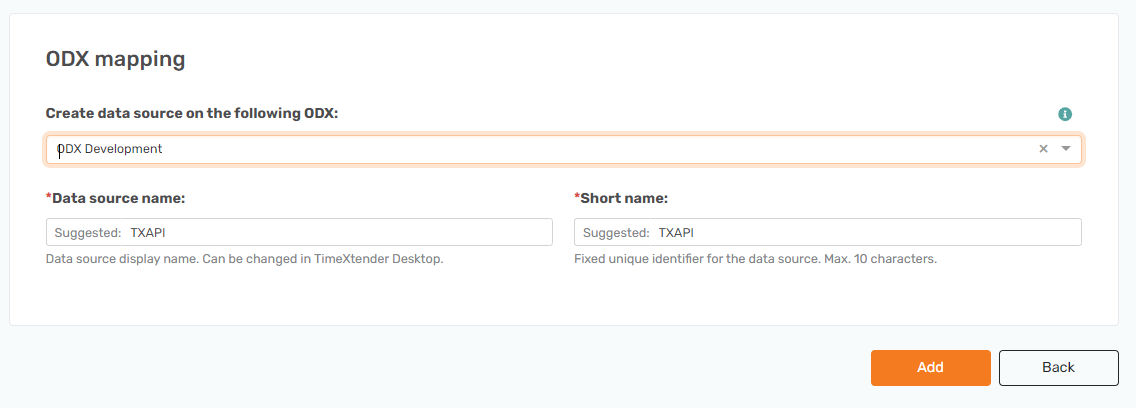
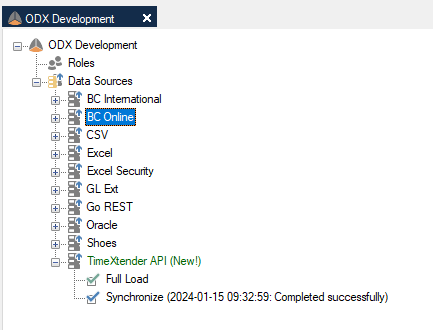
Before doing this step you must add the data source with a Short name and a long name. Then applied it to an ODX instance. You also need to have synchronized the data source successfully.
Like so.
And in the ODX.
Before the setup
Before starting we need to know what the table that has the All Jobs endpoint generates looks like. So I will run the transfer task on the data source. It is also so the endpoint will have some values to choose from when you synchronize.
It should look like this.
What you need to note is that the name of what will be the {jobId} part is called Id.
Setup dynamic value from the endpoint
Now we can create the All job logs endpoint.
Type job/{Id}/logs in the path field, give it the All job logs name and click Add endpoint.

The {Id} refers to the Id field of the All jobs table, so if you wanted to add the name instead it would be {Name}. Not that you would of course.
Now expand the Advanced section and click Enable in the Dynamic values area. Change the Dynamic values source option from Query to From Endpoint table.
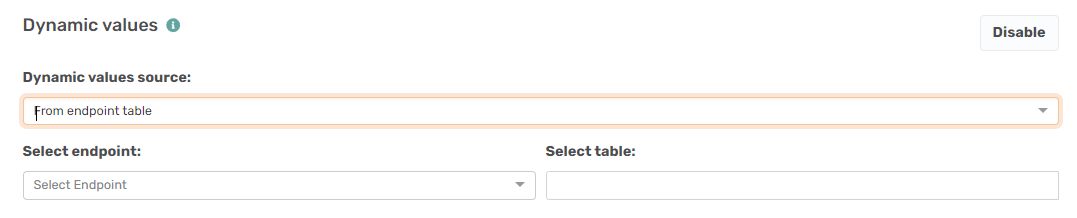
Expand the Select endpoint field and choose the All Jobs table.

Then expand the Select table field and choose the

Now it should look like this.

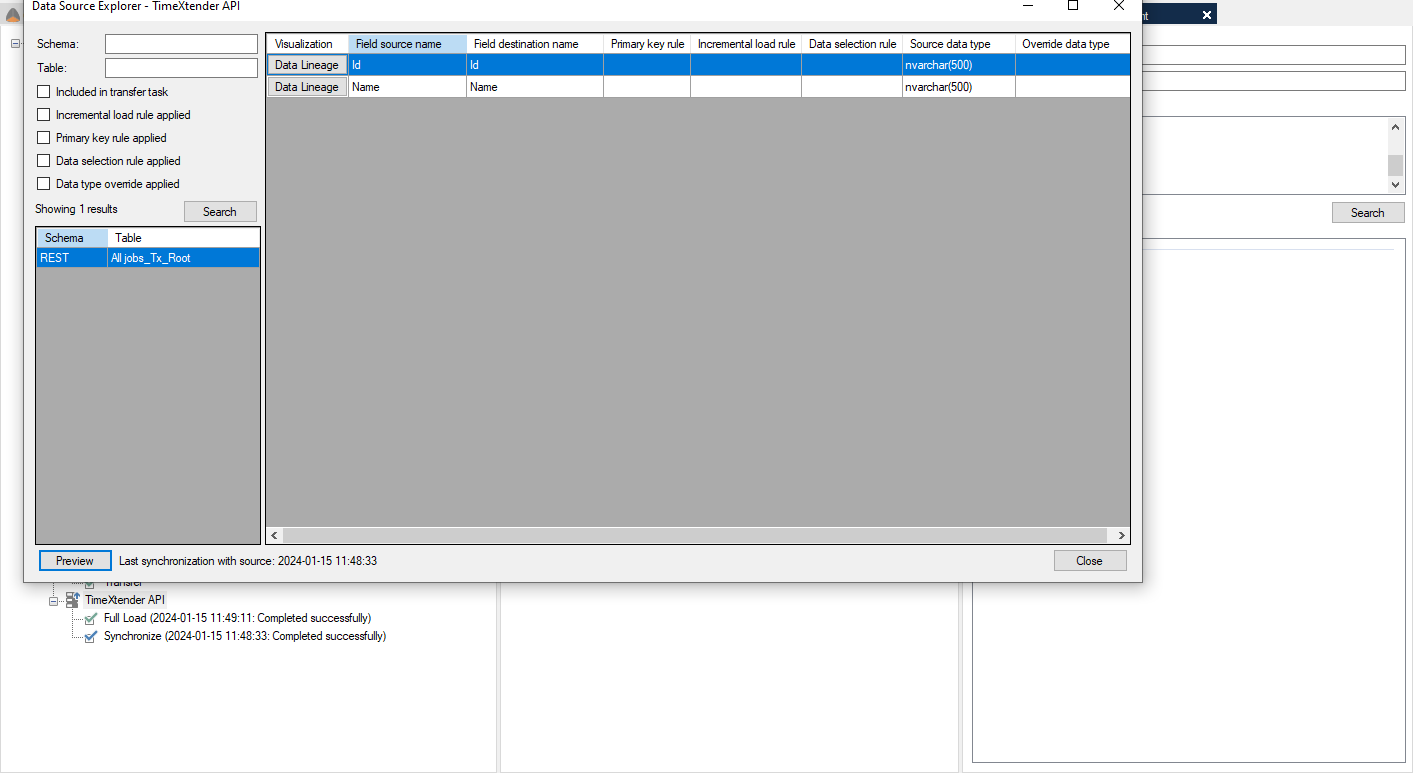
Save the change to apply the endpoint, synchronize the TXAPI data source, and run the transfer task.
Now it will look like this.
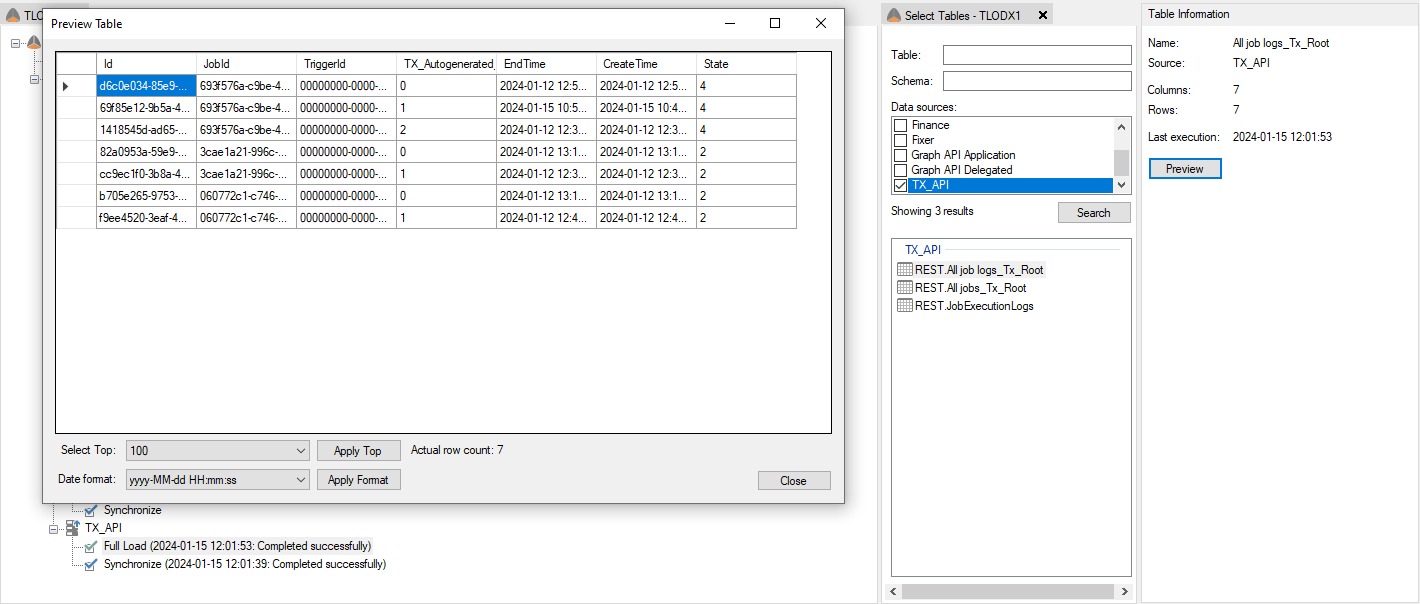
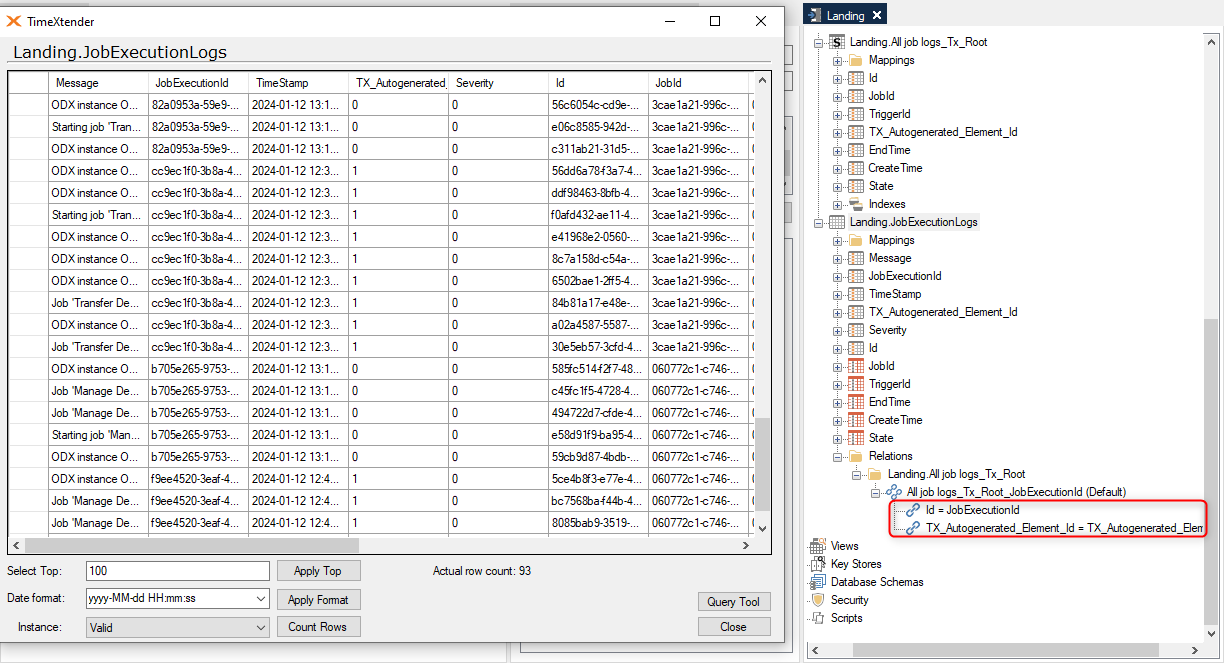
Use the result in TimeXtender Data Integration
It generates two tables All job logs_TX_Root and JobExecutionLogs. It is possible to populate the JobExecutionLogs table by relating the Id field from All job logs_TX_Root to the JobExecutionId from JobExecutionLogs and relating the two TX_Autogenerated_Element_Id fields.