Which Dynamics 365 Finance & Operations data source should you use?
This article covers the SQL Server connector for TimeXtender (TDI). Use it when you have direct access to the Dynamics 365 Finance & Operations (F&O) SQL database, typically Dynamics AX or a self-hosted Finance & Operations instance. In the Portal it's listed as TimeXtender Dynamics 365 Finance - SQL Server.
This articles explains how to set up the TimeXtender Dynamics 365 Finance - SQL Serverdata source. The Dynamics 365 Finance (formerly known as "Dynamics AX") data source provides features that make working with Dynamics 365 Finance much easier. Specify the BC accounts for which data is to be extracted, and avoid having to later on filter out other unwanted account data in your data warehouse.
Adding a TimeXtender Dynamics 365 Finance data source
Sign in to the Portal, navigate to Data estate > Data sources, and click Add data source.
On the Add data source page, select the select TimeXtender Dynamics 365 Finance - SQL Server.
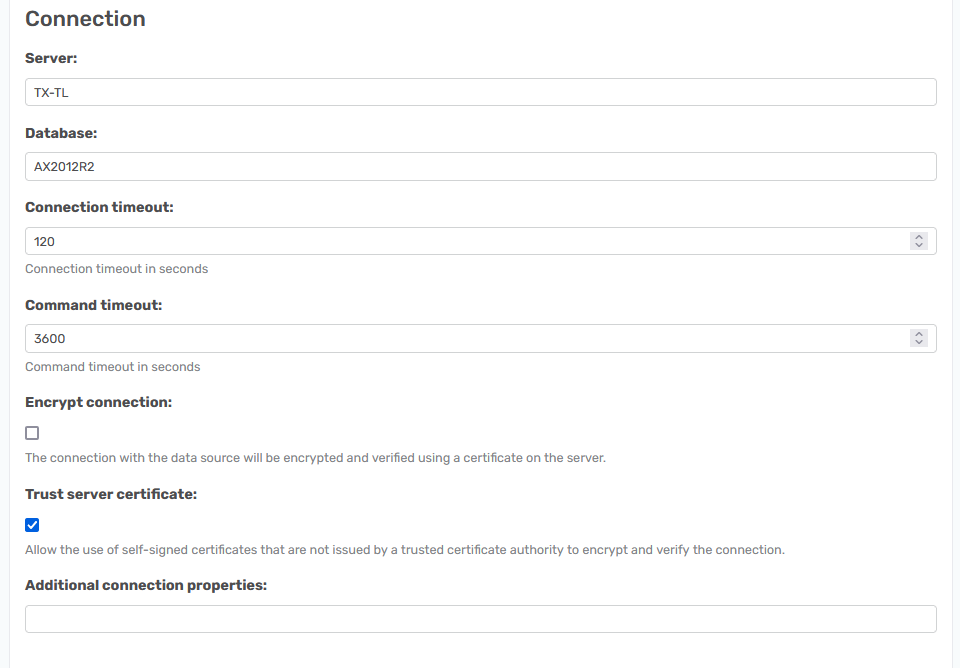
Enter the connection information
Add a SQL server name in the Server field.
Add the name of the database you connect to in the Database field.
Check the Trust server certificate to True.
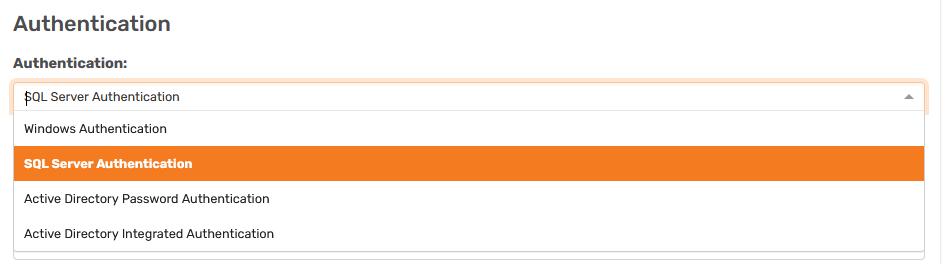
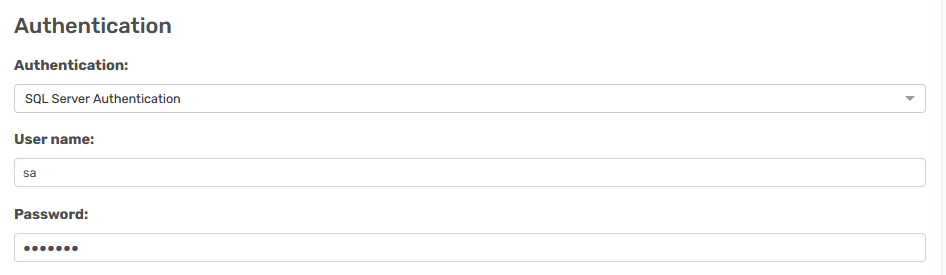
In the Authentication area, set the option to either SQL Server Authentication or Active Directory Password Authentication.
After choosing one of those options add a user and password.
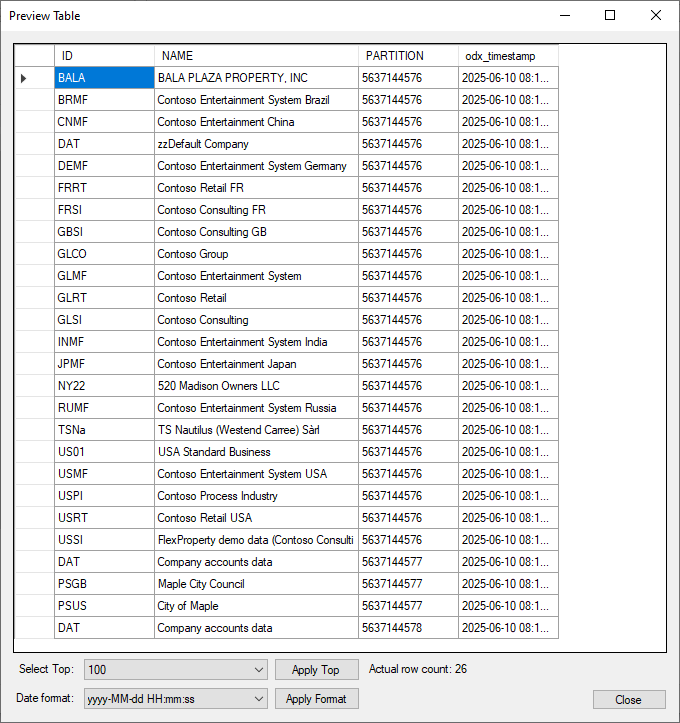
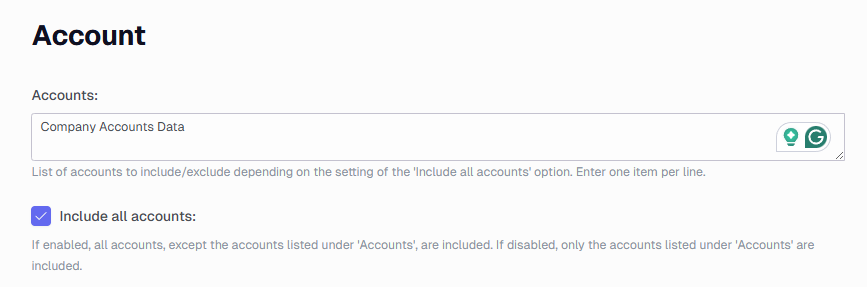
The Accounts box can either be used to include or exclude accounts, depending on whether the "Include all accounts" box below is checked or not. When this box is checked, then all of the accounts will be included except for those listed out in the "Accounts" box. Therefore, enter the accounts (or companies) that you do not want to extract data from in the Accounts box, and enter one account per line. The value to add is the name of the ID from the DataArea table. In my test AX2012R2 database this is the content. In the example below, all accounts will be included except for the DAT(Company Accounts Data) account listed in the Accounts box.
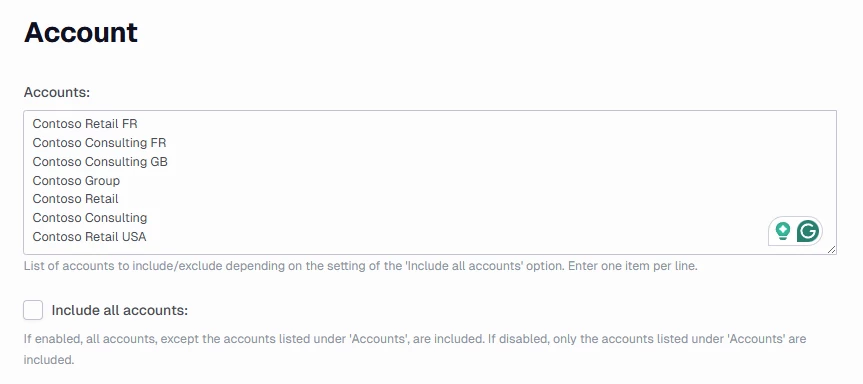
Conversely, clear the "Include all accounts"checkbox to explicitly define which accounts to be included. The accounts listed in the Accounts box will then be included rather than excluded, as in the following example.
If the Accounts field is empty and the "Include all accounts" checkbox is checked then all accounts will be added.
Select Compare accounts case-insensitive to convert account names to lowercase before comparing them. This ensures that account names will still match even when there are differences in the letter casing.
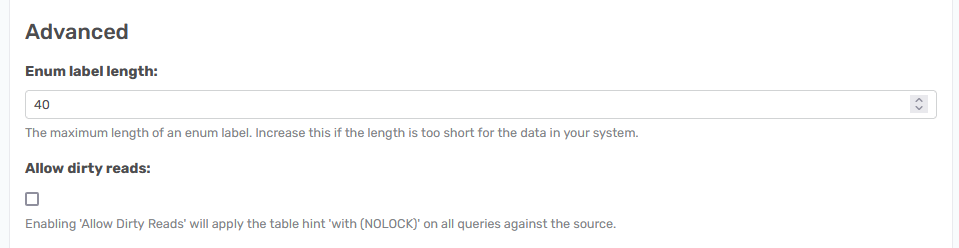
Under Advanced Options, the provider's behavior can be fine-tuned:
Enum label length: The maximum length of an enum label. Increase this if the length is too short for the data in your system
Allow dirty reads: If enabled, tables will not be locked before data is read from them. This property only applies to the SQL Server provider.
Click Add to save the data source
Using the TimeXtender Dynamics 365 Finance data source
Use the following steps to set up and use this data source.
Open TimeXtender and then open the ODX instance. Right-click on data sources and select Add Data Source...
Provide a Name for the data source and click Next.
Select the Dynamics 365 Finance data source connection that was setup in the Portal and click Next.
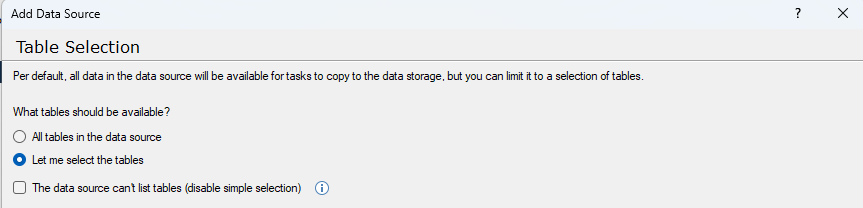
In the Table Selection menu, choose the Let me select the tables option and click Next.
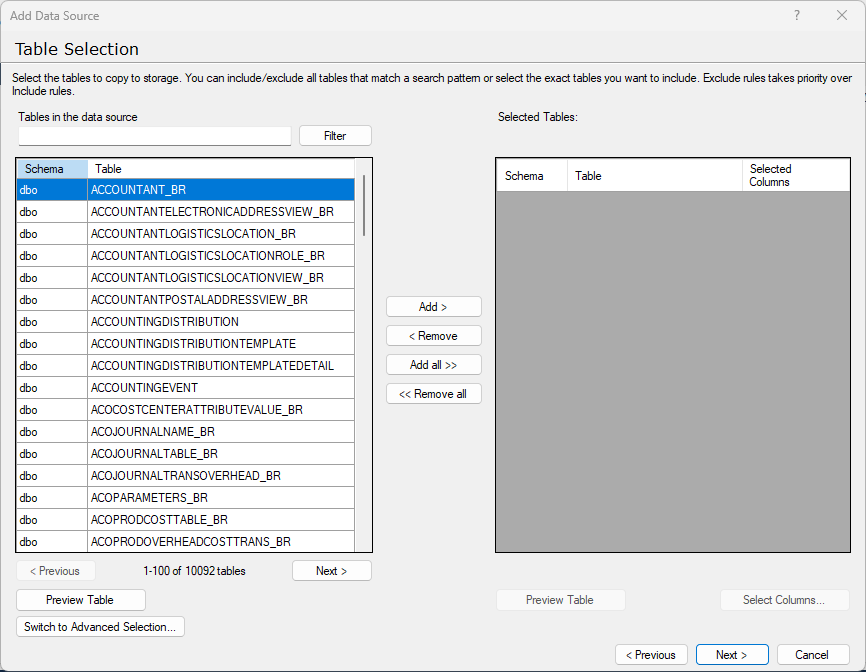
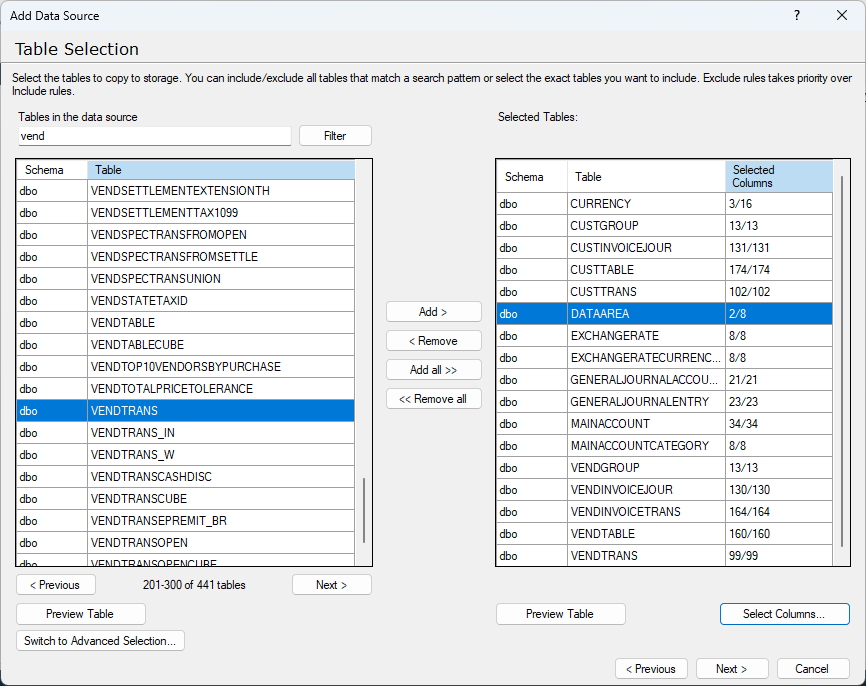
Use the search field to locate the tables to be used in the setup, starting with a few tables and adding more as appropriate.
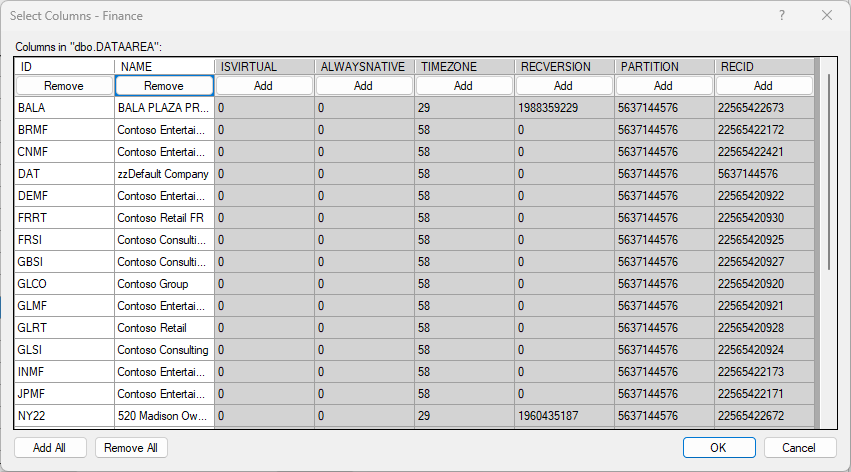
Select the columns to include using Select Columns…
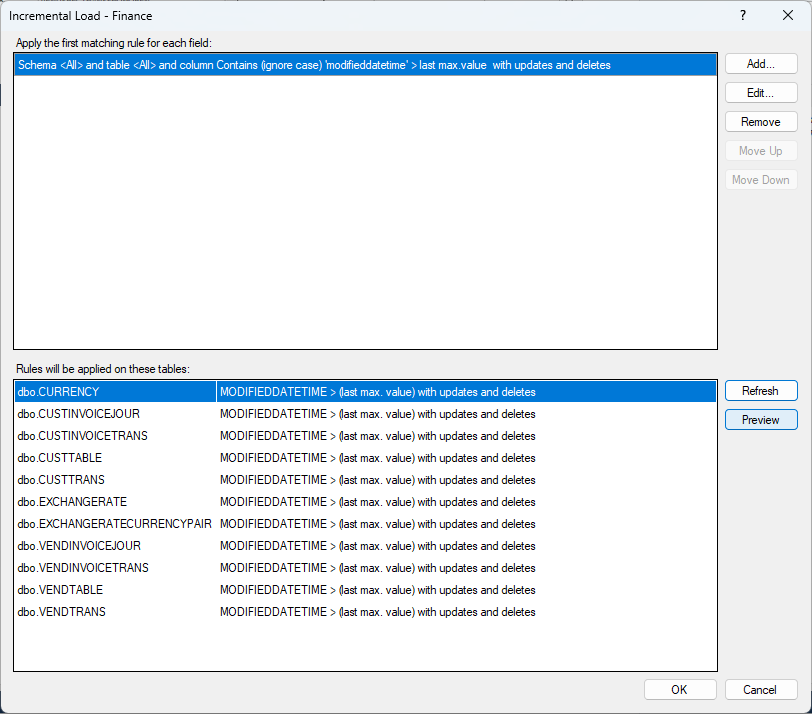
Be sure to add the fields DATAAREAID and MODIFIEDDATETIME, provided they exist, as they are the fields that contains the account name and a date, which are ideal to use for Incremental loading.
Set up Incremental Load. The best field to use for this is the ModifiedDateTime.