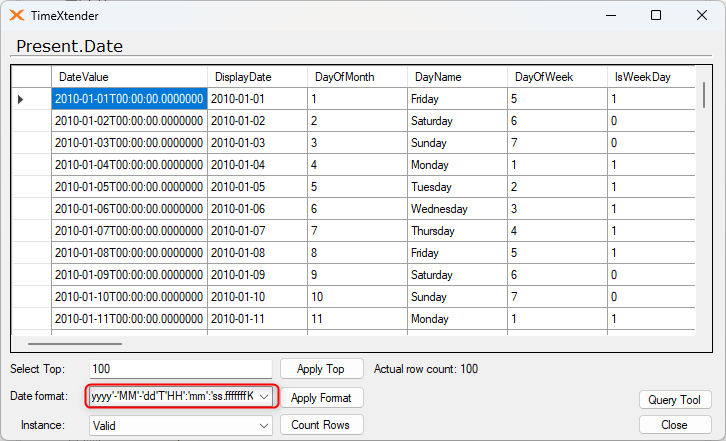
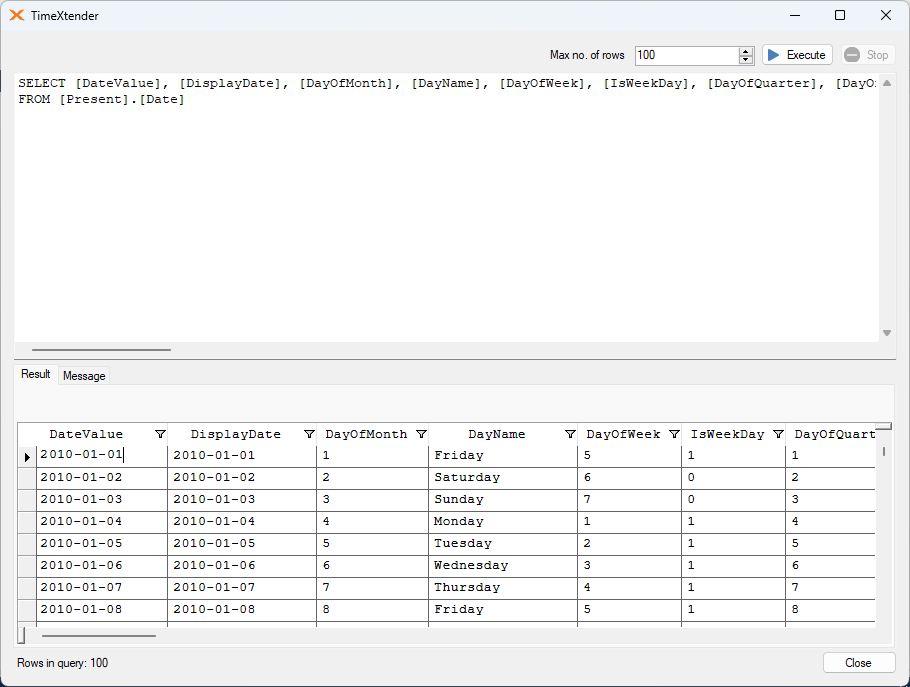
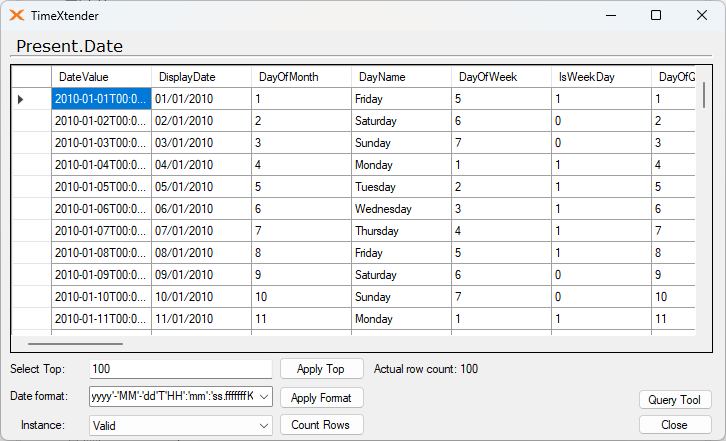
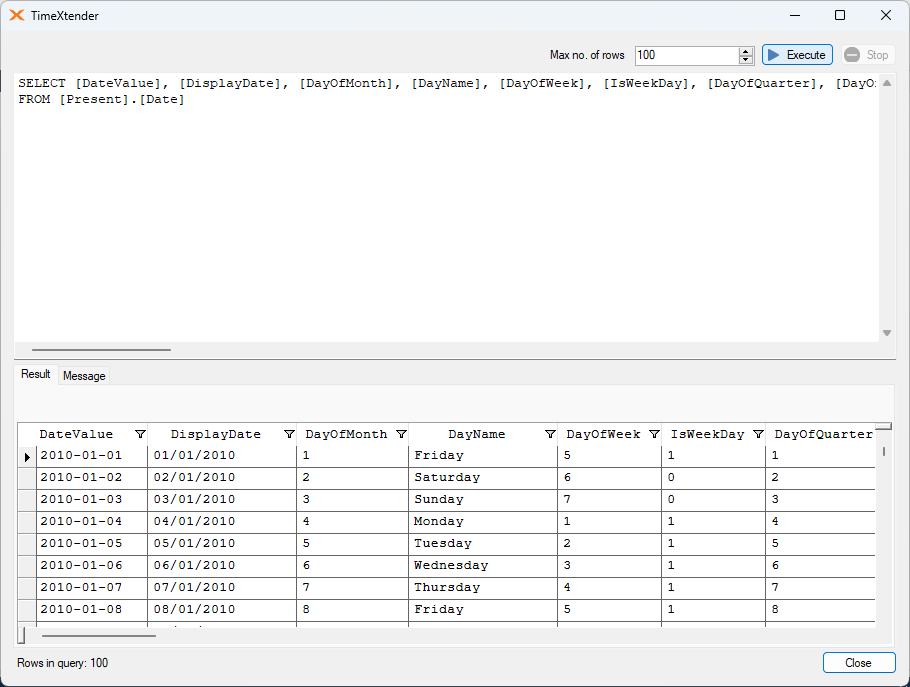
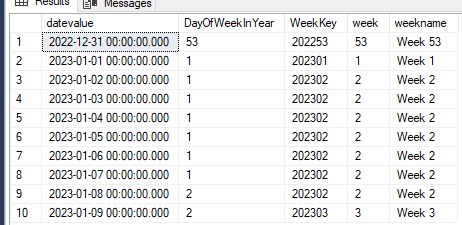
To analyze data over time, it's common to include a date dimension in your data model. By adding a date table to your data area, you can provide the Deliver instance with a time dimension that can be used in calculations. Date tables are typically added to Deliver instances because they simplify the calculation needed to compare different dates related to each other. In addition to using various components of the date value as time dimensions (Day, Week, Month, Quarter, Year), date tables also contain indexes that help determine the relation of any date value to the current date.
Adding a date table
To add a date table, follow the steps below.
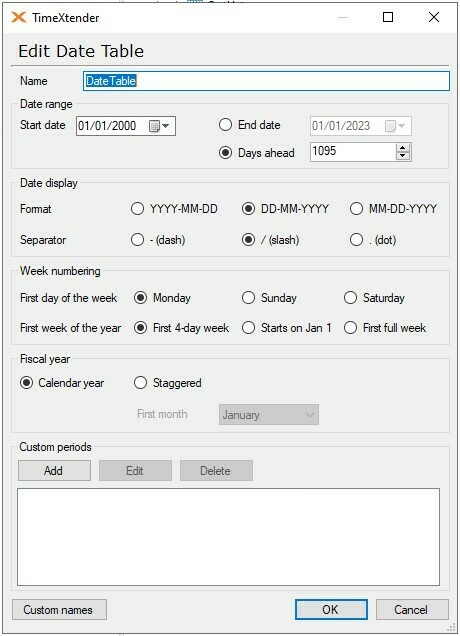
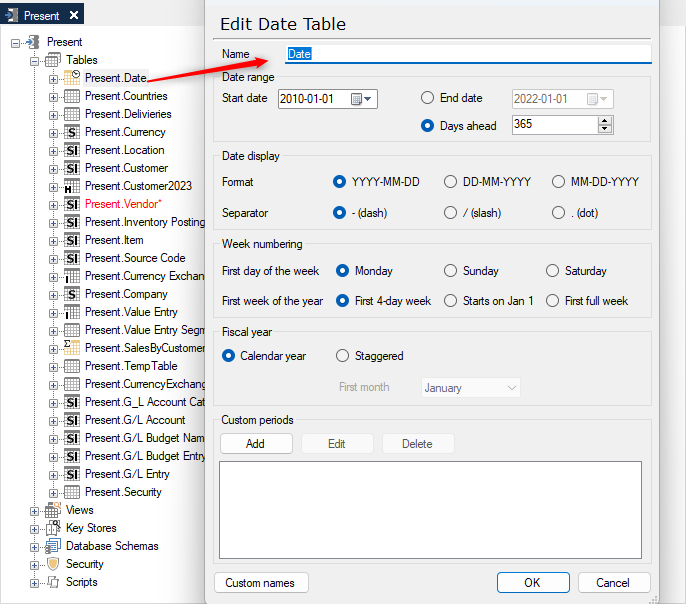
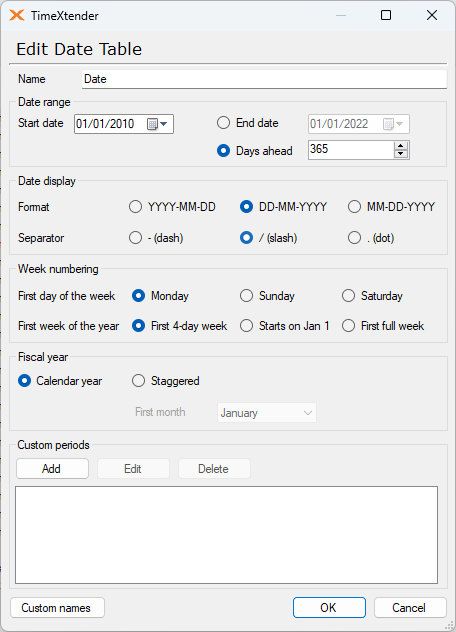
- On a Data Area, right click Tables and click Add Date Table to open the Add Date Table window.
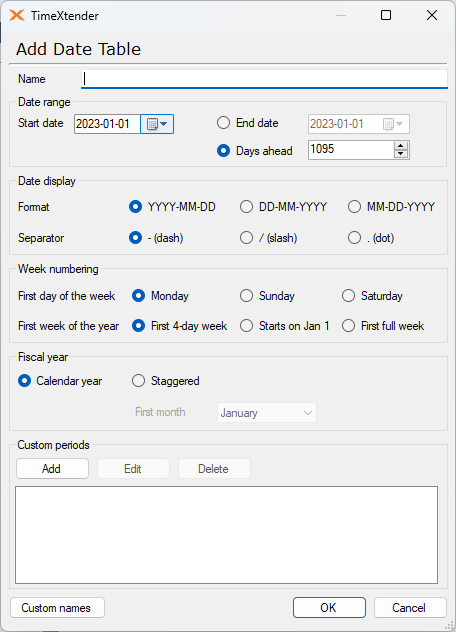
- In the Name box, type a name for the table.
- Select a Date range by entering a Start date and an End date. Regarding the end date, there are two ways that it can be entered. Either a normal date value can be set, or the Days Ahead option can be used to specify a number that indicates the number days to be added to the current date in order to calculate the end date. The Days ahead feature provides a way for a table to extend itself and effectively have no end, as new rows may get added to the table each time it is executed.
- Under Date display, select the date Format to be used from the following patterns:
- YYYY-MM-DD
- DD-MM-YYYY
- MM-DD-YYYY
- Select which Separator to used with the above date format from one of the following:
- - (dash)
- / (slash)
- . (dot)
- Under Week numbering, click the First day of the week from the following two choices:
- Sunday
- Monday
- Select the how to define the First week of the year from one of the following options:
- First 4-day week (following the ISO 8601 standard, common in Europe)
- Starts on Jan 1 (common in North American)
- First full week
- Under Fiscal year, click Staggered to use a staggered fiscal year and click the first month of the staggered fiscal year in the First month list.
- (Optional) Click Add under Custom periods to add a custom time period to the date table. In the Add Custom Period window that opens up, first enter a Name for the custom period itself, and then specify the Name, Start date and End date of one or more time periods that will comprise this custom period. In addition to entering time periods manually, they can also be imported and exported using the Import and Export buttons. Once all the time periods have been entered, click OK to save the new custom period.
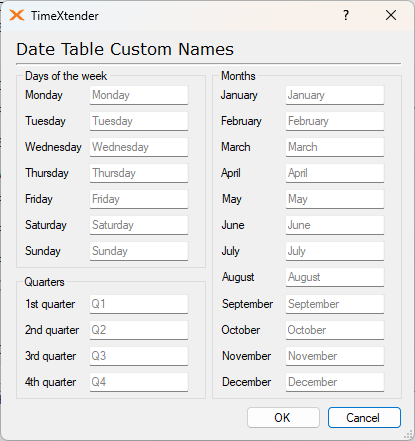
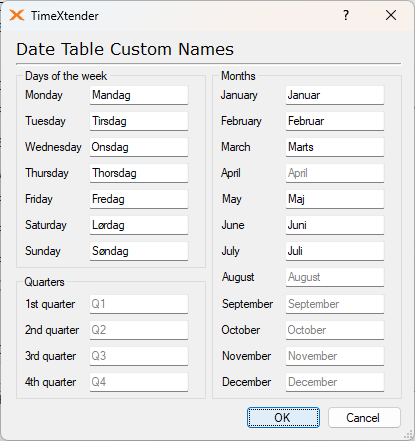
- (Optional) Click Custom names to change the names used for days, quarters and months. In the Date Table Custom Names window that opens up, enter the custom names to be used for specific time periods as needed. The default names are derived from the regional settings of that system. Click OK to save the custom names once complete.
- Click OK to add the date table.
Add a Date Hierarchy
After your date table is deployed, you can complete the following to create a data hierarchy.
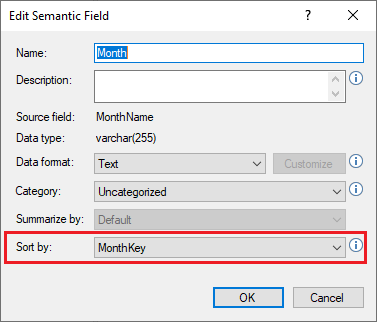
- Edit the MonthName field and set the “Sort by” setting to use the MonthKey, which is the integer number of the month.
- Right-click the data table and select “Add Hierarchy” from the context menu.
- In the Add Hierarchy window, select your date fields from largest to smallest.
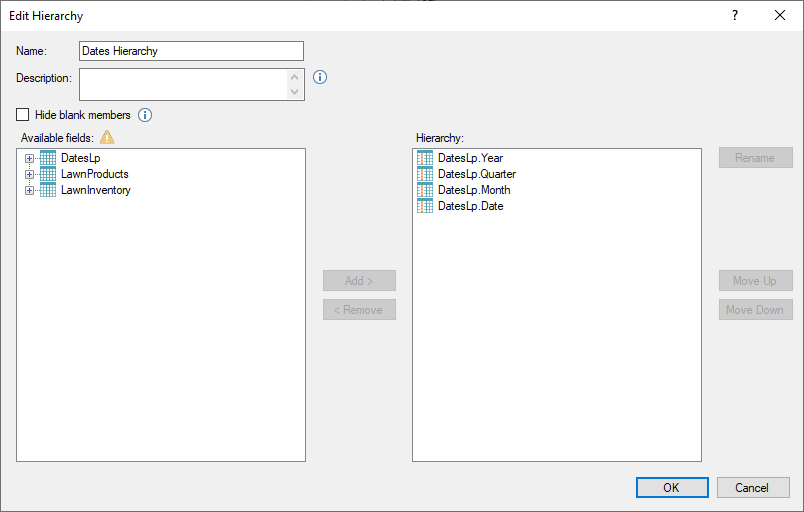
- Once your date fields are added, click OK to save the new hierarchy.
Set up a Fiscal year
- Create or edit a Date Table
- Change the setting to Staggered
- Choose a month to be the first month.
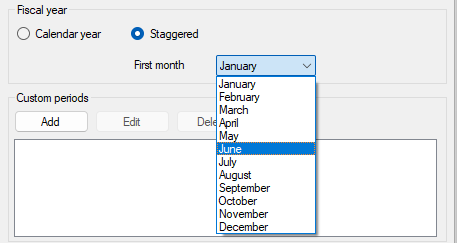
After setting this change, the table will now have the following fields set.

Updating a Date Table
Custom time periods can be added to account for special periods of time such as holidays or yearly sales campaigns. These custom periods can be comprised of one or more individual time periods and provide a quick and convenient way to account for these special periods of time.
Set up custom periods
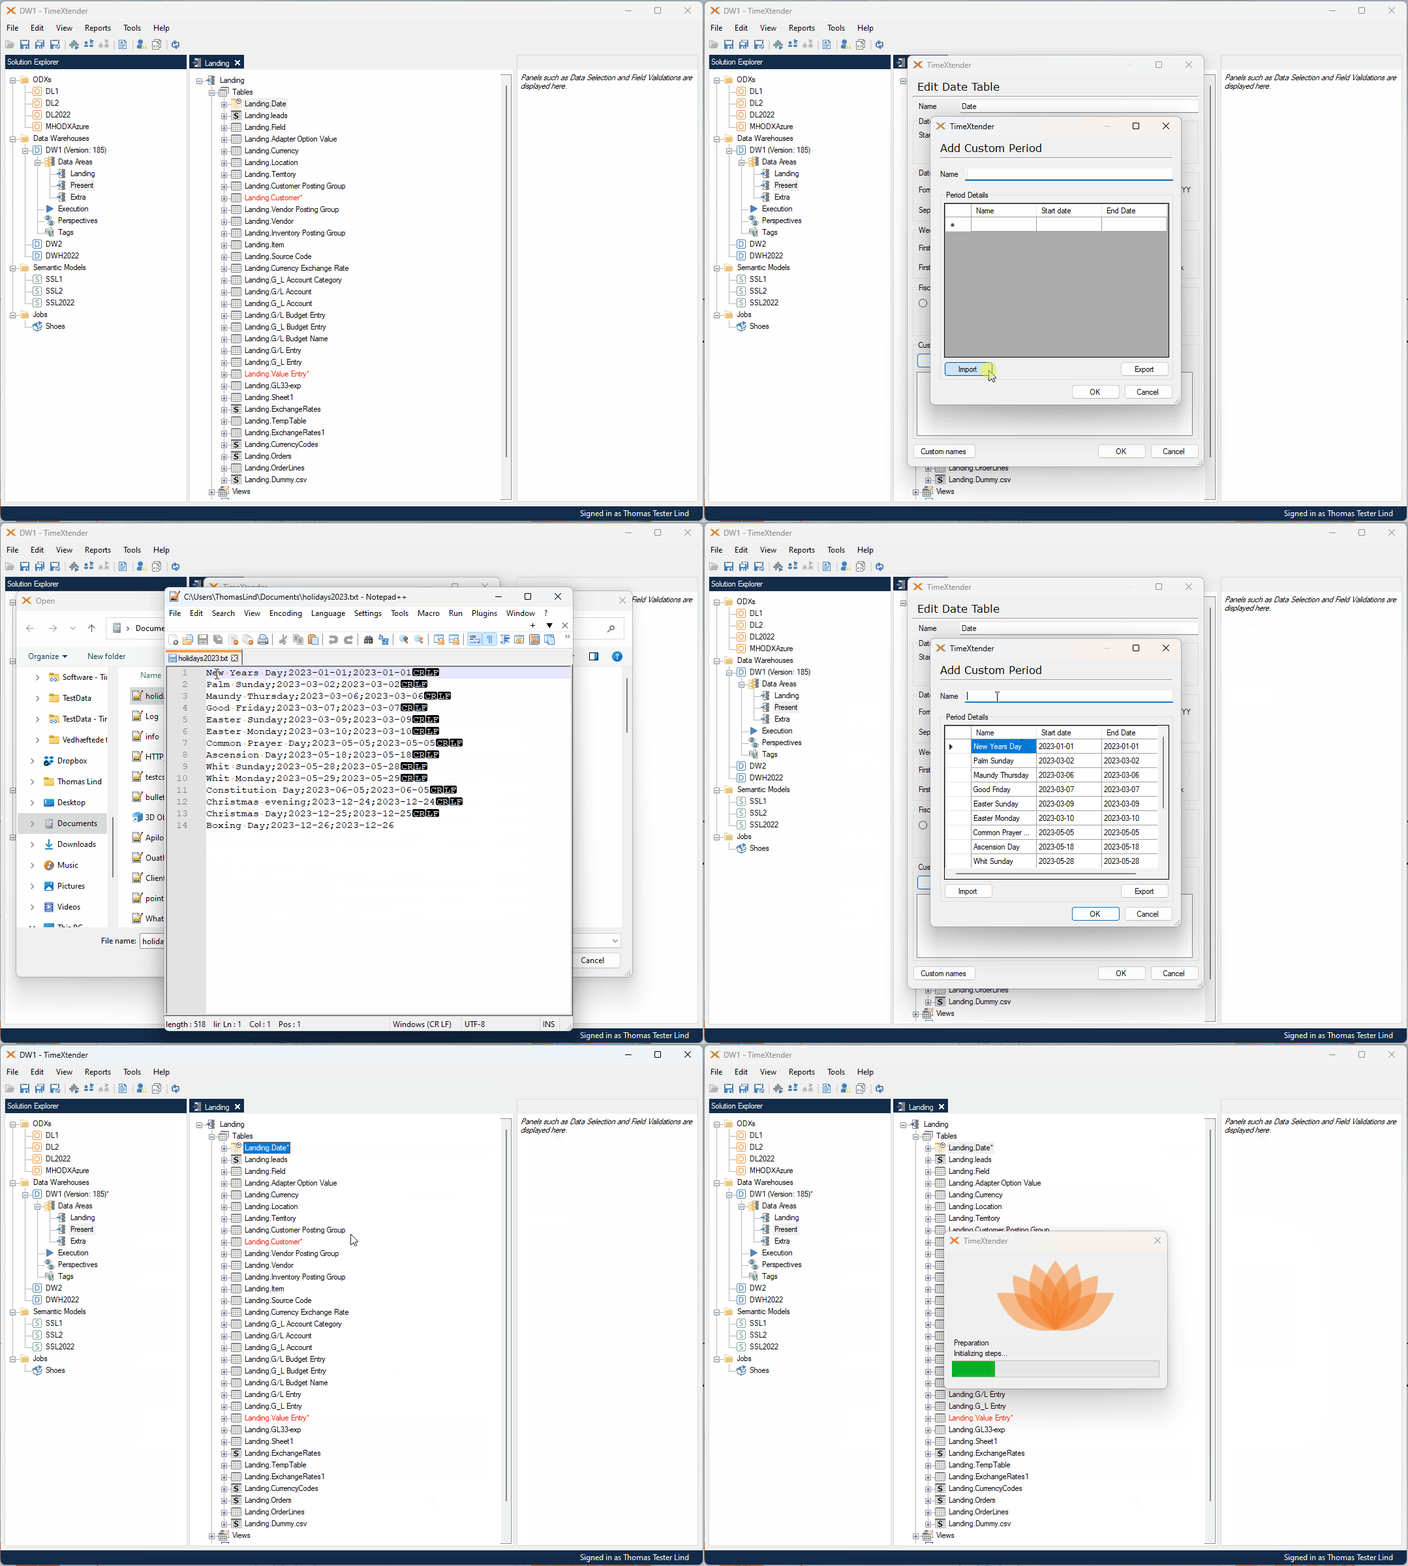
The following example shows creating an import file for the 2023 holidays using the required time period format of name;startdate;enddate.
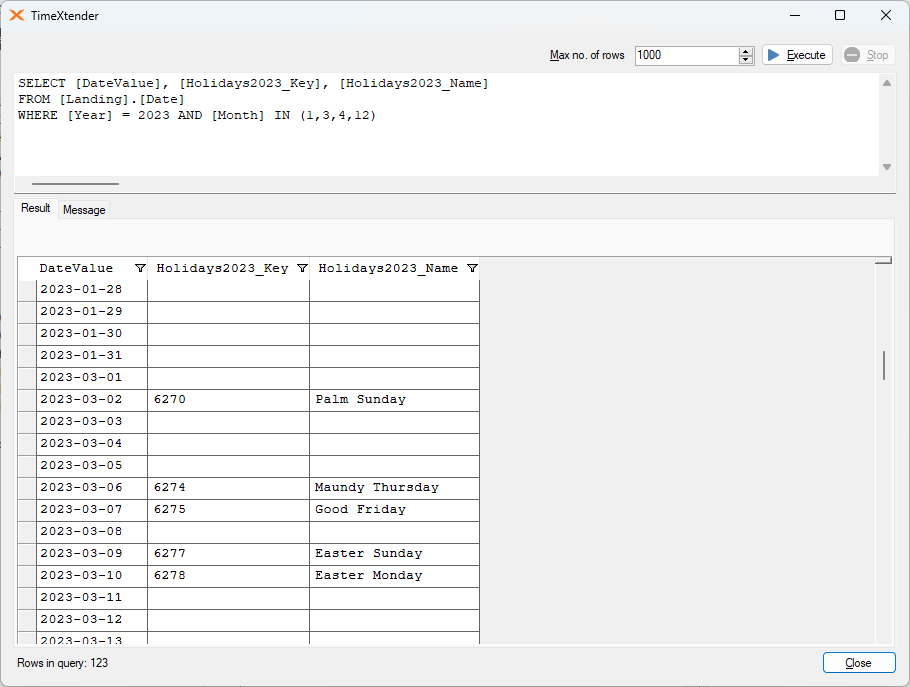
After the file is imported, the necessary fields will be created and appear as follows.
Set up custom names
- Create or edit a Date table
- Click on Custom names to open the Date Table Custom Names window, which by default appears as follows:
- Change the default names to a custom name to be used instead as is appropriate.
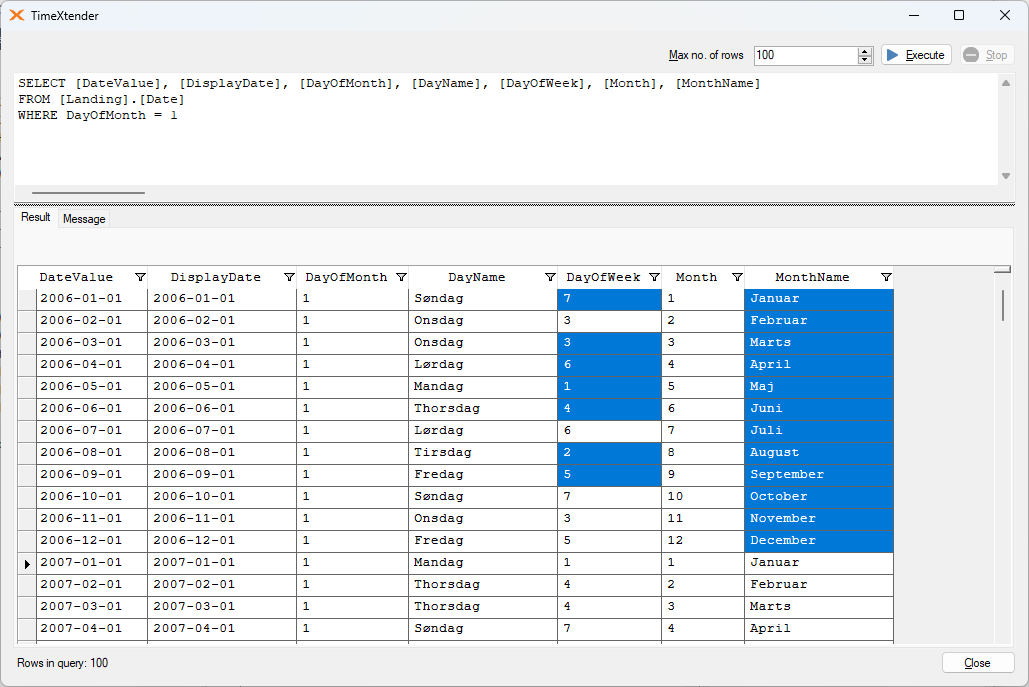
- Once the table has been deployed and executed, the output of the date values may appear as follows:
