
Released in TimeXtender Data Integration 6024.1
The mapping set feature allows you to merge (i.e. implement a UNION ALL SQL statement) for multiple tables across several data sources into one table. This can also be done manually by using multiple mappings. However the new mapping set feature, allows multiple mappings to be created using rules. This makes it quicker to add multiple mappings and if a table is added in the future that fits the mapping set rule, it can easily be added as an additional mapping through synchronization.
Prerequisites
In order to implement the mapping set, all tables that are to be merged must share some fields. There can be differences between the tables, but it will only be able to merge the fields with the exact names that exist in both tables.
How to setup and use a Mapping Set
For data sources such as Dynamics 365 Business Central (BC), it can be used to merge multiple tables related to different companies into one table.
In the below example, there are two BC data sources. One of the BC data sources has four companies and the other data source has two companies. So it amounts to 6 versions of the same tables.
- Drag one of the tables into a Data Area. Only select the fields that are shared with the other tables that you would like to merge to.
- Ensure that the table is not in simple mode (simple mode is denoted by an "S" icon on the table and can be enabled/disabled in Table Settings under the General tab).
- Right-click on the mappings and choosing Convert to Mapping Set.
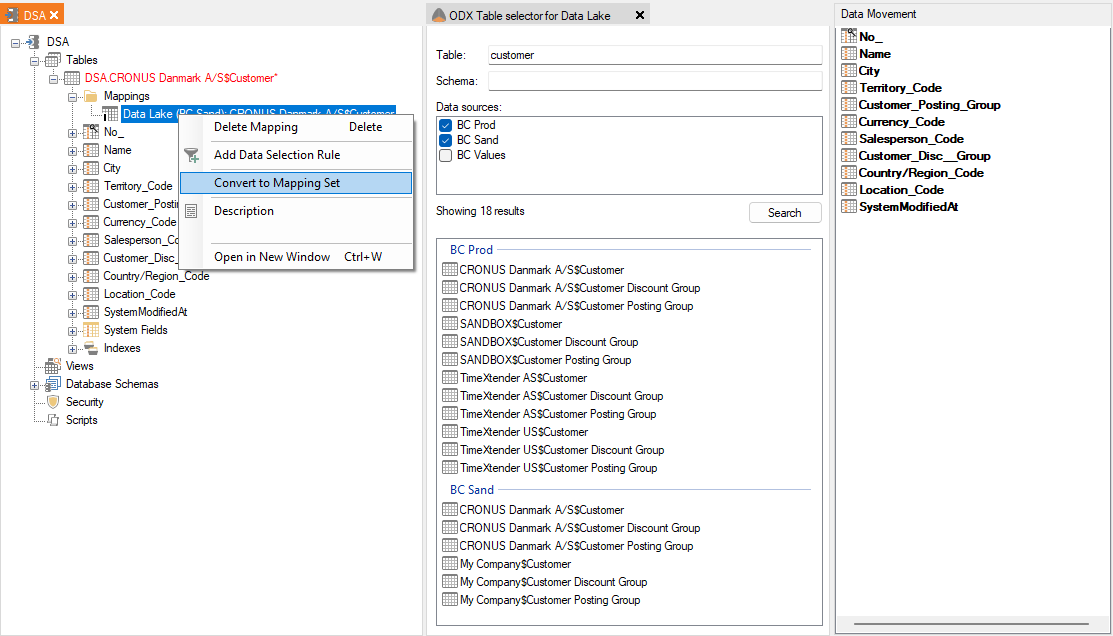
- Click on the existing rule and select Edit. We can now change the rule, so that it applies to all different versions of the table (i.e. in our case all 6 tables).
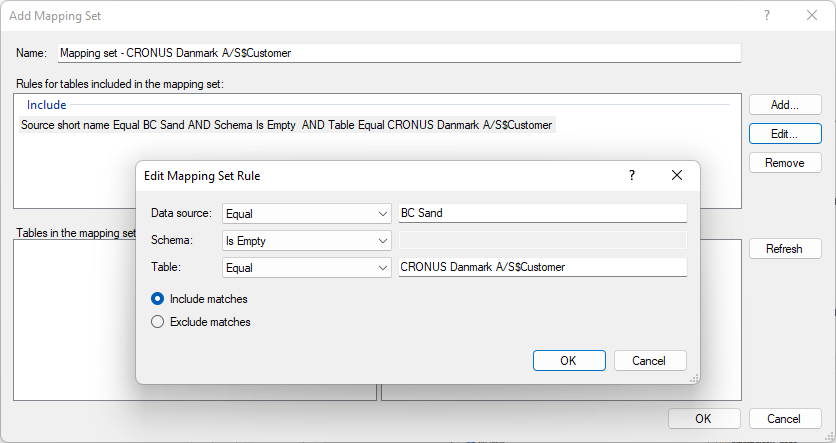
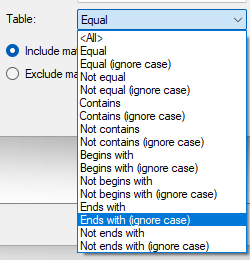
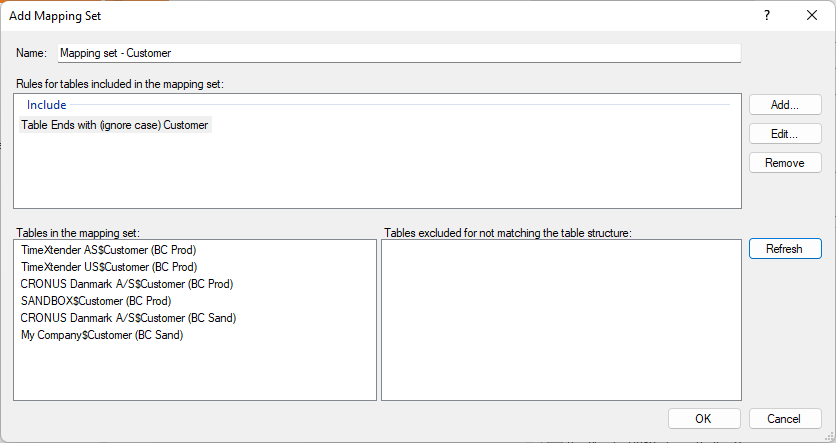
- In here you can filter based on Data Source, Schema and Table. The filter can be set to Include matches, or Exclude matches. There are several filtering options, as shown below, including Begins with and Ends with. In this example we will be using the Ends with (ignore case) filtering option, to ensure that we only include tables that end with the phrase "Customer".
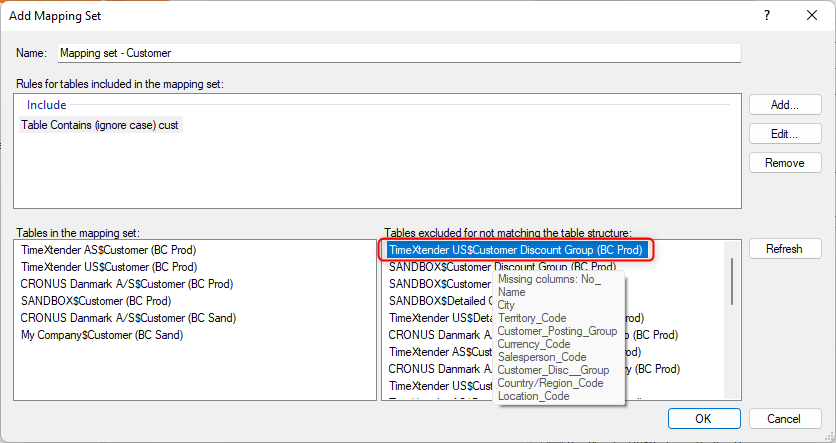
- Once the rule has been setup, we can select Refresh to see which tables the rule applies to. A list of tables affected by the rule is listed in the Tables in the mapping set area of the window. If the filtering rule is too vague, the rule might apply to tables that do not match the table structure (i.e. applies to tables that do not have the same fields). These tables will then be listed in the Tables excluded for not matching the table structure area of the window. It will also show what fields are missing if you hover above one of the tables.
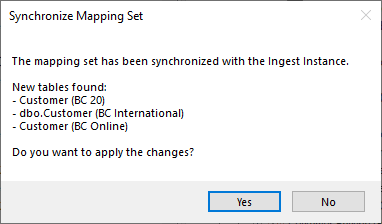
- Once you click OK it will attempt to synchronize the mapping set with the Ingest Instance and ask you to confirm whether to apply the changes. Click Yes to apply the changes.
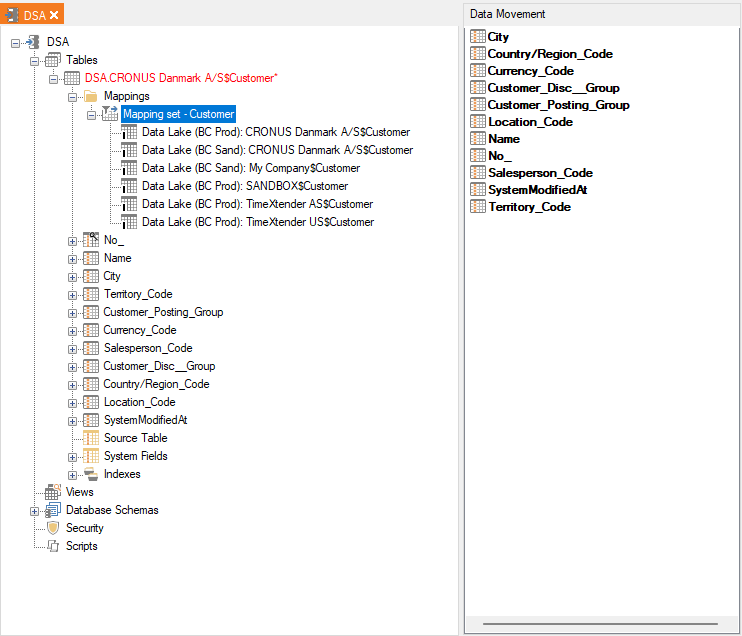
- Once the changes are applied, the mapping set will appear in the mappings folder for the table. By expanding the mapping set, we can see the names of the mapped tables, as well as the short name of their respective data source.
Source Table
A new field, called Source Table, has been added automatically to the table that the mapping set was applied. The Source Table field specifies the mapped table name for each row in the table.
It could be beneficial to set this field to become a Primary Key. Across tables, in the different mapped tables, the same existing primary key value could appear and you would experience primary key violations. For this specific data source type (D365BC), I have added a snippet that removes the table name so only the company name remains. A link to the ExtractCompany snippet I use is added to this. Once deployed and executed it will look like this. This setup will run with whatever settings each individual table has.

How to apply changes to a Mapping Set
Changes to mapping sets will not automatically be applied. The below section describes the steps that need to be taken if there are changes in the source, for example, a new data source is added or a table is removed.
Tables are removed or added
For the two D365BC sources used, 3 companies are removed across both sources with 3 tables remaining. It could be any sort of change in a data source with the same table names and fields. Before the change is able to be synchronized, the synchronize tasks and incremental transfer tasks needs to be have been executed in the Ingest Instance.
In order to synchronize the mapping set we need to:
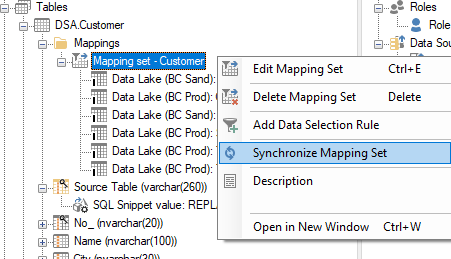
- Right-click on the mappings set, and select Synchronize Mapping Set.
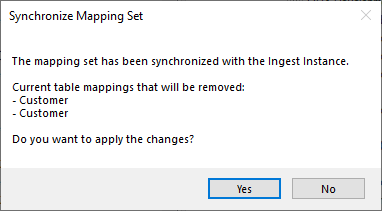
- The detected changes are shown. Select Yes to apply the changes.
- If tables were added it would show the same, except mentioning that it has located new tables.
- You need to deploy the table to apply the changes.
Changes to Data Sources in the Ingest Instance
If there are changes to data sources in the Ingest, for example, incremental load rules are added or there are changes to data types. For changes in data types it is allowed for mapped tables, but the one that was originally set will win. This means that if an integer is changed to a char in one of the tables it will give
- The synchronization task for the data source in the Ingest needs to have been executed to apply the change.
- Right-click on the Ingest instance, and select Synchronize Objects
-
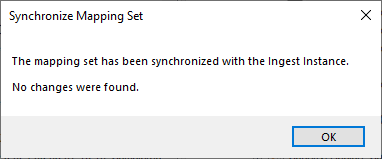
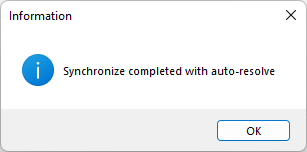
The following message will appear, which confirms that the synchronization is completed. The affected table mappings in the mapping set will now have incremental loading enabled or the data type changes will be applied.
- Deploy the table to apply the changes
- If it is that one of the sources has a field with a data type change you need to run this Synchronize Ingest option.

- If there are changes, you will get the following message.
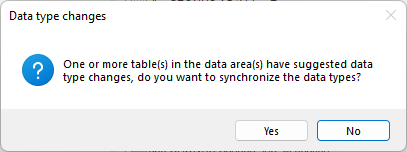
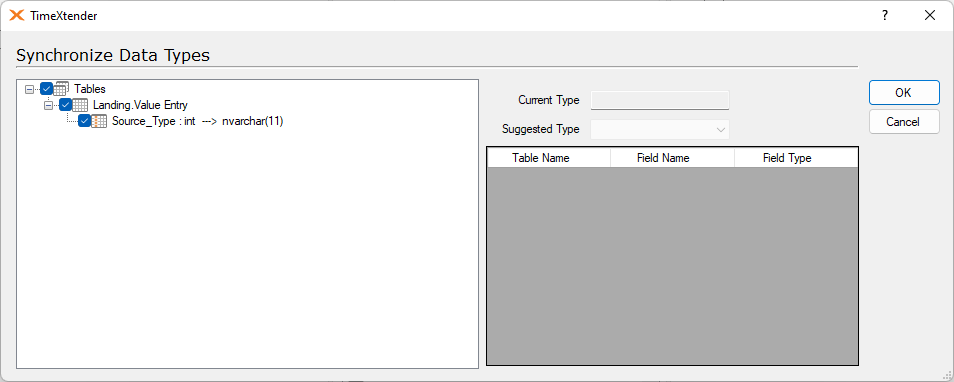
- Clicking Yes will show you what field has changed and what the type is.
What to do if columns are removed, changed or added
If columns were removed from one or more mapped tables, then follow the below steps.
- Right-click on the Ingest instance, and select Synchronize Objects
- Right-click on the mappings set, and select Synchronize Mapping Set.
- It will then ask you to confirm if you would like to remove the tables that are now missing fields. Select Yes if you would like to remove the mapped tables as a result of the missing fields.

- Select No if you would like to avoid removing the mapped tables. To avoid this you will need to work out what field it is that now is not present in all versions of the mapped table. Once it is found remove or reapply the missing field(s) from the table with the mapping set, and select Synchronize Mapping Set.