In this article, you will learn to create an app in Azure, connect it to your Synapse Workspace and then load it in TimeXtender Orchestration.
In the Azure Portal, we need to create an App registration which we will use to access our Synapse Workspace. This is done under the Azure Portal -> Azure Active Directory -> App Registration
-
Go to the Azure Portal
-
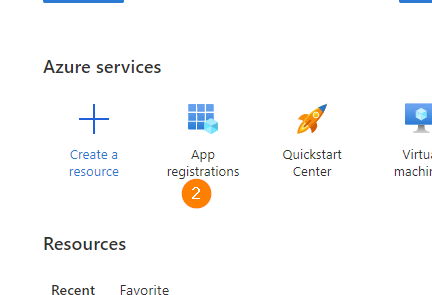
Open App Registrations
-
Select New Registrations
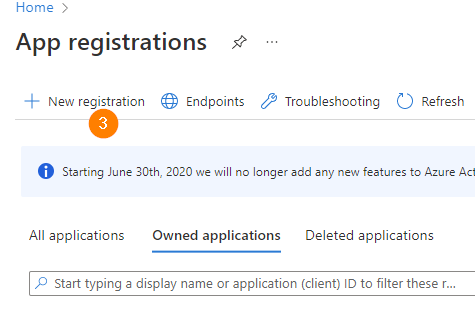
- Name your app Azure_Demo and click Register
- The next window presents some key information that TimeXtender Orchestration will use to authenticate our later execution
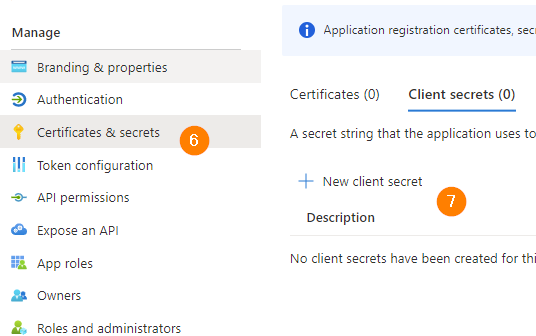
- In the left panel, click Certificates & Secrets
- Then select New Client Secret
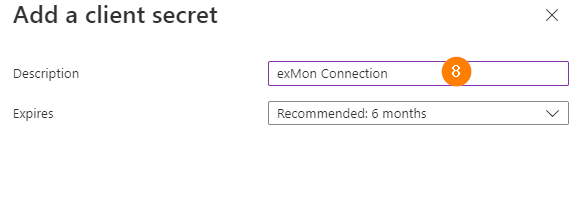
- Add the description TimeXtender Connection and click Add at the bottom of the window
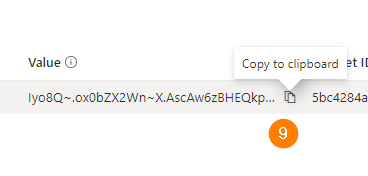
- Copy the secret value by clicking the Copy to Clipboard button
Add app to Synapse Workspace
- Next navigate to Azure Synapse Analytics, in Azure
- Then move to Access Control(IAM) > Role Assignments and select the Add button
- Make your new App registration a Contributor to your Synapse Workspace
Add app to TimeXtender Orchestration
- Next, open up TimeXtender Orchestration and Data Quality Desktop client
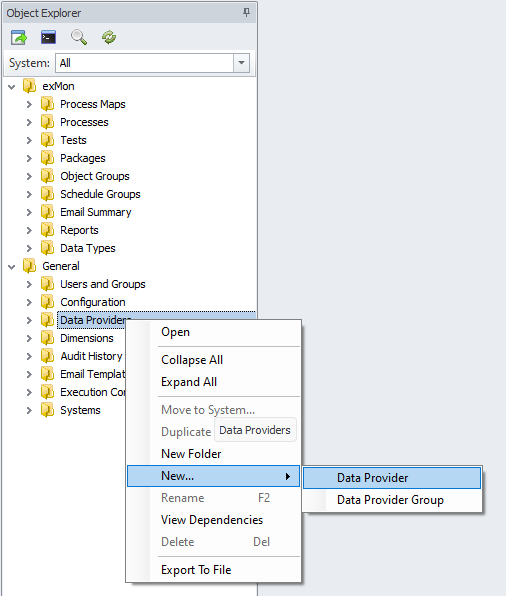
- Right-click Data Providers, select New > Data Provider
- Select a name for your Data Provider
- Fill in a Description for your Data Provider
- Select the Systems in which your Data Provider should run
- Under Datasource Type, select Azure Synapse Connection
- Fill in the Tenant-Id, App-Id and the Client Secret
- Click Save
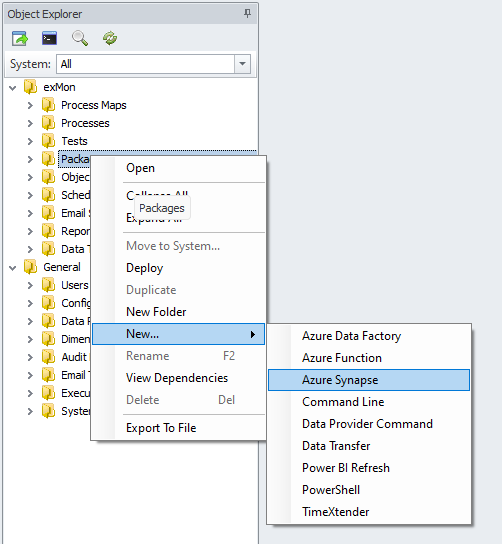
- Right-click packages, select New > Azure Synapse
- Select a name for the Azure Synapse package
- Select the recently created Data Provider, which should fill in the Subscription Name, Resource Group Name and Synapse Package Name dropdowns
- Choose the desired Subscription Name, Resource Group Name and Synapse Package Name, which should fill in the Pipeline Name dropdown
- Choose the pipeline to run
- Click Save
- Finally, run the Azure Synapse Package


