Configuring Your Gateway to Data: A Guide to Setting Up Data Providers
Creating a data provider in Turnkey is simple. First, connect your preferred data source—like a Microsoft SQL database or Data Enrichment. Then, choose the workspaces where you want the data provider available. Finally, enter connection details, set properties, and test your connection. It's that easy.
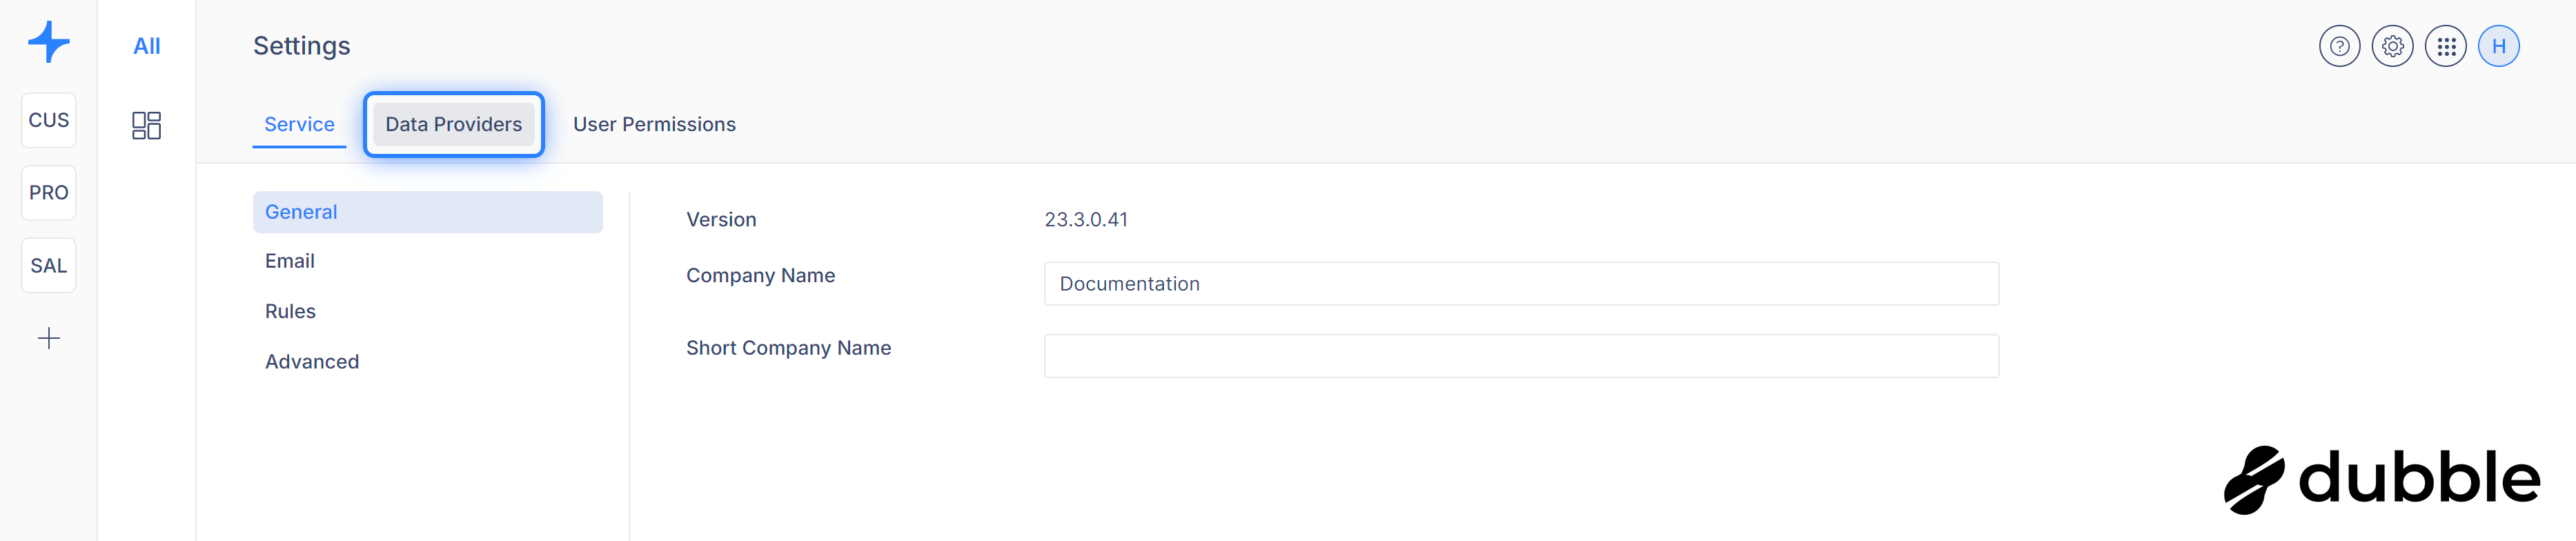
Accessing Data Provider Settings
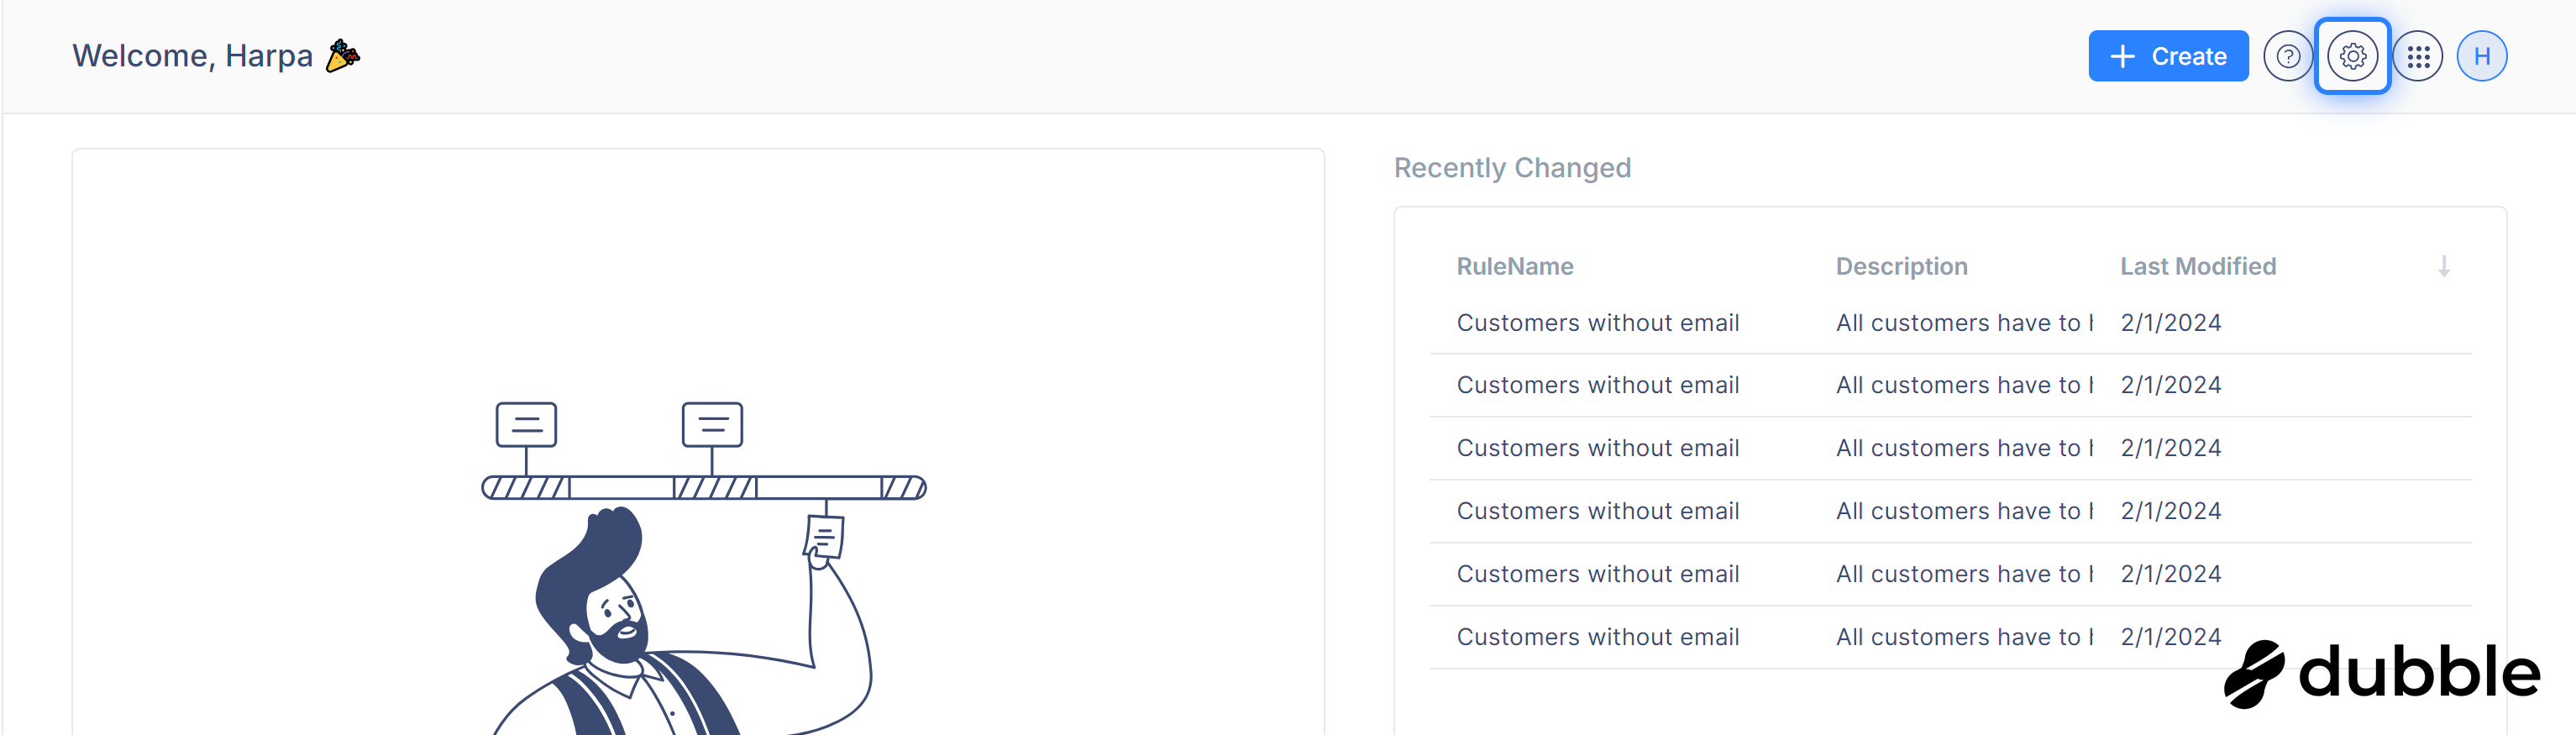
- Navigate to Settings: Sign into your Turnkey account and select the settings icon located in the top right corner of your dashboard.
- Select Data Providers: In the settings menu, click on the "Data Providers" tab to either manage existing data providers or initiate the creation of a new one.
Creating a New Data Provider
-
Initiate Creation: Click on the "Create" dropdown and choose either "Microsoft SQL" for a SQL database connection or "Data Enrichment" if you're connecting via MDM.

-
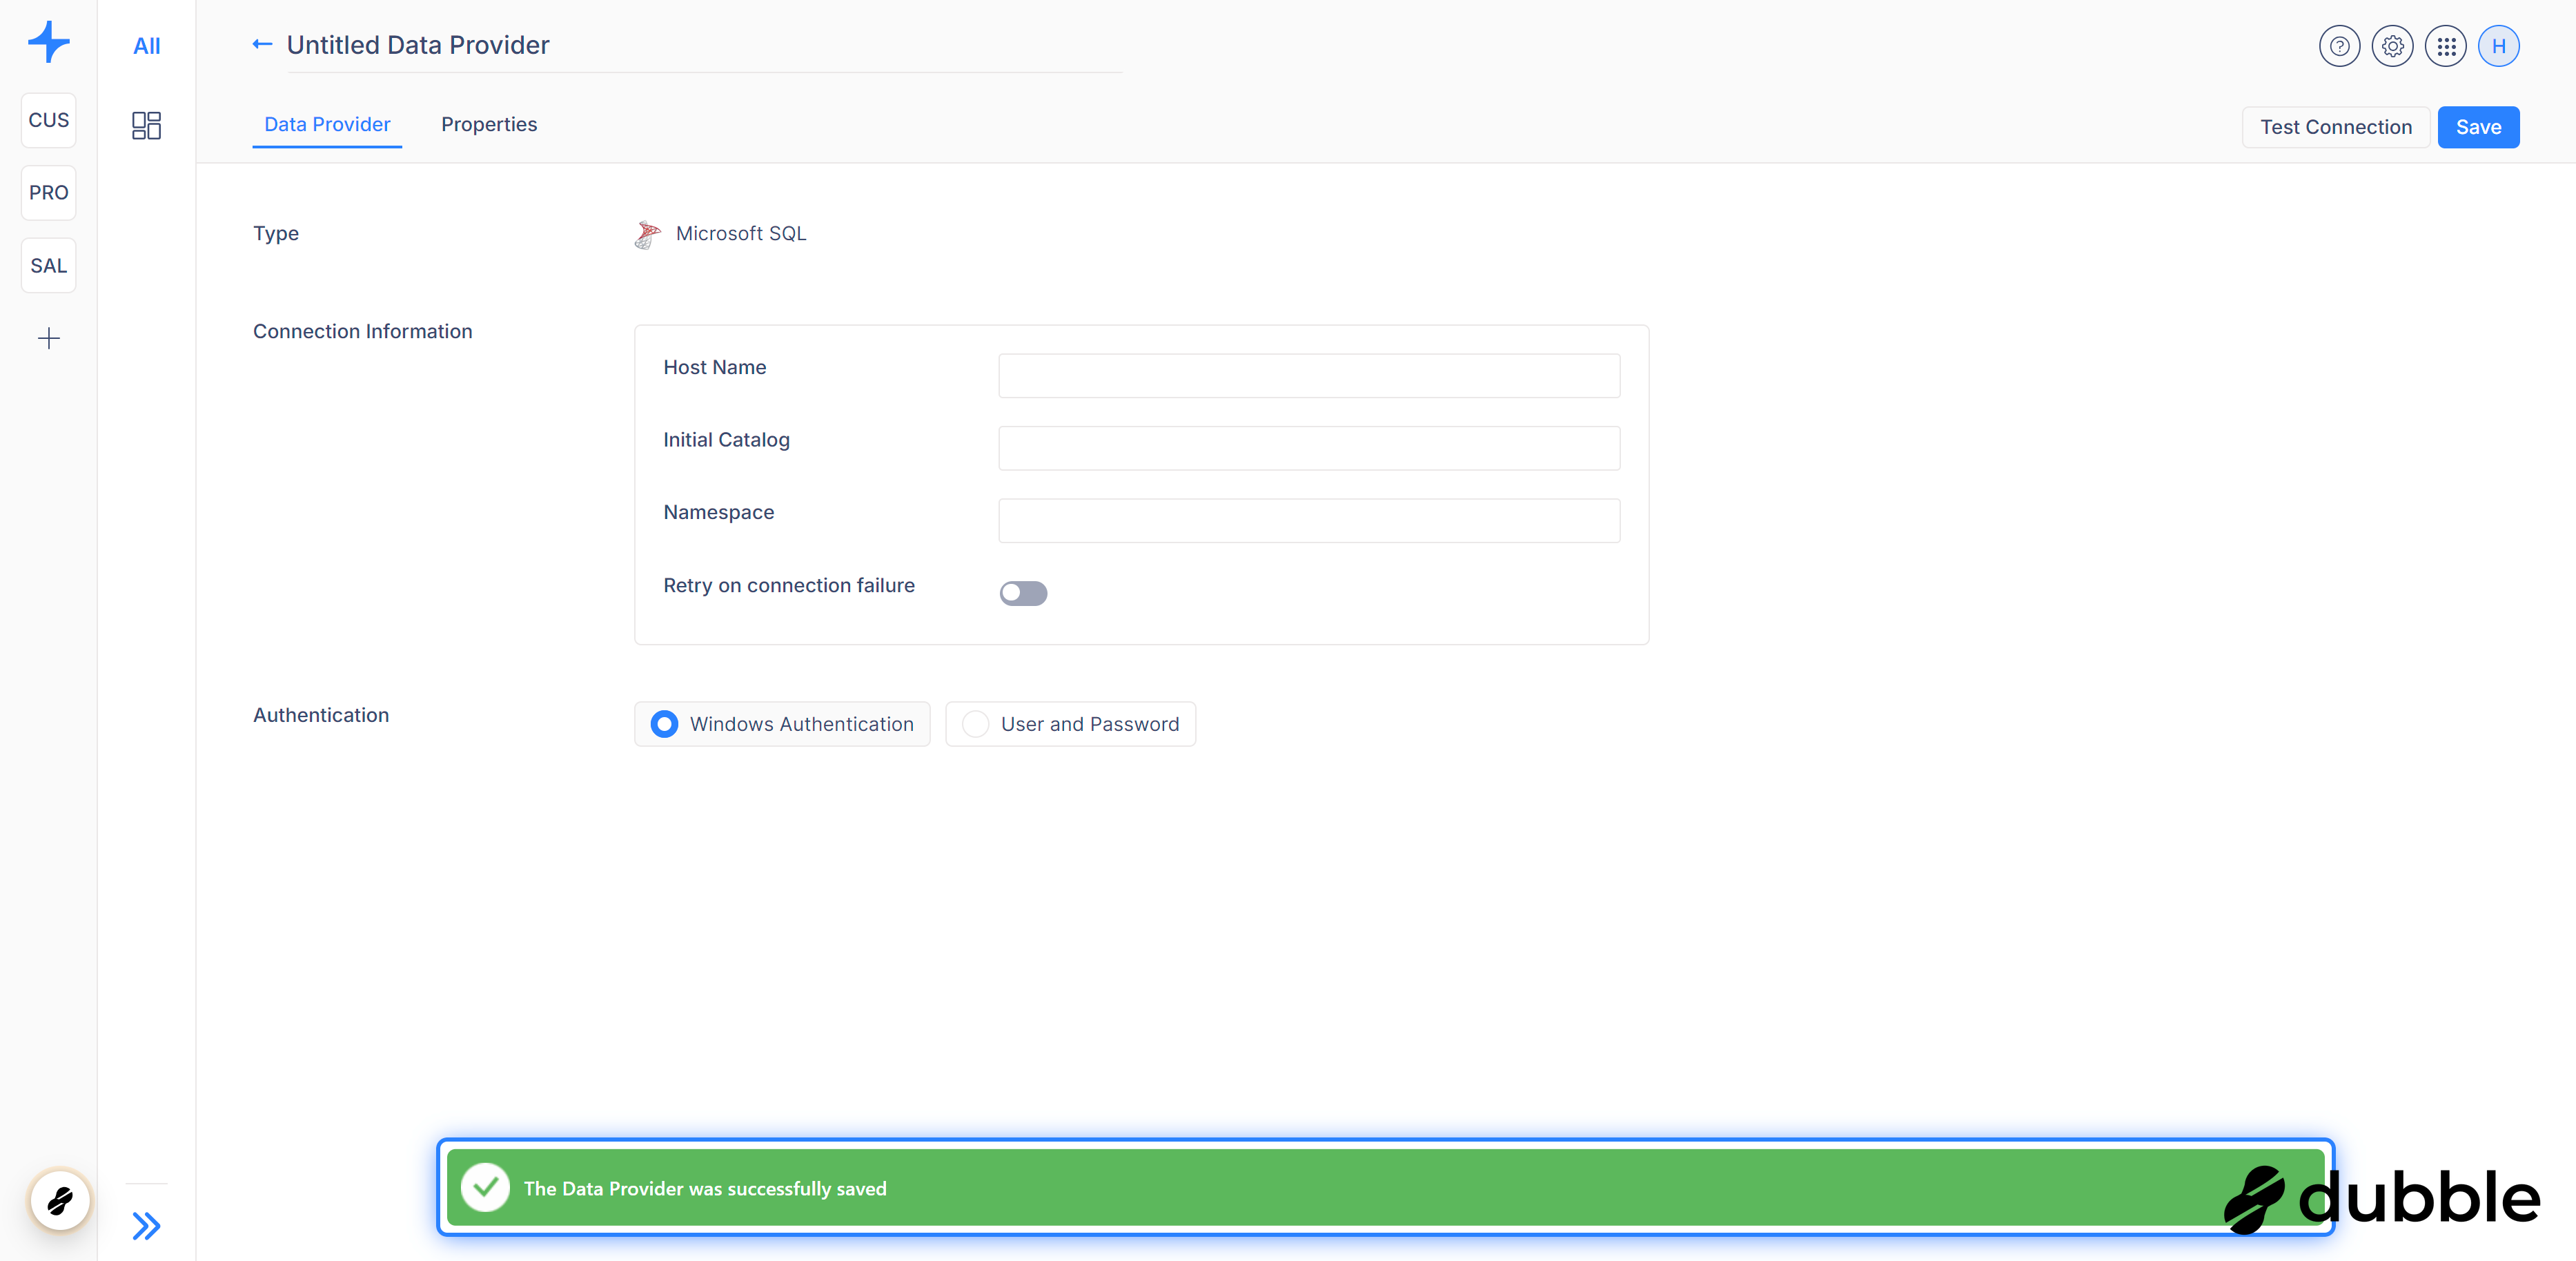
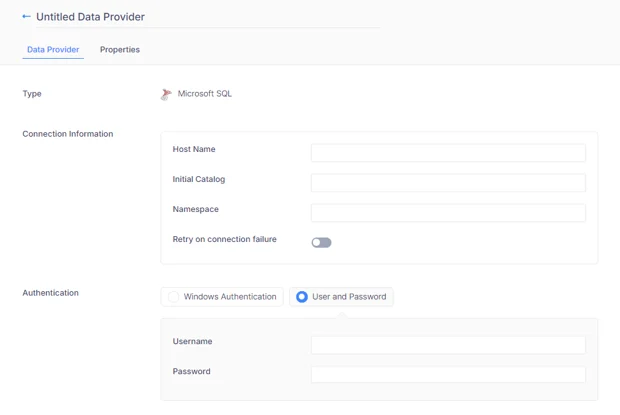
Enter Connection Details in the Data Provider Tab:
This section helps you set up your data provider by adding connection details. Depending on whether you're connecting to a Microsoft SQL database or an TimeXtender MDM service, you'll need to fill in different fields.
-
Microsoft SQL Connection Details
For Microsoft SQL, please enter the following details into the designated fields: - Host Name (String): The address of the SQL server you wish to connect to.
- Initial Catalog (String): The name of the database on your SQL server that you want to use.
- Namespace (String): An optional field to specify the namespace within your database, if applicable.
- Retry on Connection Failure (Bool): A checkbox that, when selected, enables the system to automatically retry the connection if the first attempt fails.
-
-
Authentication You have two options for authentication:
- Windows Authentication: Select this option if you prefer to use your Windows credentials for authentication. No additional information is required.
- Username and Password:
- Username (String): Enter the username for the SQL user of the database.
- Password (String): Enter the password associated with the SQL user
-
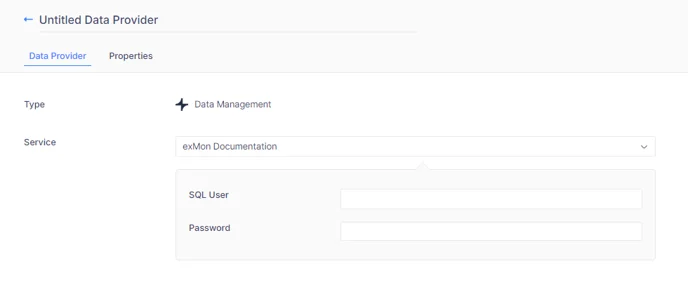
TimeXtender Data Enrichment Connection Details
For connecting via Data Enrichment, the fields adjust slightly to accommodate the specificities of TimeXtender Data Enrichment services:
- Service: A dropdown menu listing all available services that the user has in Data Enrichment. Select the service you wish to connect to.
Once a service is selected, additional fields become visible for authentication:
- Username (String) and Password (String): These fields are for entering the SQL user credentials that are associated with the selected MDM service. This SQL user should be linked to the database connected to your MDM service.
-
Configure Properties in the Properties Tab:
Switch to the "Properties" tab to provide a detailed description for the data provider and specify which workspaces should have access to it. This is where you can fine-tune access control, choosing to make the data provider available in all workspaces or restrict it to selected ones.
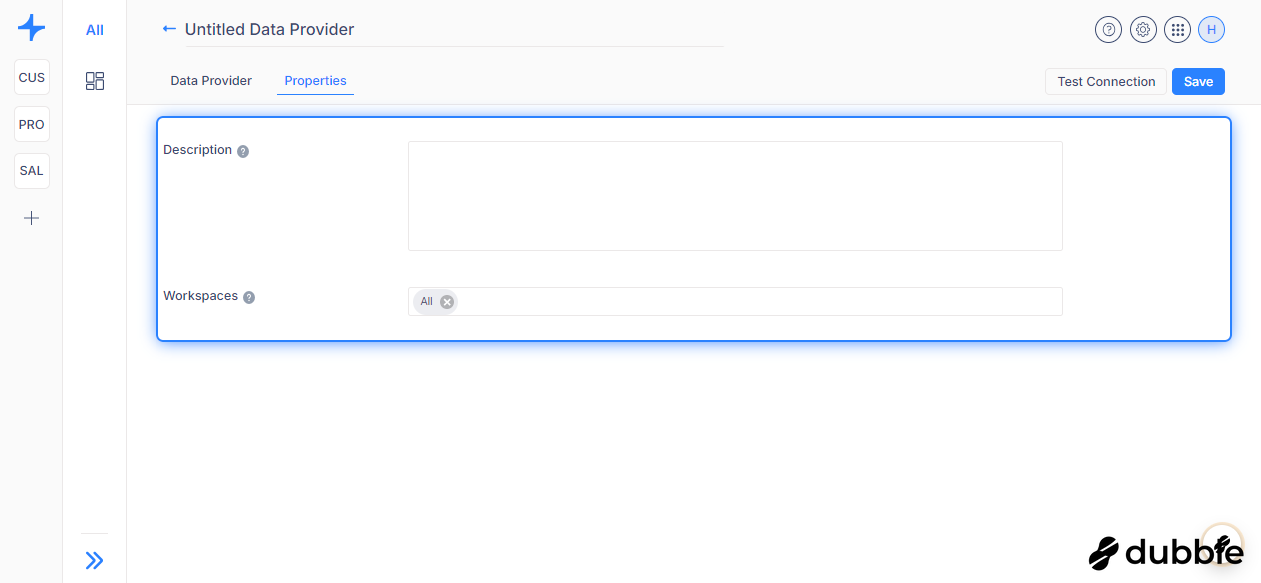
Testing the Connection
Next to the "Save" button, you'll find the "Test Connection" button. Click this to verify the connection to your database.

Finalizing Your Data Provider
Now you're ready to hit the "Save" button, located in the top right corner of the page. With your data provider now configured and tested, you can begin utilizing it for creating datasets and leveraging the analytical capabilities of Turnkey.