

Add tasks to a schedule
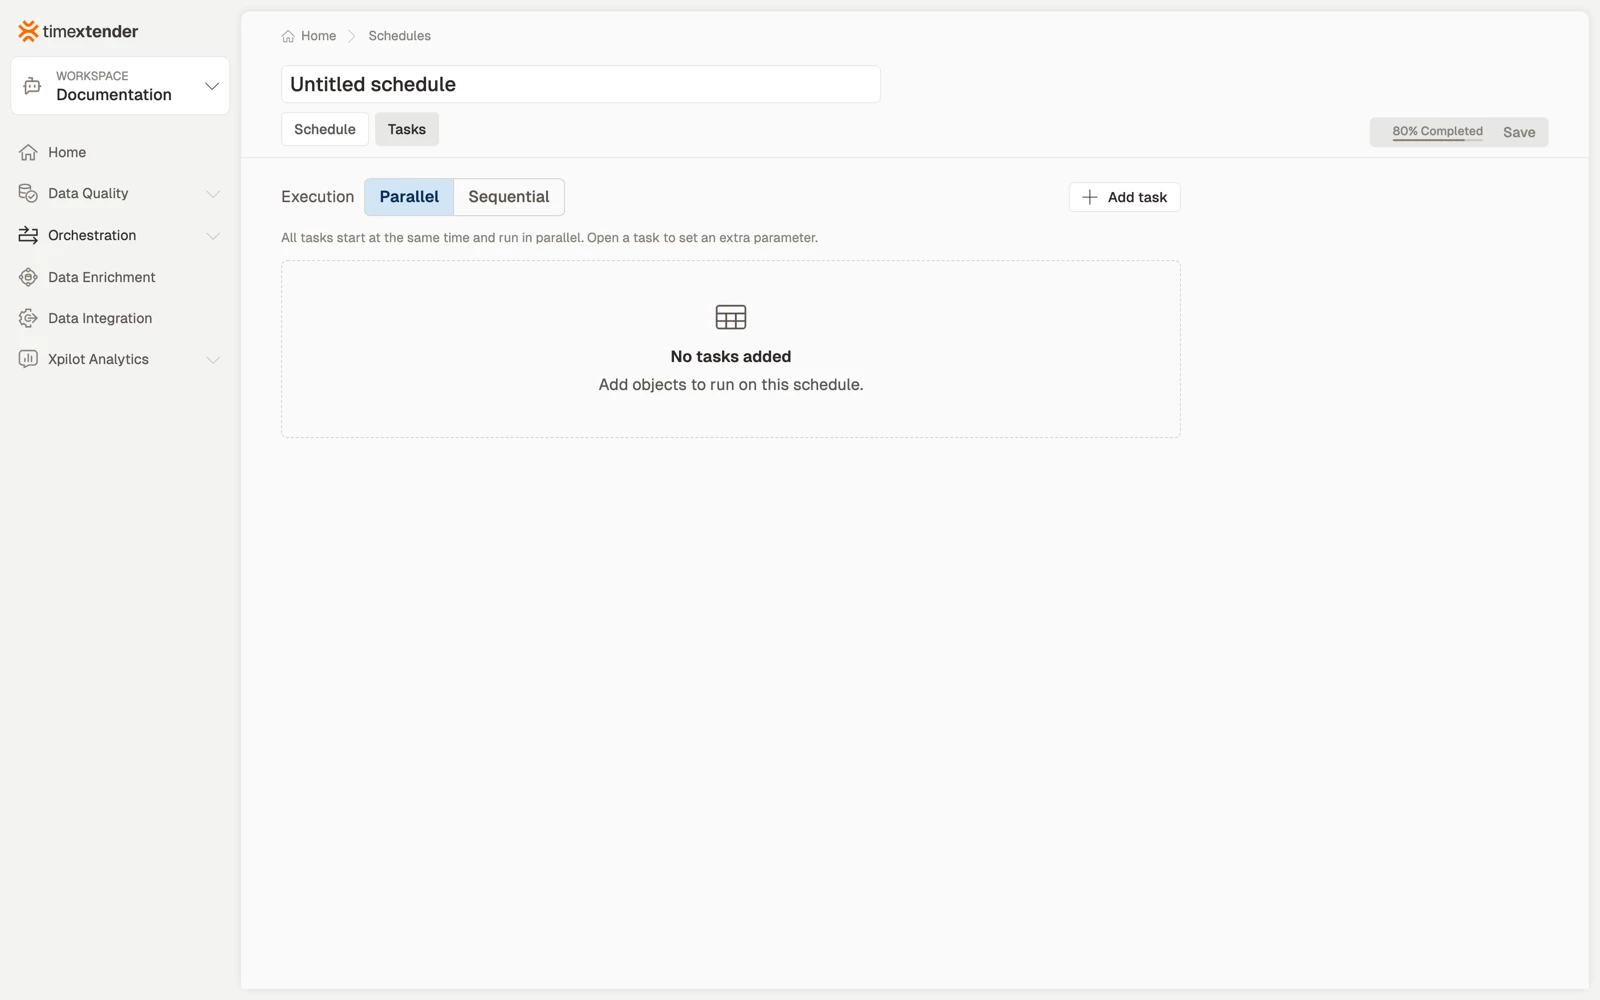
The Schedule tab decides when a schedule runs. The Tasks tab decides what it runs, and is where the work is attached to the schedule.
Add a task
- Go to the Tasks tab of the schedule.
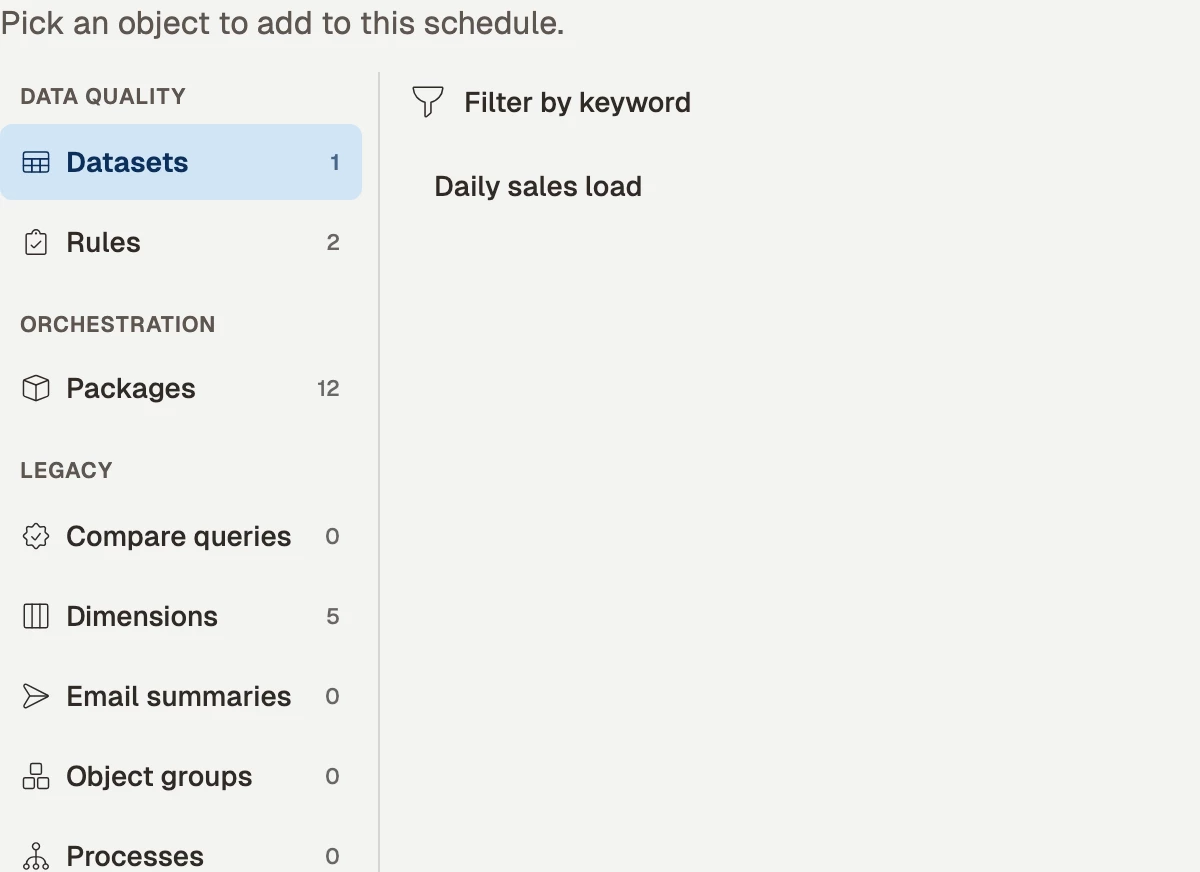
- Select Add task. A picker opens with a category rail down the left side.
- Select a category, or enter text in the search box to filter the list.
- Select an item to add it. The item is added immediately and is removed from the list, so you can keep adding without reopening the picker.
- Close the picker when you are done.
- Select Save.
The three groups
| Group | Categories |
|---|---|
| Data Quality | Datasets, Rules |
| Orchestration | Packages |
| Legacy | Compare queries, Dimensions, Email summaries, Object groups, Processes, Queries, Reports, Test groups |
Each category shows how many objects are still available to add. A count of 0 means either the workspace has none of that kind, or every one of them is already on this schedule.
About the Legacy group. Those eight categories are references to objects that live in ODQ Desktop, which is why they are grouped together.
Queries and Object groups list only what you created in ODQ Desktop. The ones the platform generates for you from a rule or a dataset are left out, because the rule or dataset itself is what you add to a schedule instead. In a workspace where all of them came from rules and datasets, both categories show 0.
If the picker has nothing to offer, it says:
No objects are available to add. You may not have access to them, or they may already be on this schedule.
The picker lists only the objects your permissions allow you to see, so missing access is one reason a category can appear empty.
Parallel or sequential
The toggle in the tab header sets how the whole schedule runs. Parallel is the default.
- Parallel: every task starts at once.
- Sequential: one task at a time, in the order listed.
This is a setting for the whole schedule, not per task.
To change the order, drag a task row to a new position. In Sequential mode each row shows its position: 1, 2, 3. In Parallel mode the order has no effect on the run, so rows show a parallel marker instead of a number.
Per-task options
- Extra parameter: expand a row with the chevron and enter a value. A Parameter badge appears on the row once one is set. It is a single text value, not a set of key/value pairs, and it is limited to 1000 characters.
- The definition link icon opens that dataset, rule or package in its own editor, in a new browser tab, so your unsaved schedule edits are kept.
- The X takes a task off the schedule. It does not delete the dataset, rule or package itself.
What saving does
Adding, removing and reordering all take effect when you save the schedule with the list arranged the way you want.
If you reference a task that does not exist in the workspace, or add the same task twice, the save is rejected with a message rather than running the wrong thing.
Where run history lives
A schedule's execution history is on the Executions page in the navigation.
Related articles
- Set the frequency and timing of a schedule
- Understanding the Schedules list
- Packages in TimeXtender Data Platform
