

Set the frequency and timing of a schedule
A schedule decides when work runs. This article covers the Schedule tab, where you pick the frequency and set the timing. Choosing what runs is done on the Tasks tab.
To start, go to Orchestration > Schedules, select Create, and enter a name for the schedule in the header.
Three fields that apply to every frequency
- Enabled: a schedule that is turned off keeps its configuration and fires nothing.
- Execute environment: Production, Testing or Development. This decides which environment's version of each task runs.
- Summary: a live, plain-language description of what you have configured, in the same wording the Schedules list shows.
Your instance's timezone is shown at the top of the tab, as "All times are shown in UTC+00:00 UTC, the instance timezone." Times are entered and displayed in that timezone, and the correct UTC value is stored behind the scenes, so a schedule fires at the moment you intended regardless of where the server is.
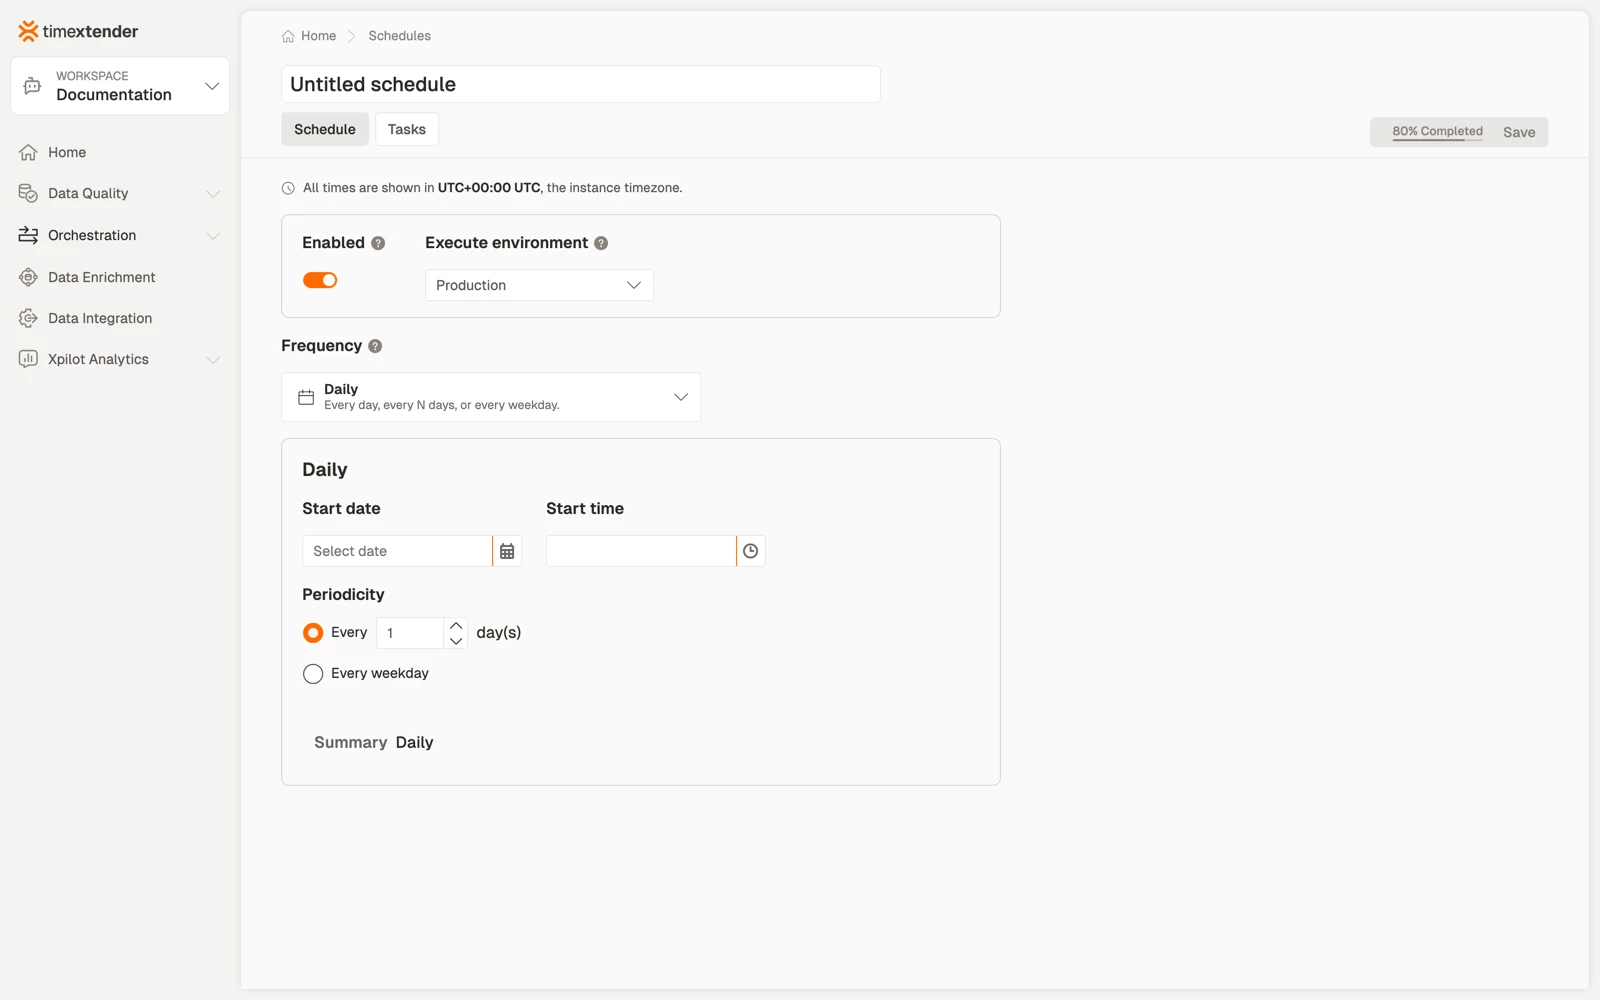
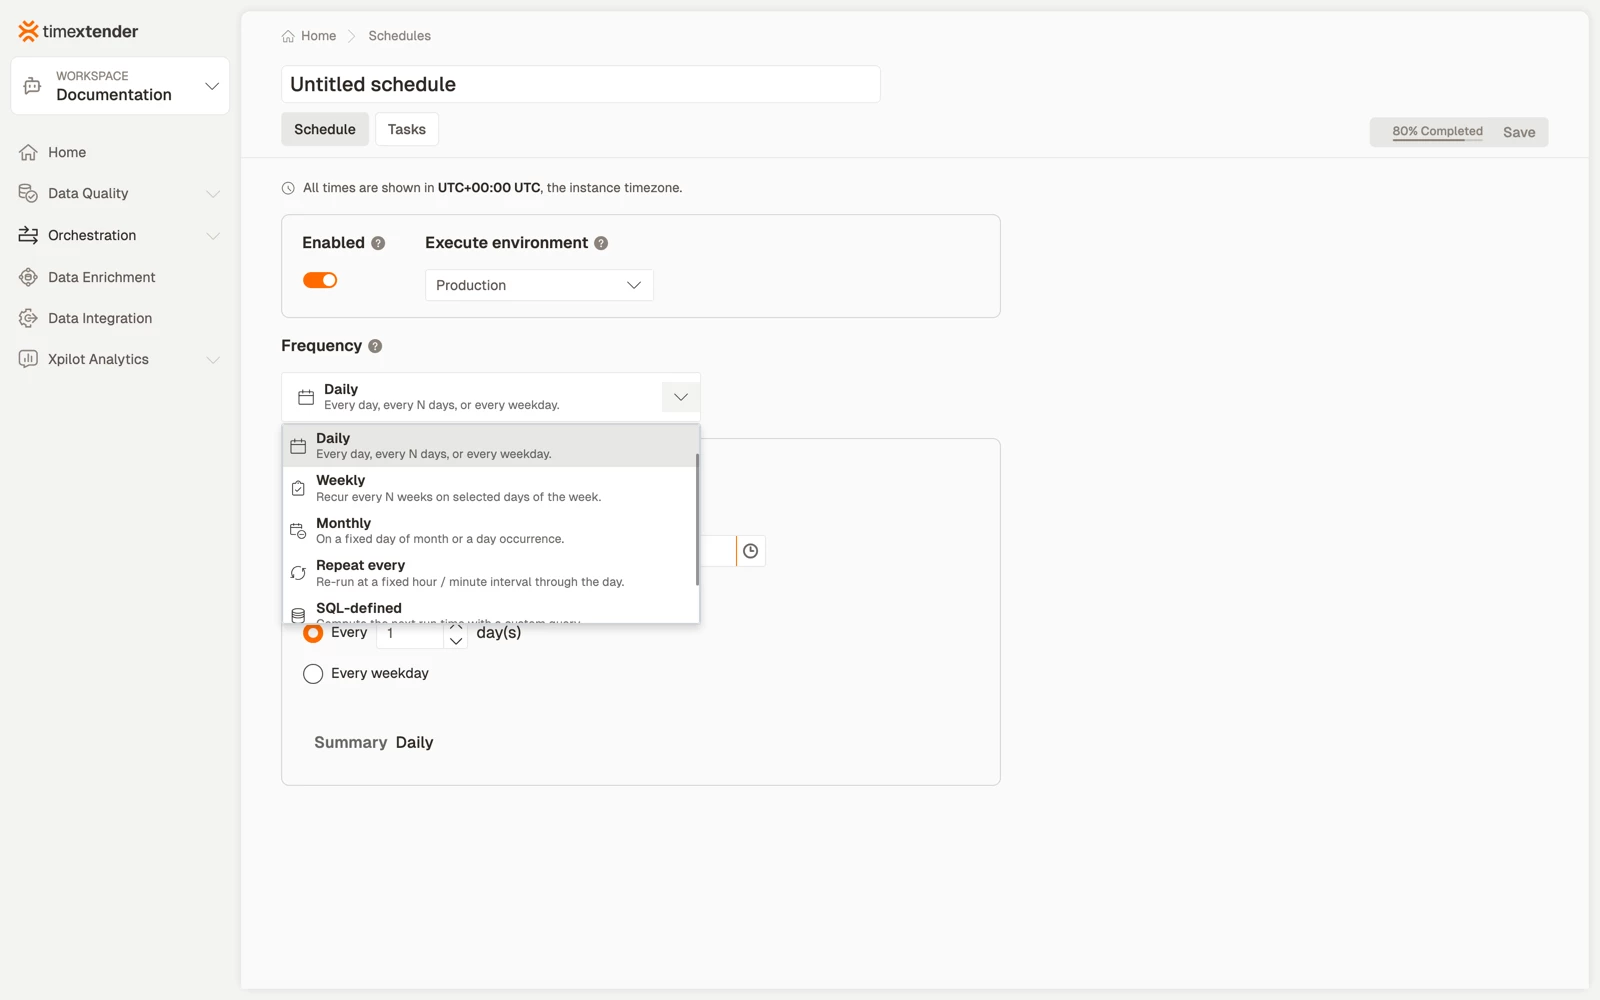
The seven frequencies
In the order the list shows them, with the product's own descriptions:
| Frequency | Description in the list |
|---|---|
| One-time | Run once at a specific date and time, then disable the schedule. |
| Daily | Every day, every N days, or every weekday. |
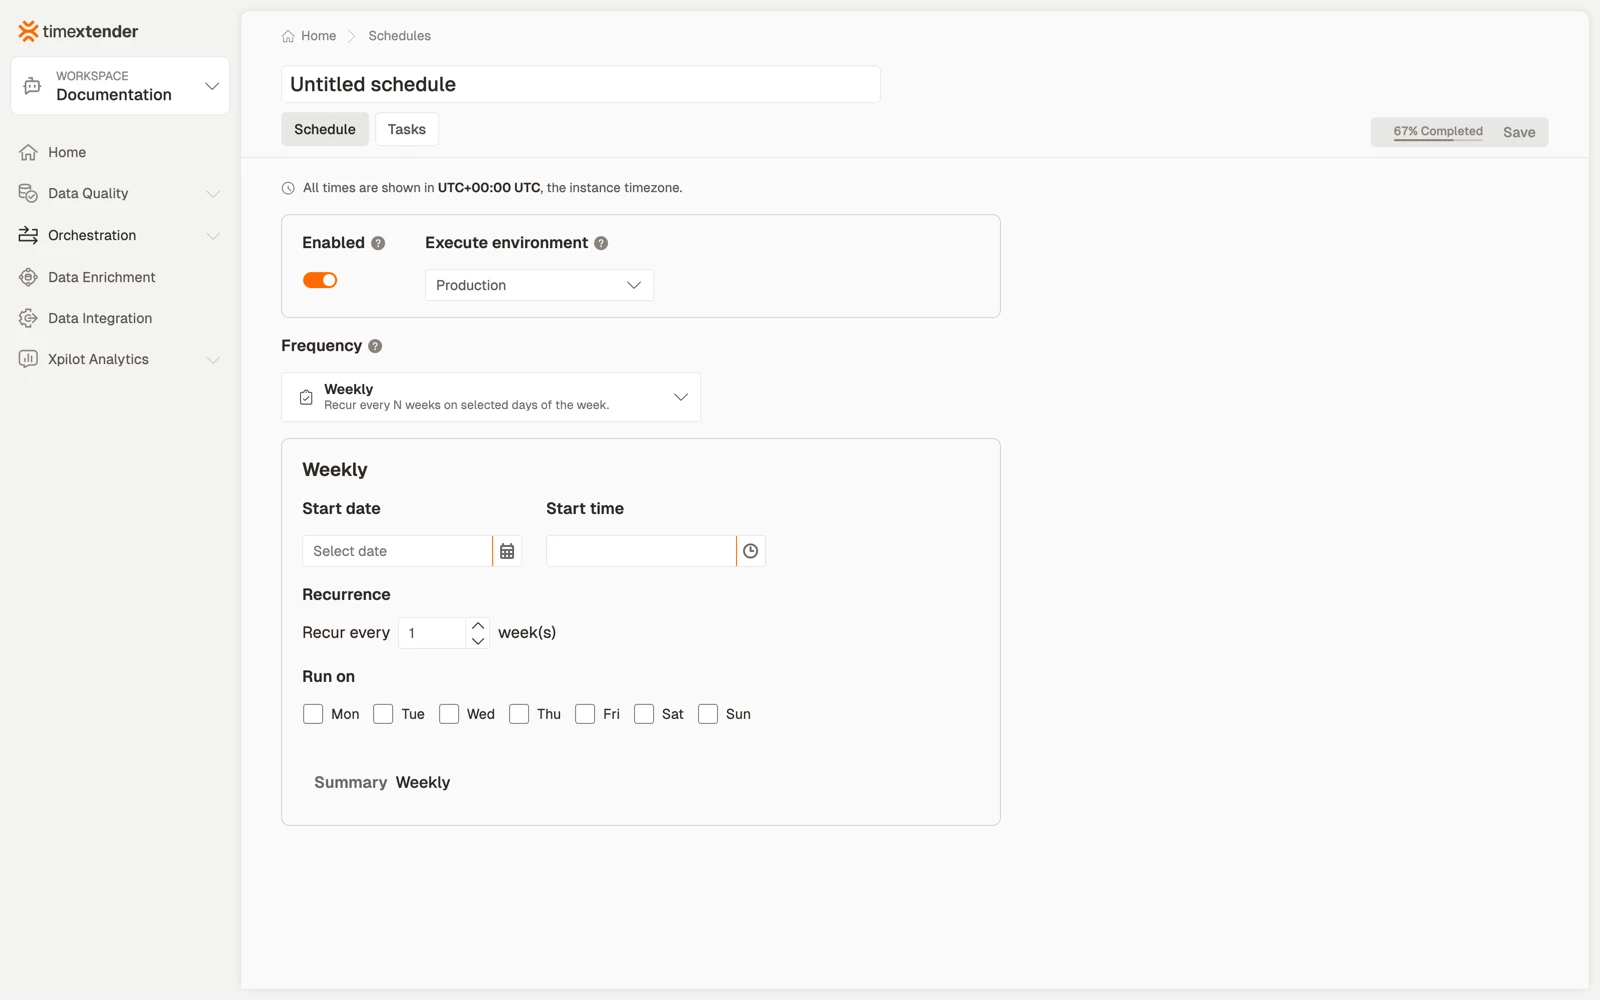
| Weekly | Recur every N weeks on selected days of the week. |
| Monthly | On a fixed day of month or a day occurrence. |
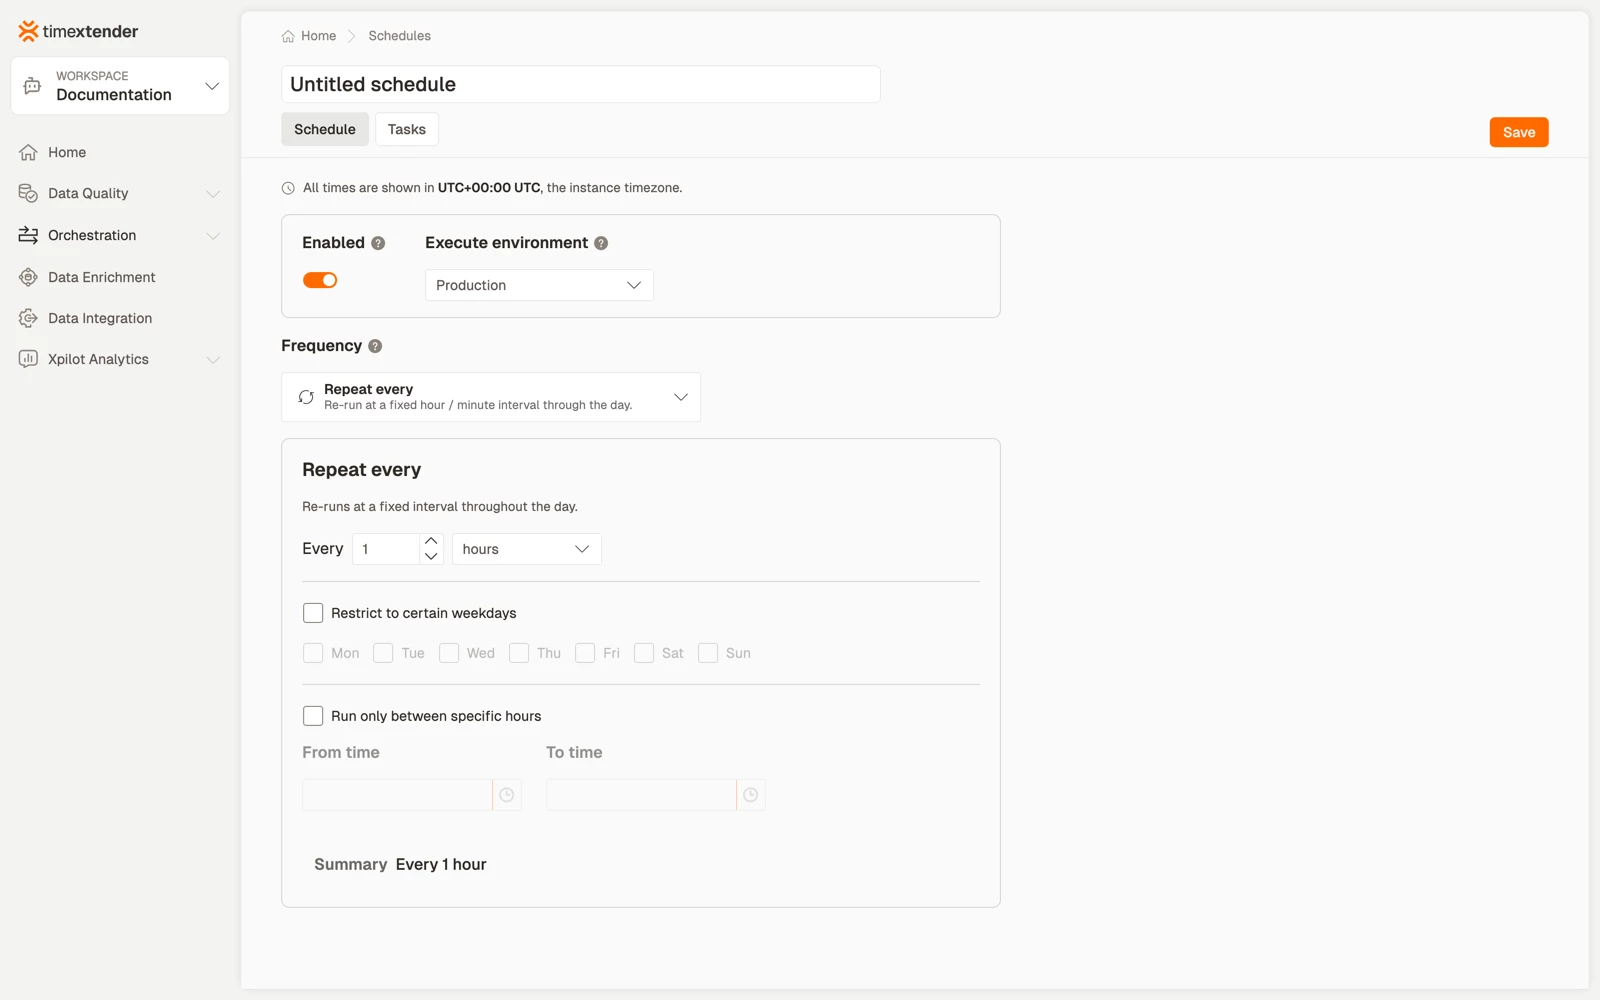
| Repeat every | Re-run at a fixed hour / minute interval through the day. |
| SQL-defined | Compute the next run time with a custom query. |
| Continuous | Runs continuously. |
Monthly has two modes: a fixed day of the month (1 to 31, or Last), or a day occurrence, such as the second Tuesday. Select the mode first, and the fields below it change to match.
SQL-defined computes the next run with a query. That query runs against the TimeXtender platform database, not against your source systems.
Start date and start time
Daily, Weekly and Monthly schedules require a start date and a start time before they can be saved, the same rule that applies to One-time.
On an "every N days" or "every N weeks" pattern, the start date decides which days the schedule lands on. Without it, the run time defaults to midnight UTC.
Continuous is exempt. Its start is optional and means begin as soon as the schedule is enabled.
If Save is unavailable, read the note beside it
Save stays disabled until the configuration is valid, and a short note beside it says what is missing, for example:
- Start date and time are required.
- Select at least one weekday.
The note disappears and Save becomes available once the configuration is valid.
Schedules that have no start date
A Daily, Weekly or Monthly schedule that has no start date keeps running and opens normally. The next time you change anything on it, including its tasks, you are asked to set a start date and time before it will save.
Weekdays start on Monday
Every weekday picker in the editor runs Monday through Sunday: the Weekly picker, the "only on certain days" restriction, and the Monthly occurrence picker. A schedule you set for Monday runs on Monday.
The run window
Repeat every and Continuous offer Run only between specific hours, with a From and a To time. The two fields stay dimmed until you turn the window on.
Precision
Times are set to the whole minute. Seconds cannot be entered.
Best practices
- Read the Summary line before saving. It is generated from the configuration, so it states exactly what the schedule will do.
- Set the start date deliberately on "every N" patterns. With an interval of 3 days, the start date is what decides which days the schedule lands on.
- Prefer Repeat every to Continuous when you have a window. Both accept one, but Repeat every makes the cadence explicit to the next person who opens the schedule.
Related articles
- Add tasks to a schedule
- Understanding the Schedules list
- Packages in TimeXtender Data Platform
