This article describes how to create an export of a database for use in another location.
In a local SQL server install, you have the option to create a backup file (BAK) that can be shared or used to restore the database. In Azure SQL, this is not possible. Instead, you have the option to create a data-tier export called a BACPAC file.
There are many benefits to this compared to a backup, as it takes way less space.
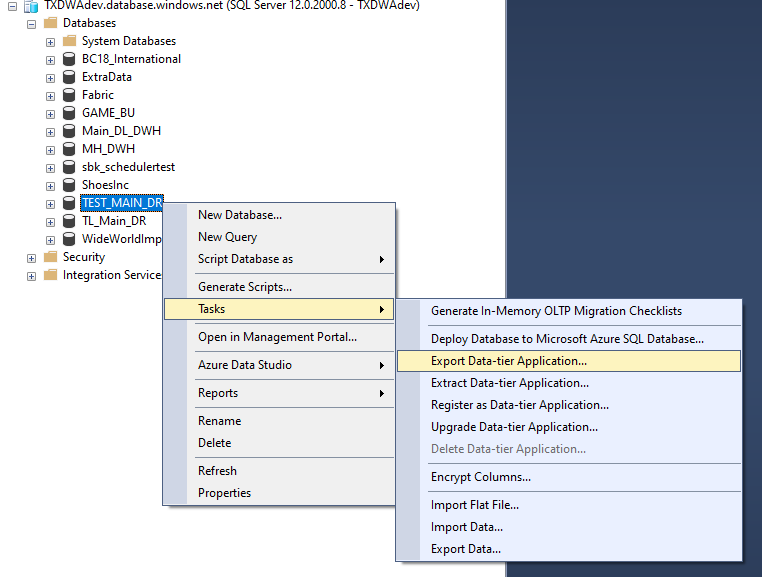
- To do that locate the database, right-click on it and click on Export Data-tier Application.
- Then you click Next. Notice that it mentions creating a bacpac file.

- Then click on Save to local disk to, click on Browse to locate where to store the file.
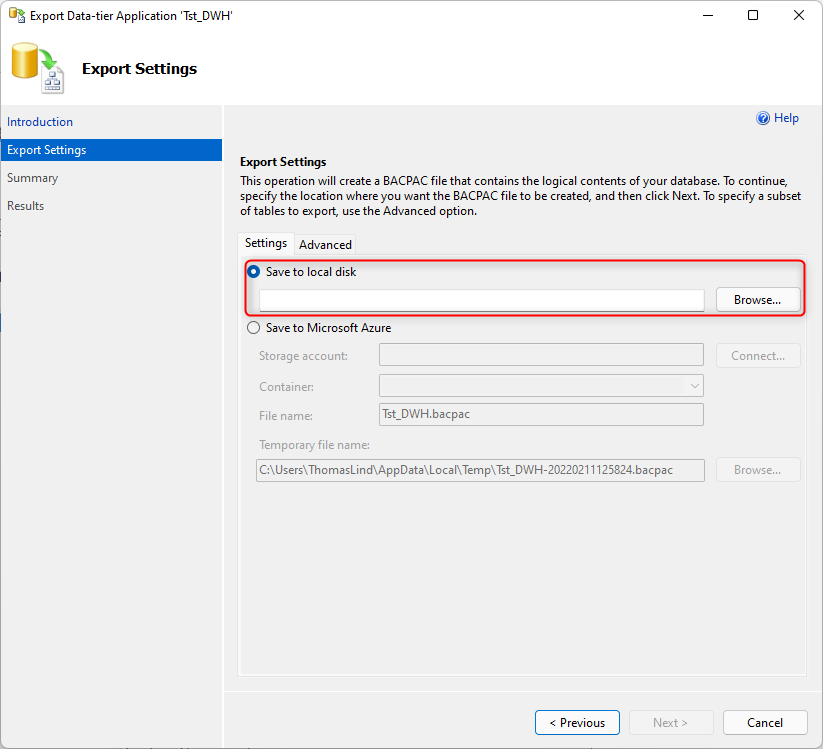
- Alternatively you can also chose Save to Microsoft Azure. You state a Storage Account and a Container and it will store it there.
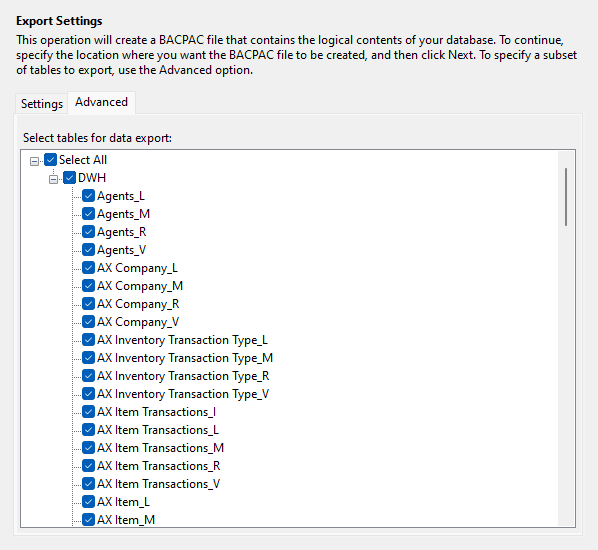
- If you click on Advanced you have the option to choose which tables to export.
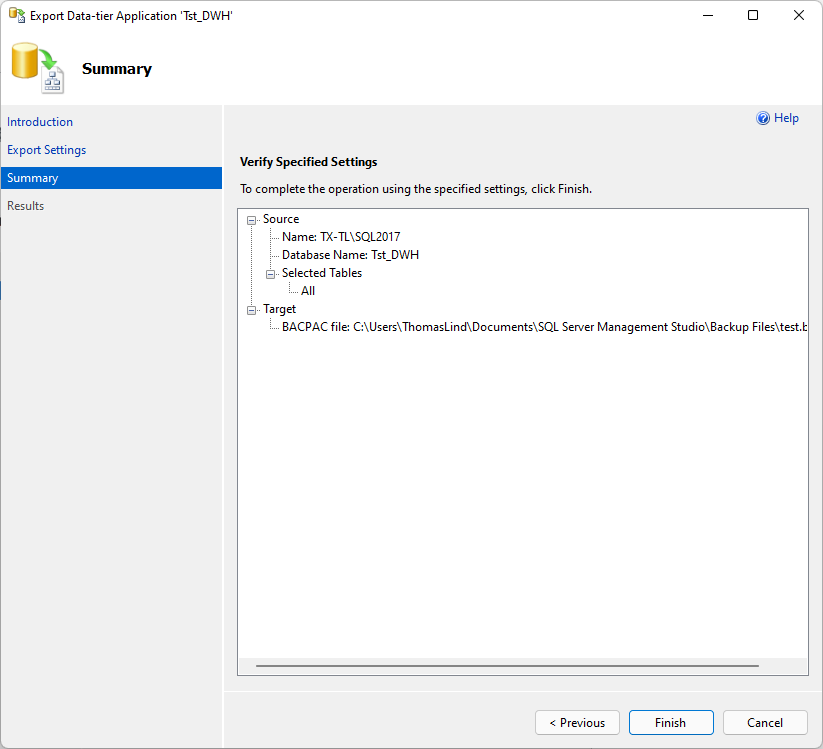
- Then you click Finish to go through it and generate the file.
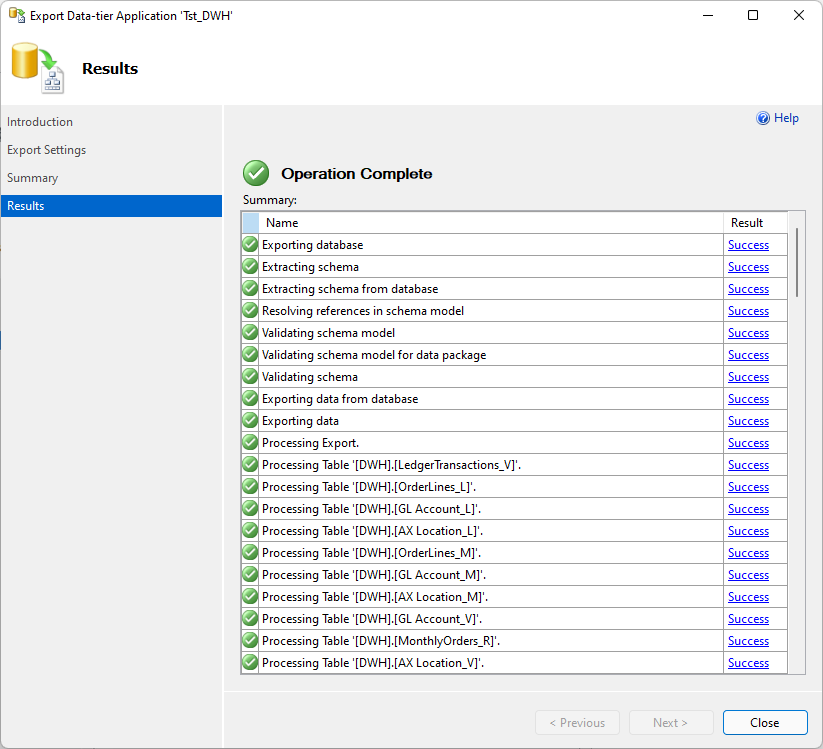
- After the operation is complete, you will see the result of of the exports.
