

Relates to TimeXtender 6024.1 and later versions
Selecting Tables and Columns from Ingest Instance Data Sources
Right-click on the data source and choose Metadata Manager. in order to select tables and columns on the data source level. Any transfer tasks for the data source will be limited to the data that has been selected on the data source level.
By default we see the following selection menu, where no tables are included.

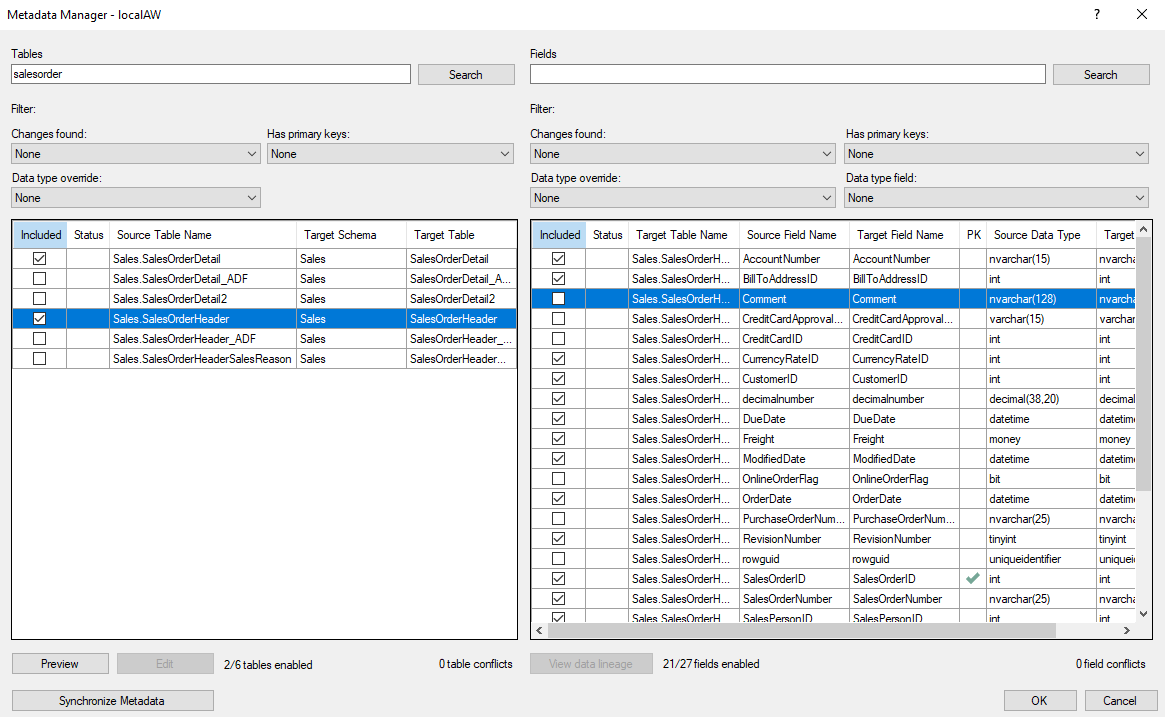
- Enter a search phrase into the Tables property and click Search to look for a specific table. Mark the Included checkbox next to the table, to make sure the table is included and available for transfer to Ingest storage.
- When you have selected a table on the left hand side, the available fields for this table are shown on the right hand side. When you mark a table to be included, all fields for that table will automatically be marked as included. Uncheck the Included checkbox for the fields that you do not wish to include. You can search for fields in the top right by entering a search phrase in the Fields property and then clicking Search.
- Click OK
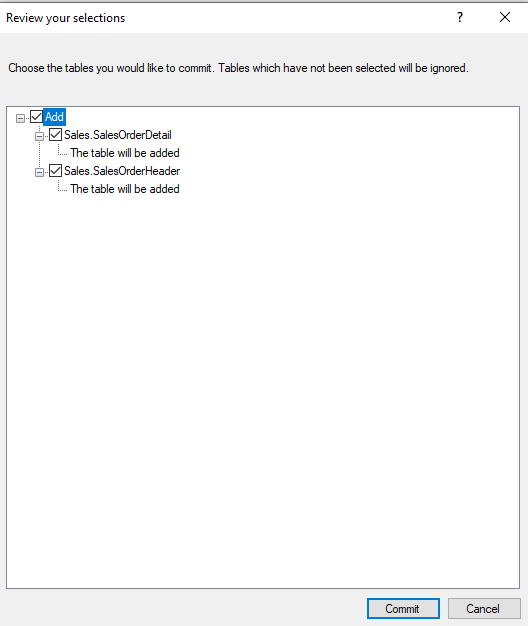
- Review the changes and click Commit
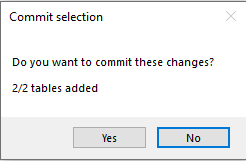
- Click Yes to confirm commit selection
Note: In addition to the fields from the data source, an auto-generated field, 'dw_timestamp', is available for selection. It contains a timestamp for when the row was copied from the source system.
Selecting Tables from Transfer Tasks
You may also choose to select tables on a transfer task level (rather than a data source level). If a table or column has not been chosen on the data source level, then it cannot be chosen on a transfer task level. In order to add a new table to the transfer task, you will first have to select the table on the data source level in the Metadata Manager. Please note, that column selection is only available on the data source level, not on the transfer task level.
If you are adding a new Transfer Task to your data source, right-click on your data source and select Add Transfer Task…
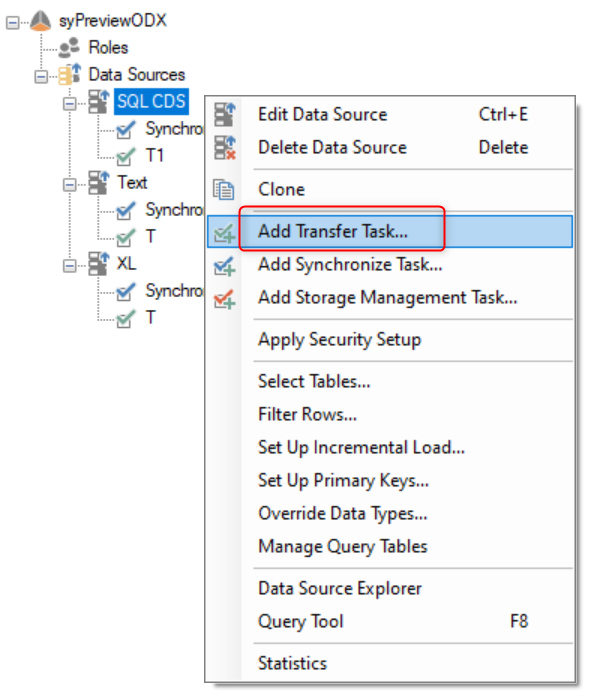
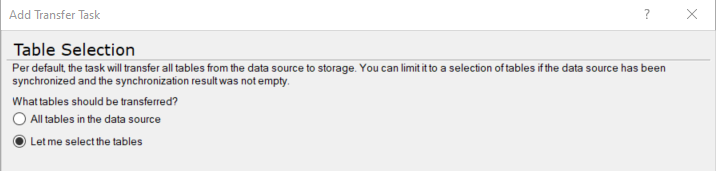
There is an option to add all tables to the new transfer task. Alternatively choose Let me select the tables in order to open the table selection menu.
If you have already created a transfer task, you can right-click and choose Select Tables in order to open the table selection menu.
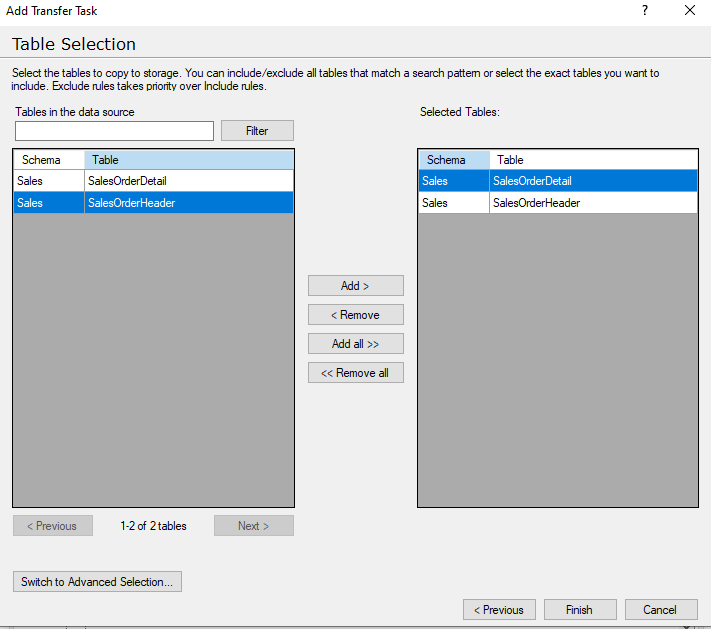
In the Table Selection menu, you may filter the results on schema or table names, and add or remove specific tables to transfer. Select tables and click Add or click Add All to add all listed tables and then click Finish.
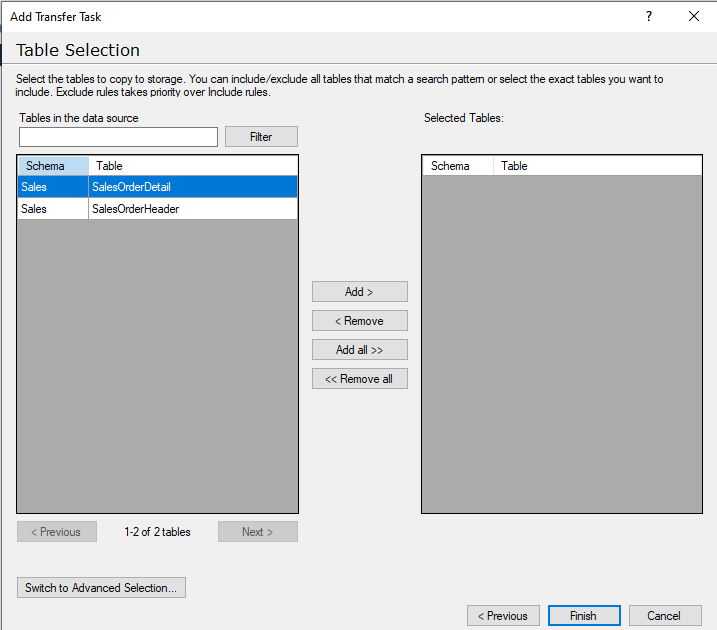
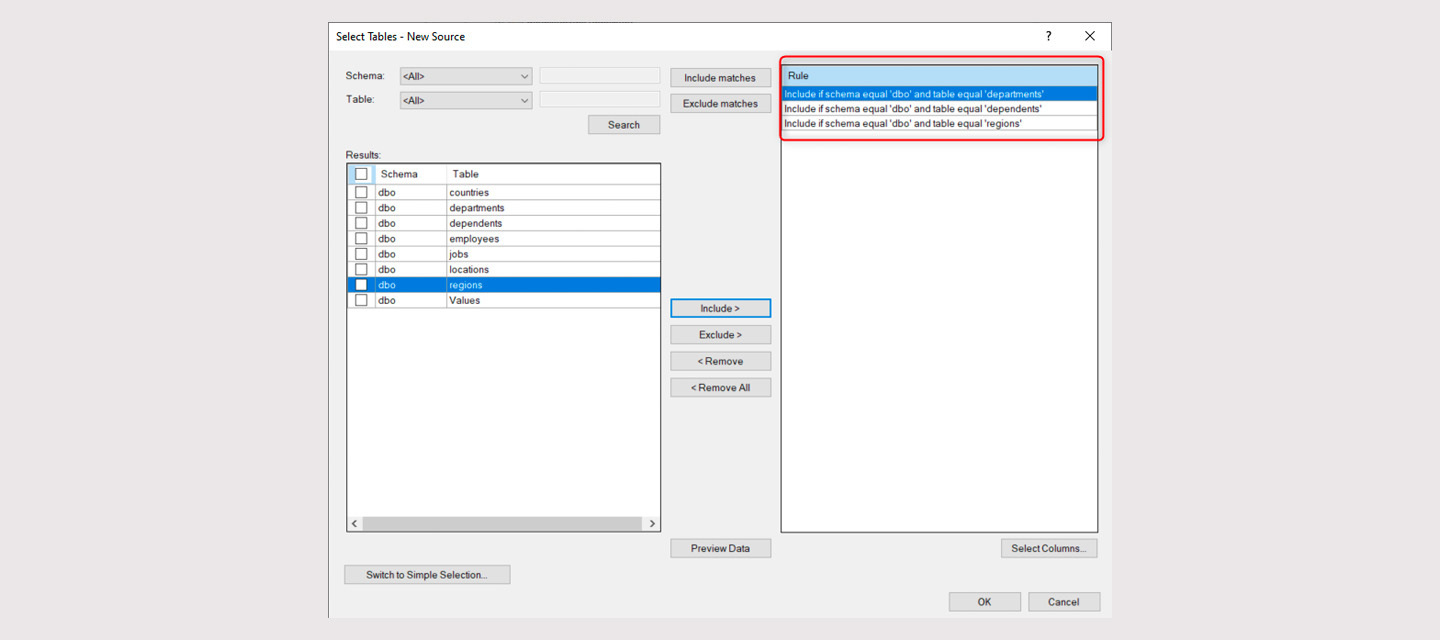
Alternatively click "Switch to Advanced Selection" to apply a rule-based selection, which considers schemas and/or tables names.
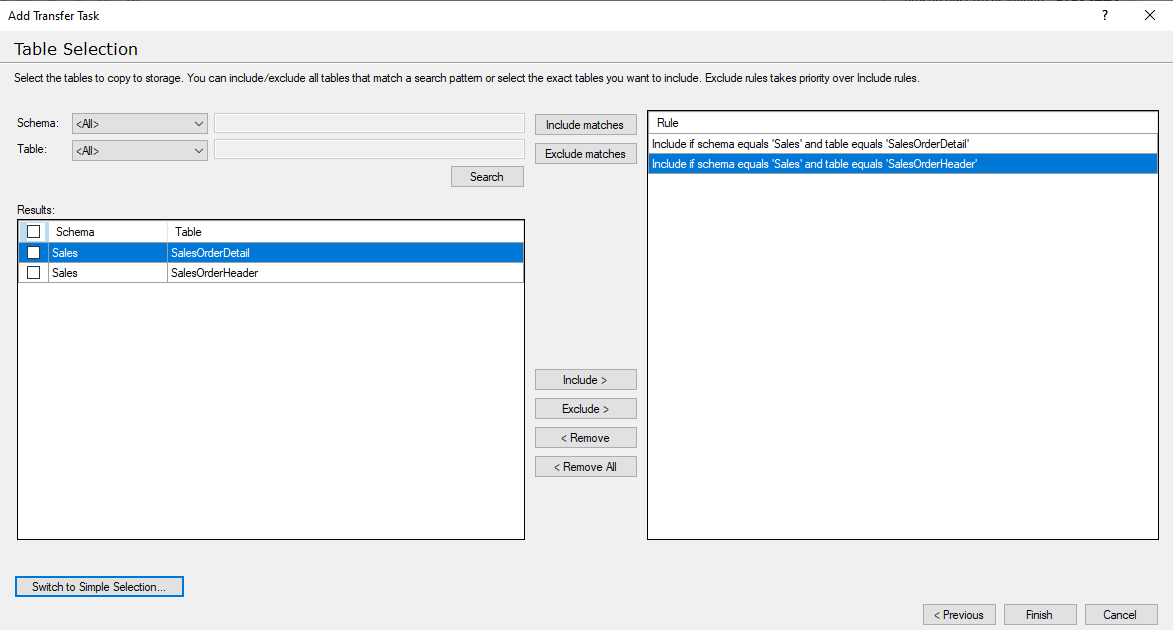
If you already have selected tables using simple selection, and then Switch to Advanced Selection, rules will automatically be created for these selected tables. You can also create your own rules. For example, to include all tables containing the phrase “salesorder”, choose Contains (ignore case) from the Table dropwdown and then type the search phrase and then click Include matches and then click Finish.


After selecting tables, execute the transfer task to load tables from source to the Ingest Instance storage.
