Element locking in TimeXtender Data Integration refers to the ability to restrict access to instances or to configure read-only access to data estate elements, so that only those developers that can unlock an instance or element with the password provided will be able to make modifications to it. Element Locking can be useful when it is suitable or appropriate to protect the integrity of the data solution.
Note: Element Locking is a powerful feature that should be used with caution. Make sure that the password is properly saved and provided to those developers that will need it.
Element Locking can be enabled at different levels of the data estate. If Element Locking is enabled on the instance level, then all of the data areas within that instance will no longer be accessible unless they are unlocked.
Enable Element Locking according to one of the following two methods.
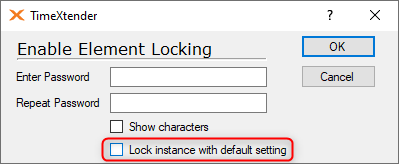
Enable Element Locking without initially locking any elements.
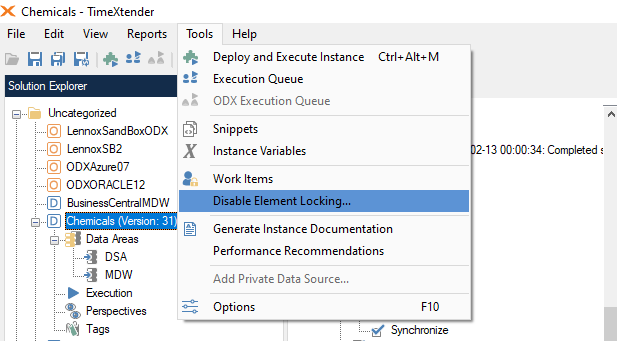
- Go to the Tools menu and select “Enable Element Locking”.
- Uncheck the “Lock instance with default setting” box.
- Enter a password that will be used to restrict access.
- Deploy the instance to save the changes.
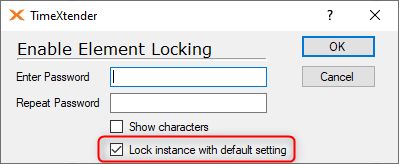
Enable Element Locking and lock out an element.
- Place your cursor on the highest level element that is to be password protected. Typically, this is a Prepare instance, or a table within that instance, or a field within a table.
- Go to the Tools menu and select “Enable Element Locking”.
- Leave the “Lock instance with default setting” box checked.
- Enter a password that will be used to restrict access.
- Deploy the instance to save the changes.
Enabling Element Locking at the instance level is more restrictive than read-only access, as the data areas within the instance are not visible unless the instance is unlocked.
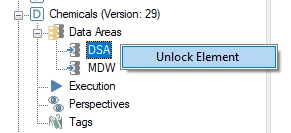
If Element Locking is enabled at a lower level on specific elements within the instance, then it is similar to providing read-only access to those elements. The particulars of that element may still be visible to developers, however, the context menu where modifications can be made is no longer available. To unlock a locked element, right-click on it and select "Unlock Element" from the context menu.
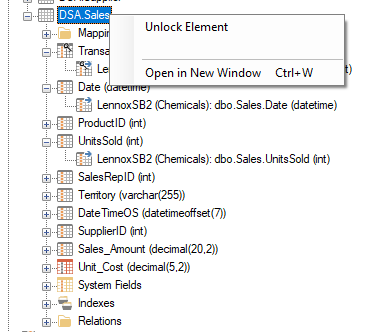
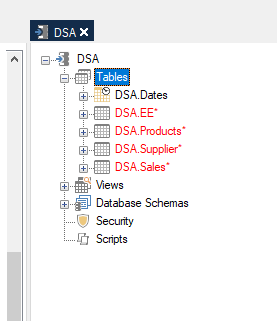
Note that after unlocking an element it may appear in red and needs to be deployed again in order be marked as such.
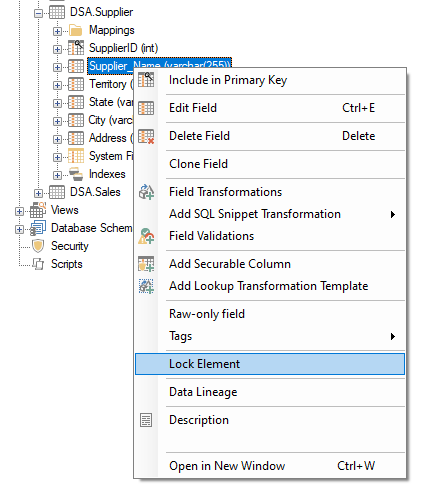
Within a Prepare instance, specific items can also be locked by right-clicking on an element and selecting “Lock Element”.
Once enabled, Element Locking helps to prevent accidental changes that might be made to critical elements of your data solution
Disable Element Locking
In order to Disable Element Locking, use the following steps.
- Place your cursor in a part of the data estate that has Element Locking Enabled.
- Go to the Tools Menu and select “Disable Element Locking”
- Enter the previously configured password.
- Deploy the instance to save the changes.