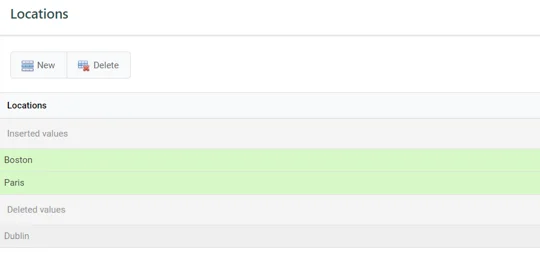
In this article, you will read about how to add, change or delete data in TimeXtender Master Data Management.

Add and Remove Rows
Add rows
To add a row to the grid, simply press the 'New' button from the toolbar or press (Ctrl + Shift + A).
Remove rows
To remove a row to the grid, simply select the row you would like removed and press the 'Delete' button from the toolbar or press (Ctrl + Shift + D). If there isn't any row selected the 'Delete' button gets disabled.
Update Cell Values
To update a cell's value, simply select the cell you would like to update and when you are finished the cell will turn green. If the column or the row that you are trying to edit is grey it means that it is a read-only column or a locked row.
To make things easier you can use the column header filters to filter the data to get the row you would like to edit. If you right-click on the column header a context menu appears where you can use group by. When you are updating a column which is a unique key and you enter an invalid value, a message box will appear when you try to save which explains that some value is not unique.
Refresh Data
To refresh the data, simply press the Refresh button from the toolbar.
Lock/Unlock Rows
Now you are able to lock and unlock rows on the web. Simply select the rows you would like to lock/unlock and press the lock buttons in the toolbar. To be able to lock/unlock rows you have to have admin or contributor access.
Preview
When you have done some changes to your data before you save you can see all your changes in the Preview Changes button in the right bottom corner of your table. The button appears as soon as you have done any changes.

When the 'Preview Changes' button is pressed you will see all the changes you have made to your data and you can modify the data there as well.


