

This article describes how to update an existing data source provider to a newer version and how to control whether data source connections update automatically or use an explicitly selected version.
Starting with version 7257.1, data source connections use the explicitly selected version by default. In previous releases, the TimeXtender Ingest Service would automatically download and use the latest compatible version of data sources.
Note: When upgrading to version 7257.1, you must either change the organization-level setting back to automatic updates or manually upgrade each data source connection mapped to instances running the new version. The automatic update settings only work with version 7257.1 and later.
Update a data source provider manually
When a data source connection uses a selected version instead of automatically updating, you are responsible for upgrading the connection in the following scenarios:
- When installing a new version of the TimeXtender Ingest Service.
- When TimeXtender releases new bug fixes or hotfixes for data sources.
Warning: The selected version must be compatible with your TimeXtender Ingest Service version. Refer to the compatibility matrix for supported version combinations.
- Sign into the TimeXtender Portal and go to data sources. If a data source provider has a newer version available, it will appear on the list as shown below.
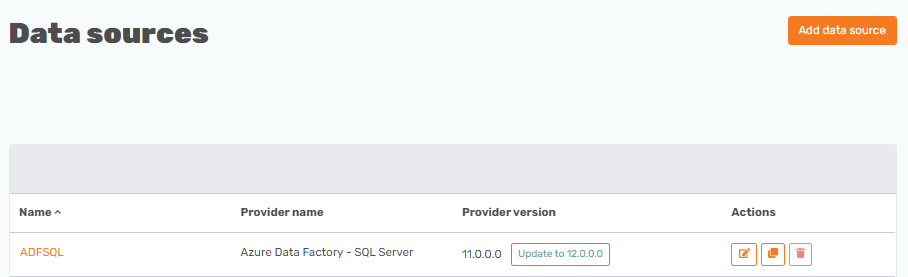
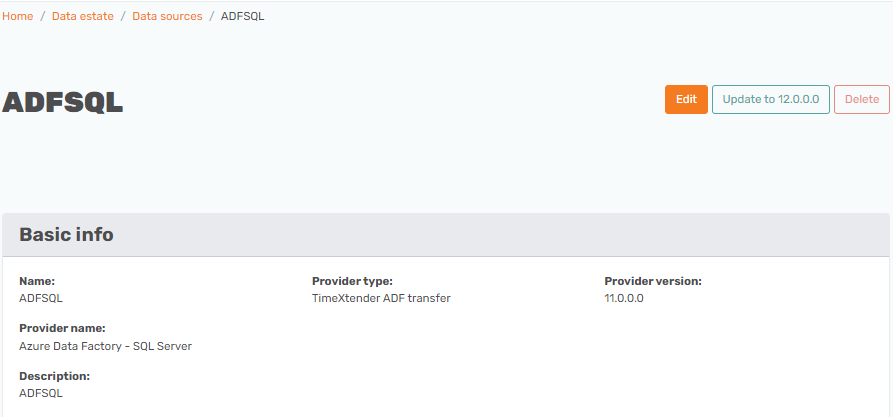
- Select Update to... to update the data source. You can also update the provider on the details page for the data source provider as shown below.
- Select Update to confirm the update.

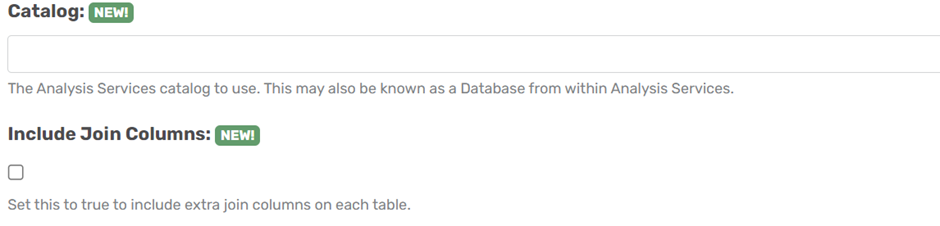
- If the new provider version includes properties that were not present in the older version, they are highlighted as new. Fill in any new properties if necessary, then select Update to complete the update.
Configure automatic updates at the organization level
You can configure the automatic update behavior for all data source connections in your organization.
- Go to Admin > Basic info.
- In the lower right corner of the Contact information section, view the current automatic update behavior.
- Select Edit.
- Select one of the following options:
- Off (default): Data source connections use the explicitly selected version.
- On: All data source connections automatically update to the latest compatible version.
- Per data source connection: Enables individual control for each data source connection.
- Select Save.
Configure automatic updates at the data source connection level
You can configure individual data source connections to automatically update or use a specific version. This option is only available when the organization-level setting is set to Per data source connection.
When this setting is enabled, the data source connections page shows whether auto update is enabled or disabled for each connection. Auto update is disabled by default.
- Go to Data Estate > Data source connections.
- Select Add data source connection to create a new connection, or select an existing connection and select Edit.
- When Per data source connection is selected at the organization level, an Auto update section appears in the form.
- Turn on or turn off the Auto update setting for the connection.
- Select Save.
