This article will walk through how to set up single sign-on using Azure AD and how the authentication flow changes along with that setup.
Note: In order to use Entra ID groups in TimeXtender Orchestration & Data Quality the token sent by the App Registration needs to be configured to include the groups the user belongs to. This is done by opening Manage -> Token configuration under the appropriate App Registration and setting a groups claim for ID, Access and SAML to send Group ID, and select "Emit groups as role claims". It is also necessary to make sure the group types included in the tokens are Security groups, this is also done under the Groups Claim in Manage -> Token configuration
Setup an application in Azure AD
The first step in order to enable single sign-on using Azure AD is to set up an application in your company Azure AD. These are the steps that are required to set up an application:
- Navigate to https://portal.azure.com and sign in with your credentials
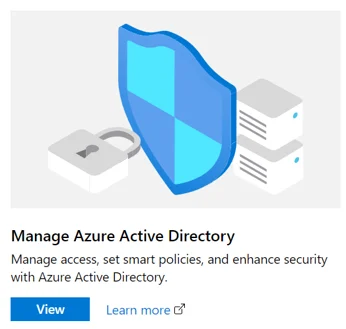
- Press the View button to manage your Azure Active Directory
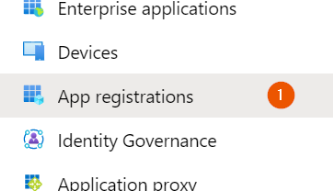
- In the left navigation pane press App registrations
- Next in the top navigation pane click New registration

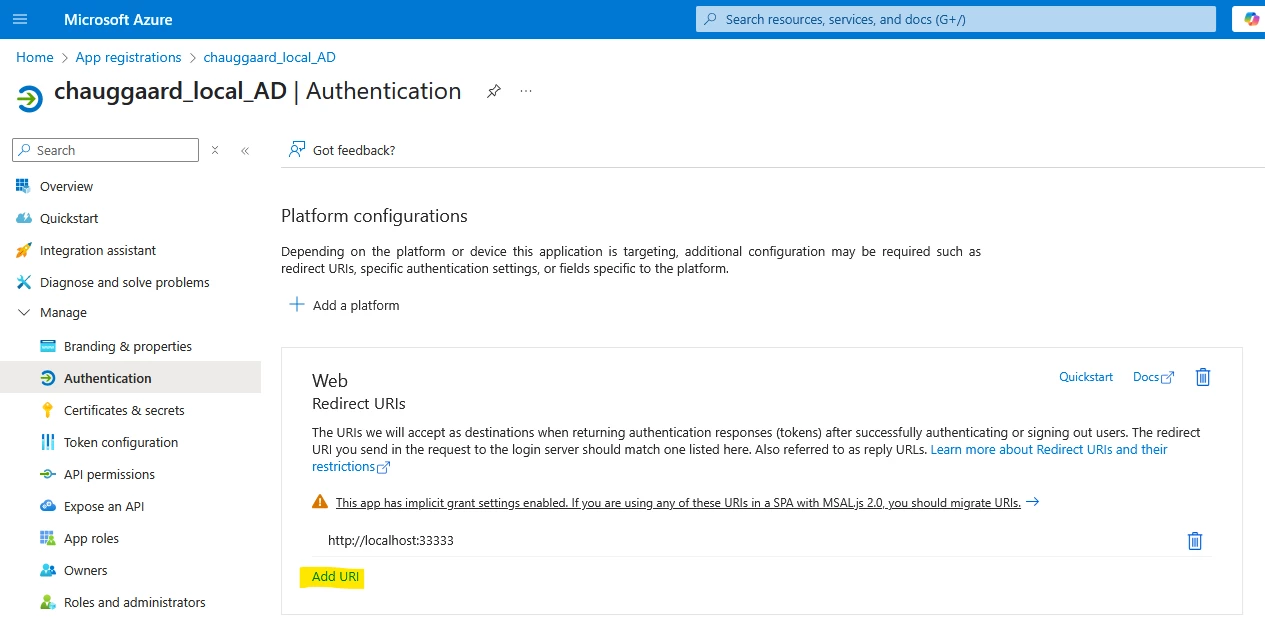
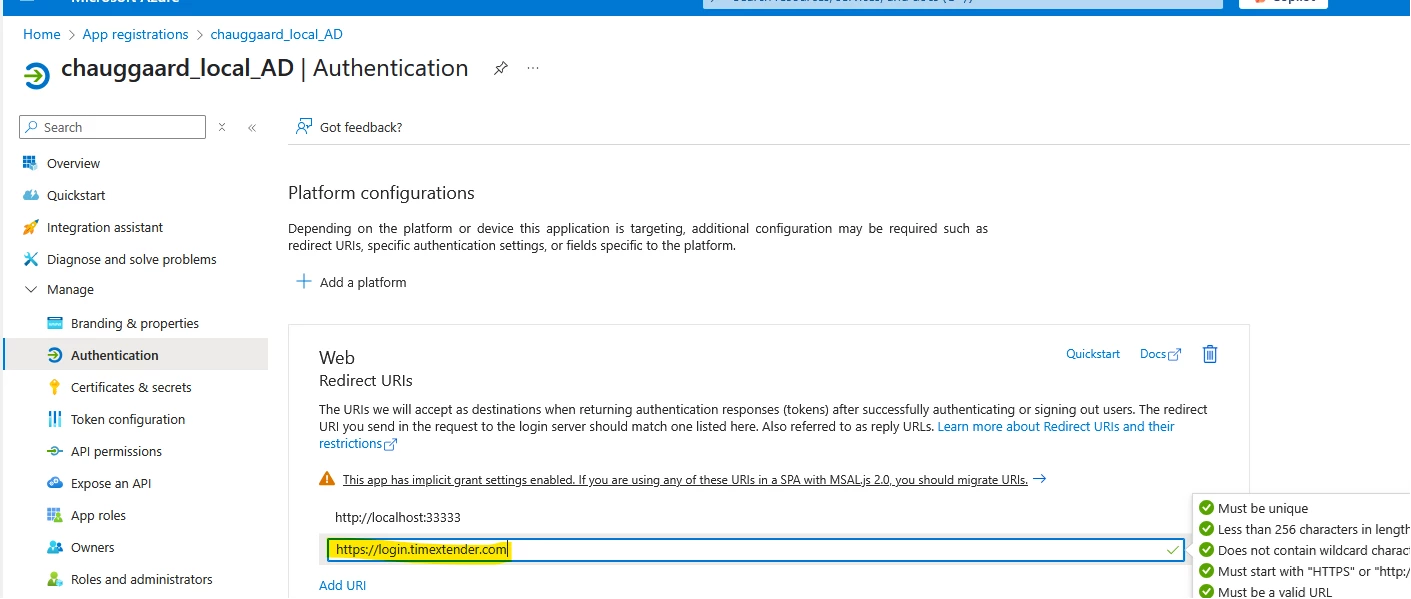
- Fill in the new application information as seen below and press the Register button, ensure to add login.timextender.com as the Redirect URI
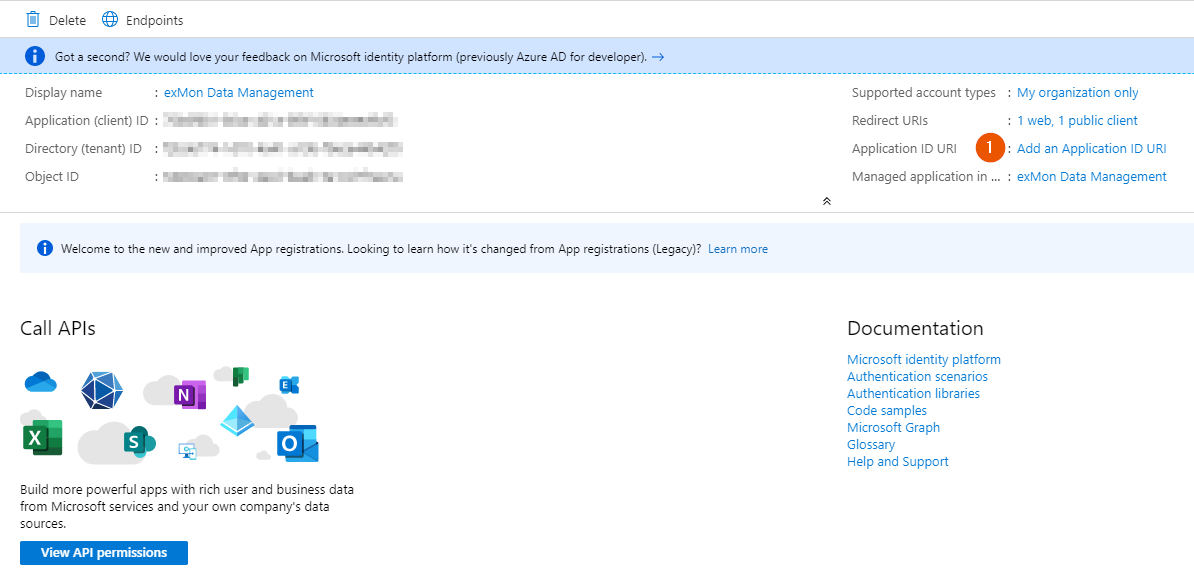
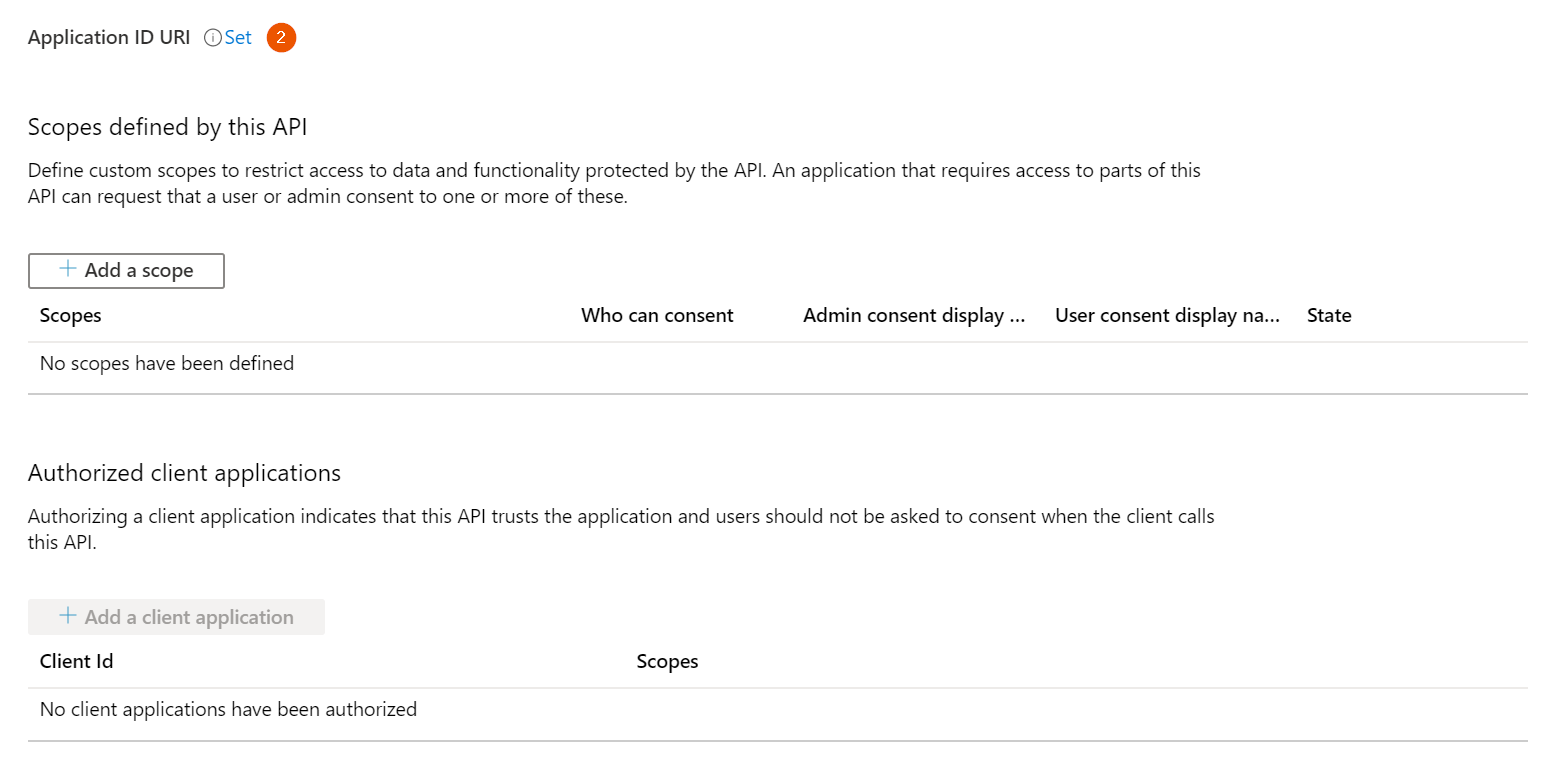
- Next click Add an Application ID URI

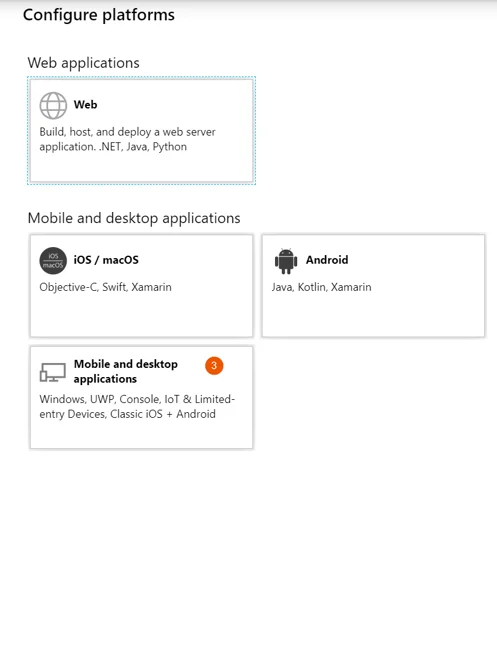
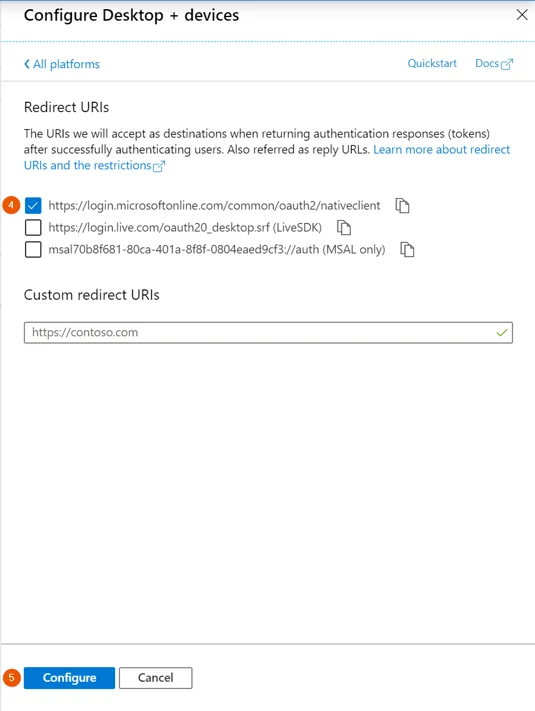
- Click the Overview button in the left navigation pane and then click the Redirect URIs link to register configurations for the desktop application

- Click the API Permission tab on the left navigation pane
- Select the User
- Read line and click Grant admin consent for X
- If you plan to use Azure Active Directory Groups you need to add Group.Read.All Delegated permission as well

Setup in TimeXtender
Start by navigating to the overview for the application just created in Azure AD.

Send an email to support (support@timextender.com) listing the following configuration information:
Azure Active Directory configuration
- Application ID: {your-application-id-uri}
- Tenant ID: {your-tenant-id}
- Federation metadata document:{your-federation-metadata-document}
Authentication flow
After the configuration has been set up and the application registered the flow in both the desktop application and web client will be slightly different.
Web client
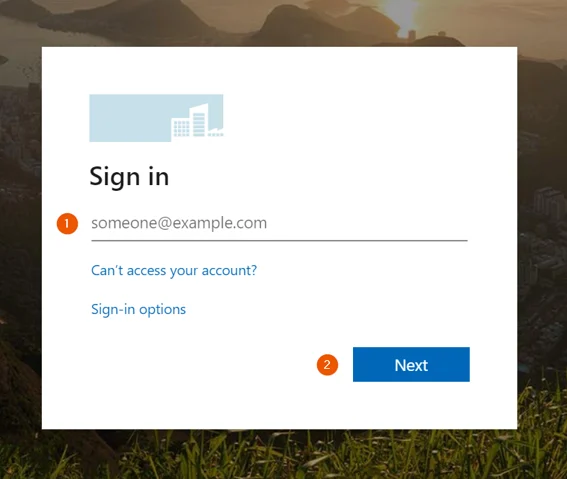
Navigate to https://login.timextender.com and enter your email
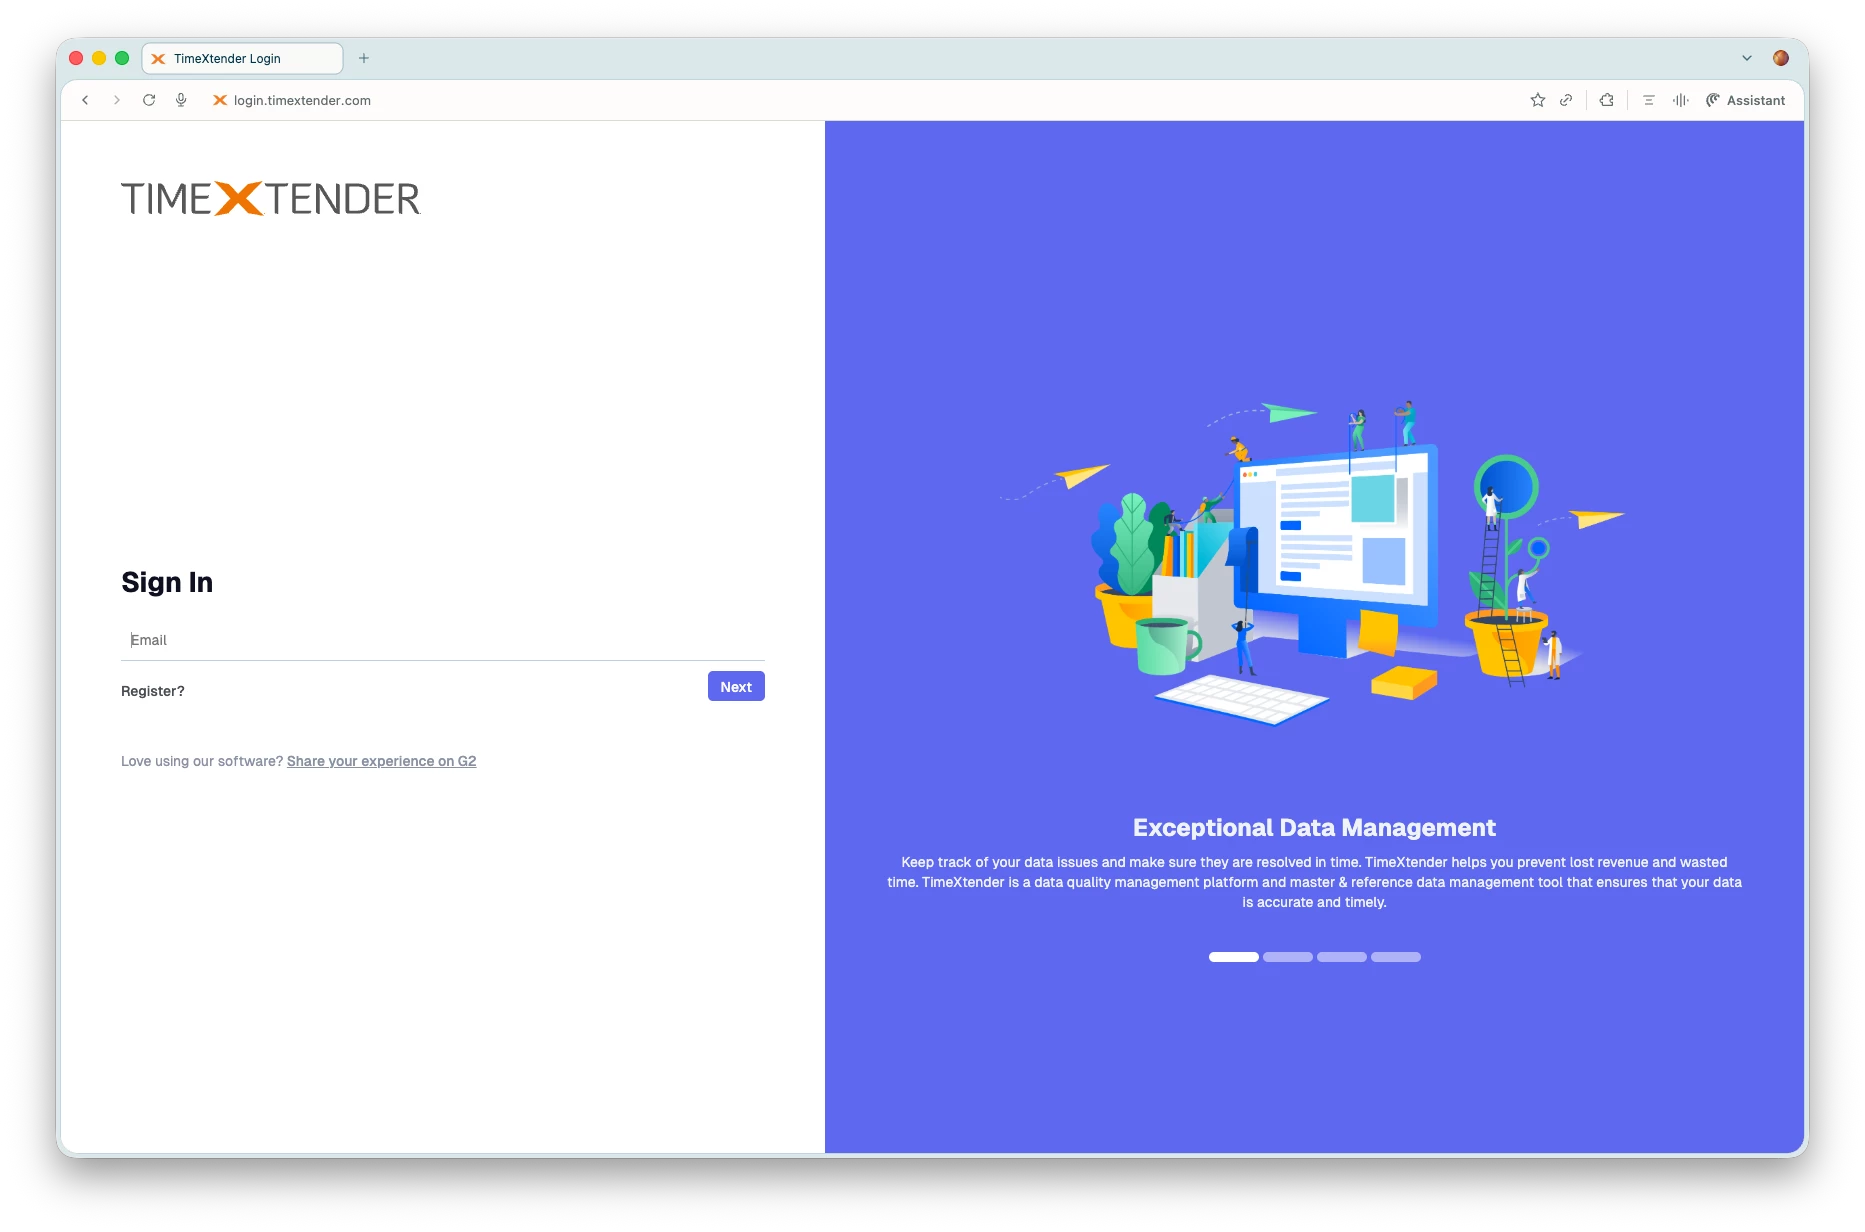
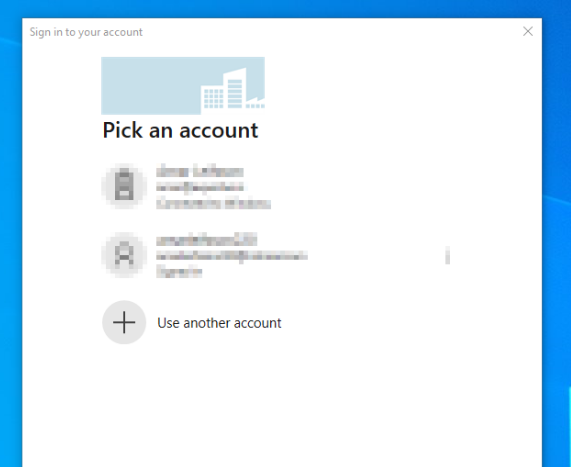
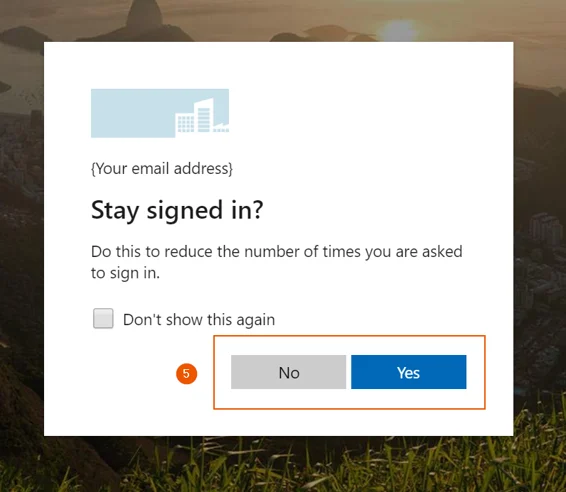
If you have set up single sign-on using Azure AD, you will be redirected to your companies login site and it will probably look something like this:

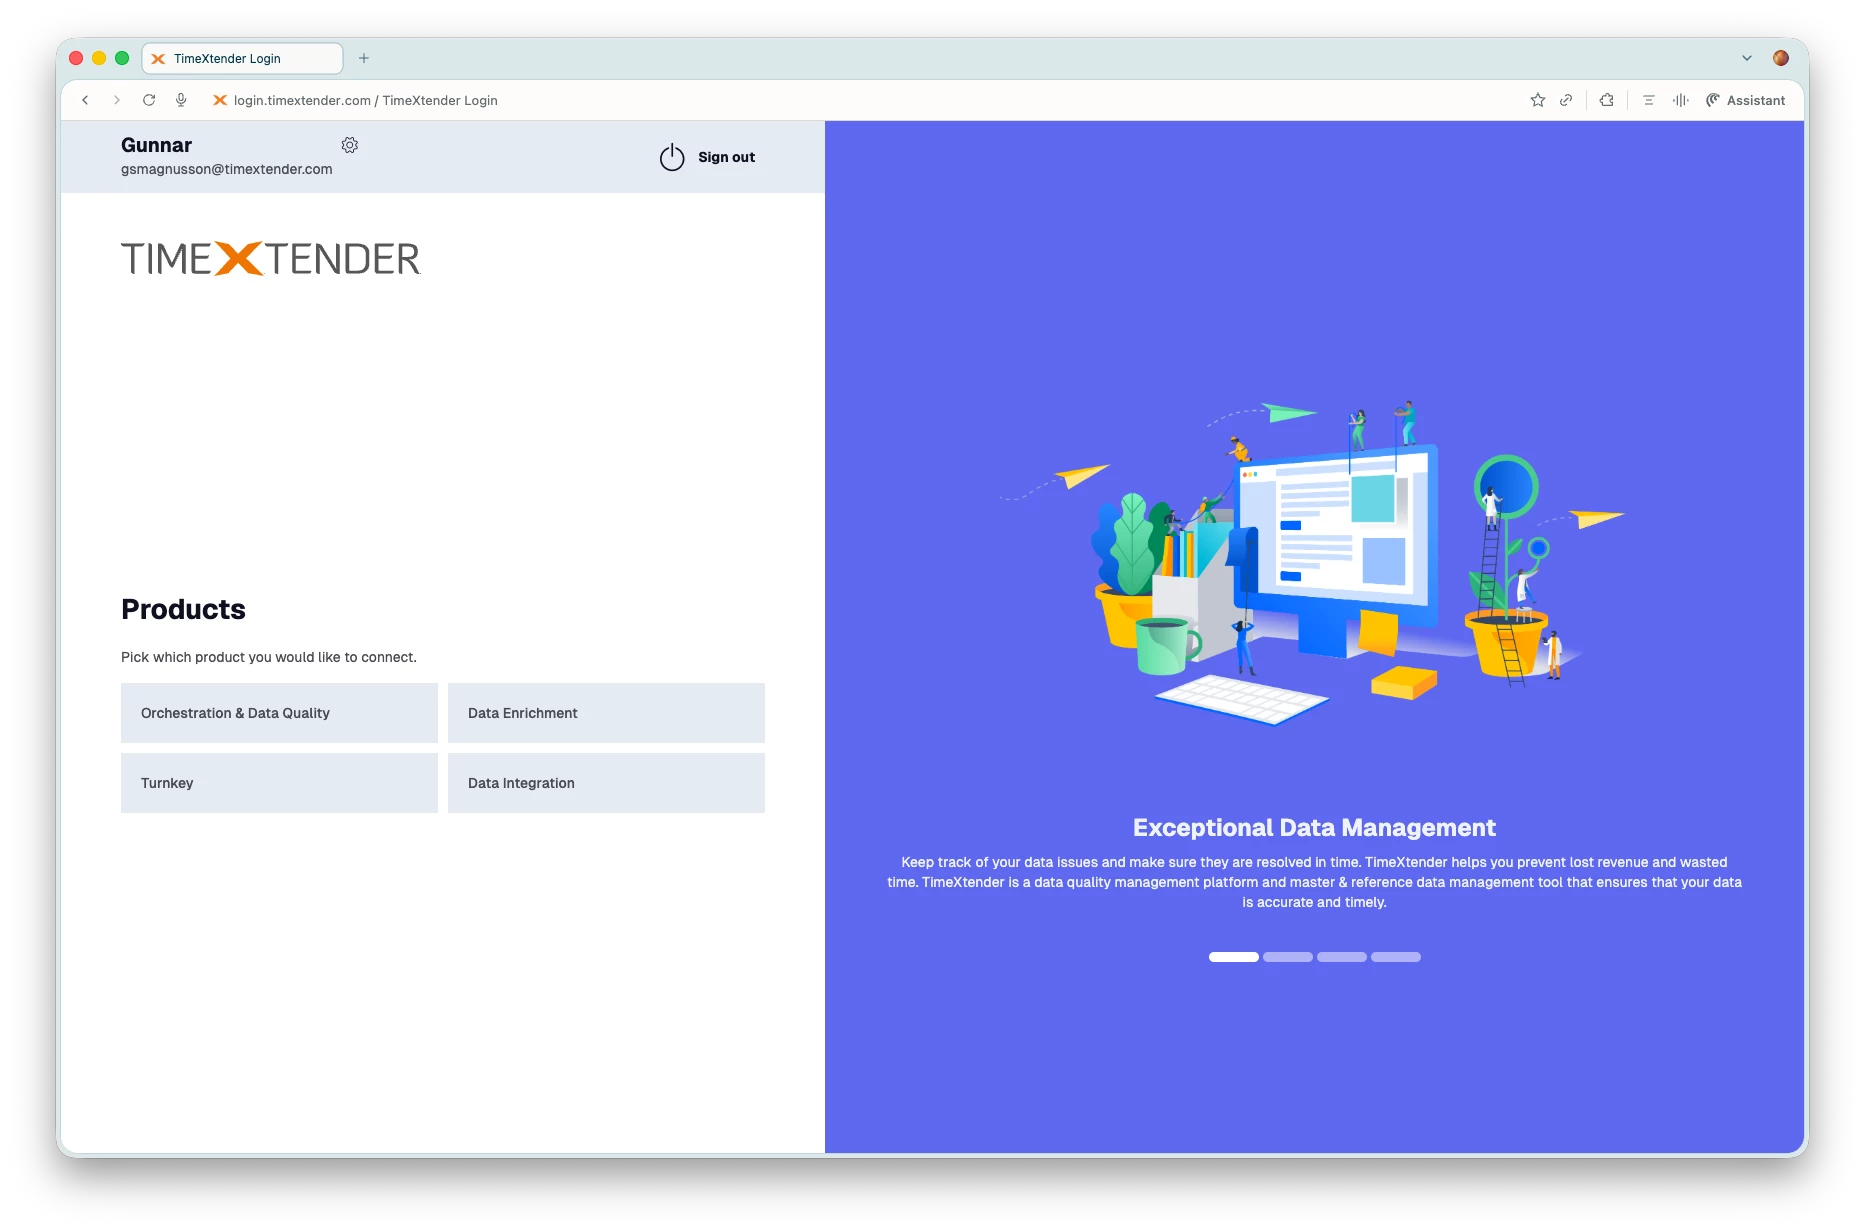
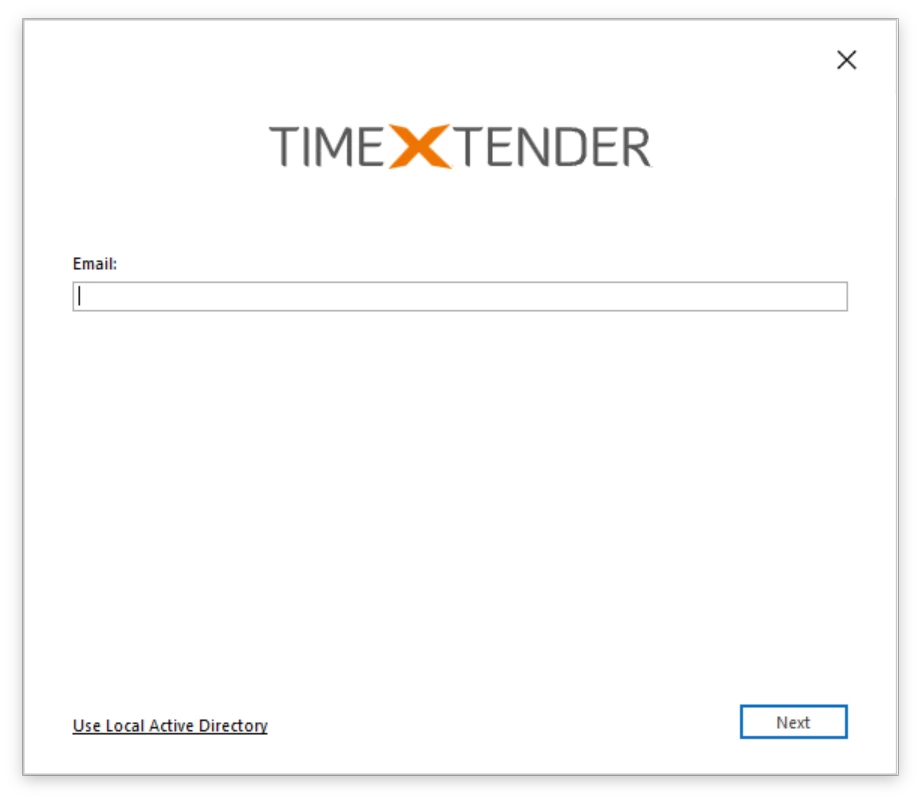
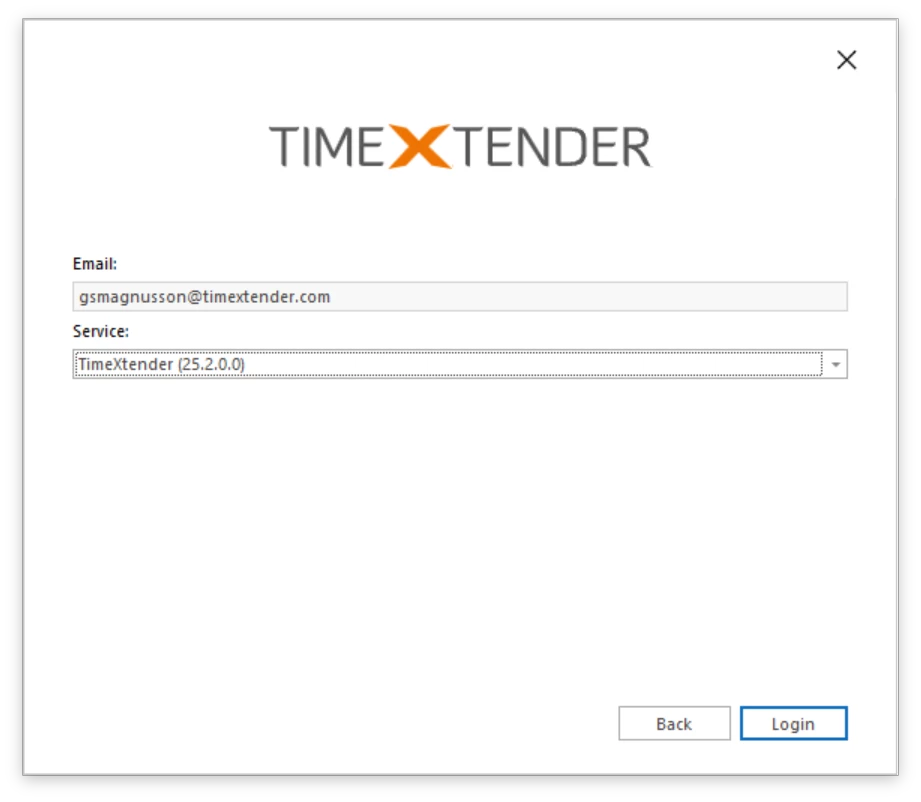
Desktop application
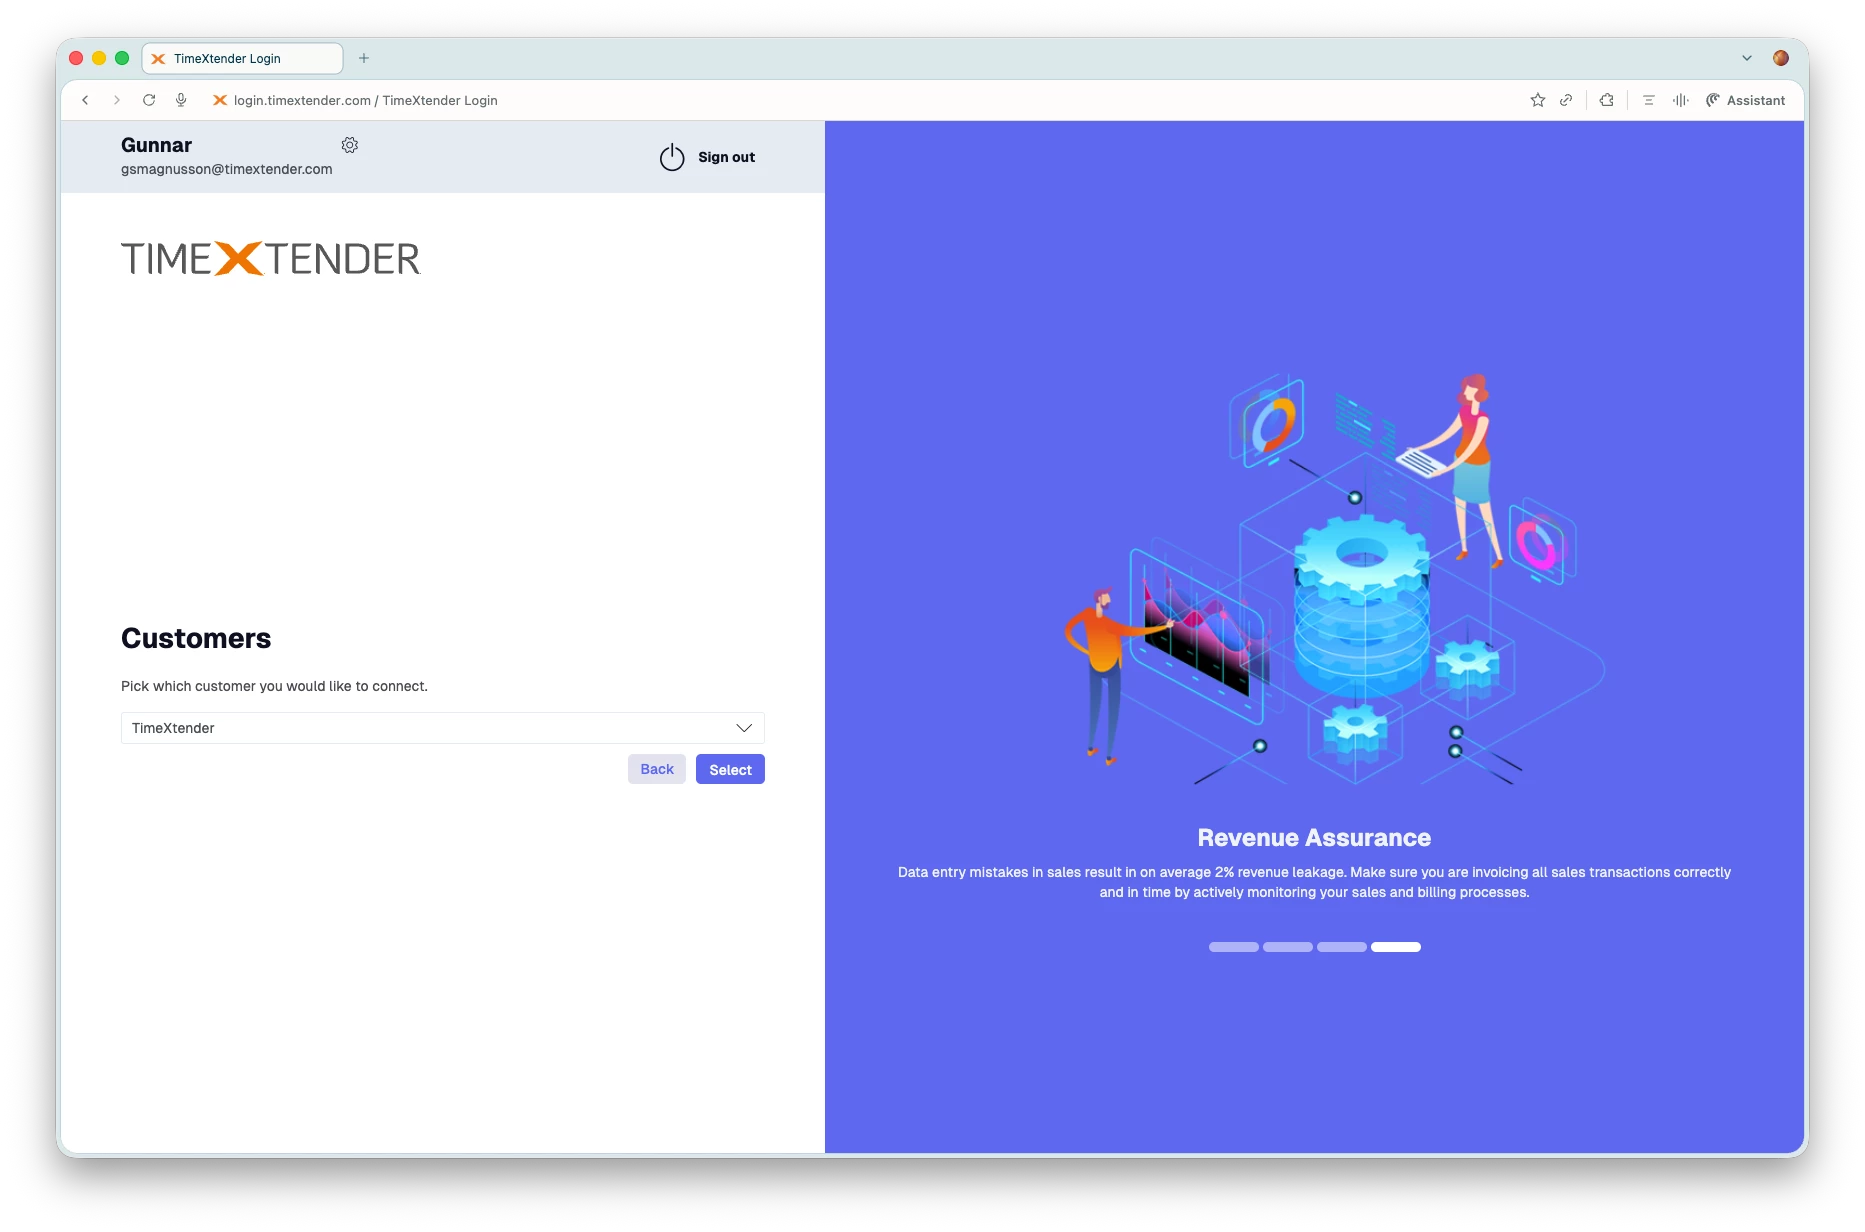
Open up the desktop application. We are using Data Enrichment as a demonstration in this example, but the same principle applies to TimeXtender Orchestration & Data Quality as well.