
In this article, you will learn how to add, modify and delete rows in Data Enrichment. Adding, modifying and deleting rows are common tasks carried out by Data Users who have the task of maintaining data within Data Enrichment.
Modifying data can be done using the following methods:
- Add, Modify, Delete Rows - one by one
- Paste multiple rows
- Import Data Wizard
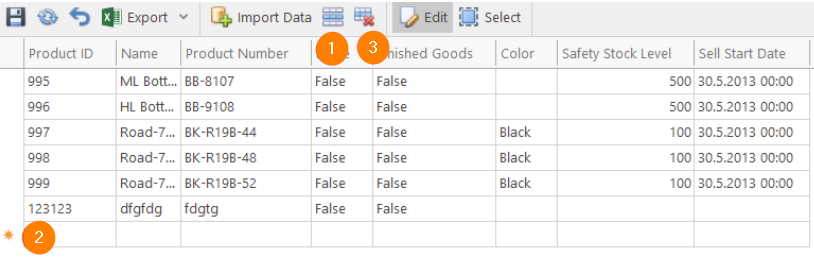
- You can add a new row by Clicking the New Row Button
- Or by scrolling down to the bottom and starting typing in the New Row Row
- You can delete a row by Clicking the Delete Row Button
Modifying a row can be done by interacting with individual cells in the table by clicking and typing or selecting from a Dropdown.
Paste Multiple Rows
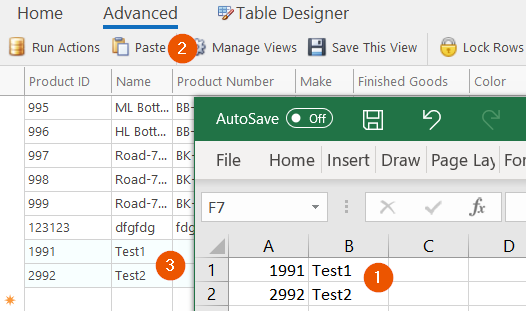
Adding multiple rows can be achieved by clicking the Paste button but the Source data needs to have the columns in the correct order.
- Pasting from Excel can be done by Selecting Data within Excel, pressing Ctrl+C
- Then, Click Paste within the Advanced Tab within Data Enrichment.
- The Pasted data is then visible at the Table Bottom
Import Data Wizard
Multiple Rows from Clipboard or entire files can be imported by using the Import Wizard. See Importing Data from CSV files for further information.
