Business Unit tables are populated with a simple SELECT <Fields> FROM <Source Table> query. While some conditions may be added to this query with incremental and data selection rules, more advanced queries can be done by creating a query table. This feature allows you to create a new table populated with custom query against the source database.
Note: Complex queries may increase the processing load in the source database during the transfer phase of execution.
Adding a Query Table
- Right-click on the Data Source you wish to query and select Data source Settings
- Go to the Query tables pane and press Add
- The new table will be called QueryTable by default
- Give the table a name and enter a schema. The schema is not for the data source table, but the table schema for the staging table. The source schema must be specified in the query.
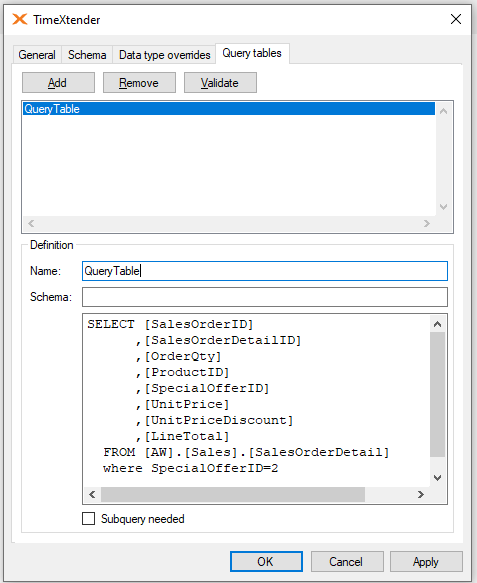
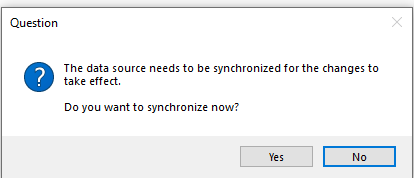
- Press Apply and click Yes when asked to synchronize the data source.
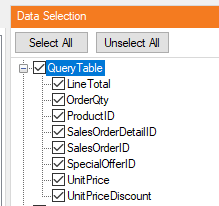
- Your new table will appear in the Data Selection window of your data source. Select the fields that you would like to add from the Query Table.
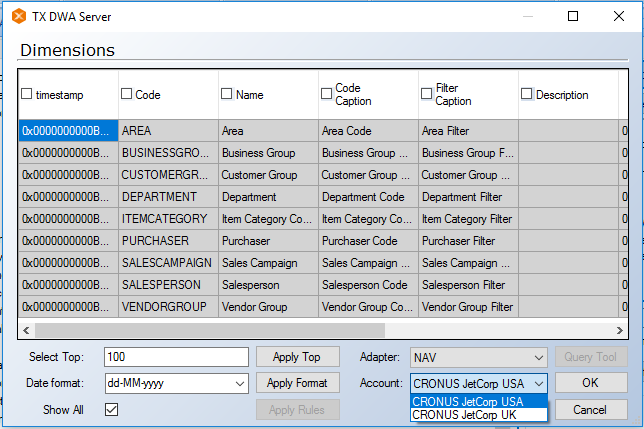
NAV Query Tables
The source schema must be specified in the query. The {0} feature splits it up in the various accounts.
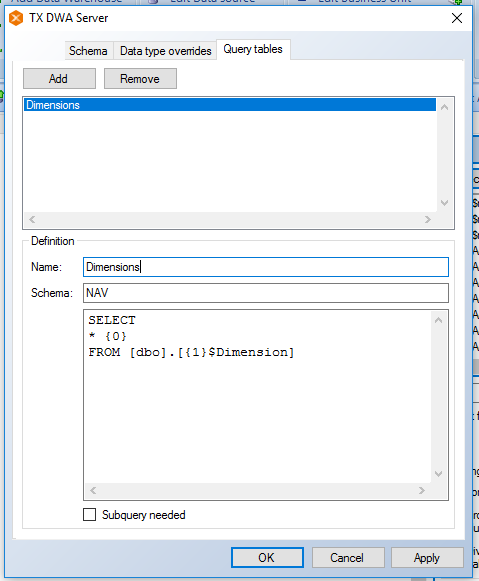
If you preview the data you will be able to see it split up in the various Accounts, due to the use of {0} in the select statement.