Creating a Workspace
To create a new workspace, follow these steps:
-
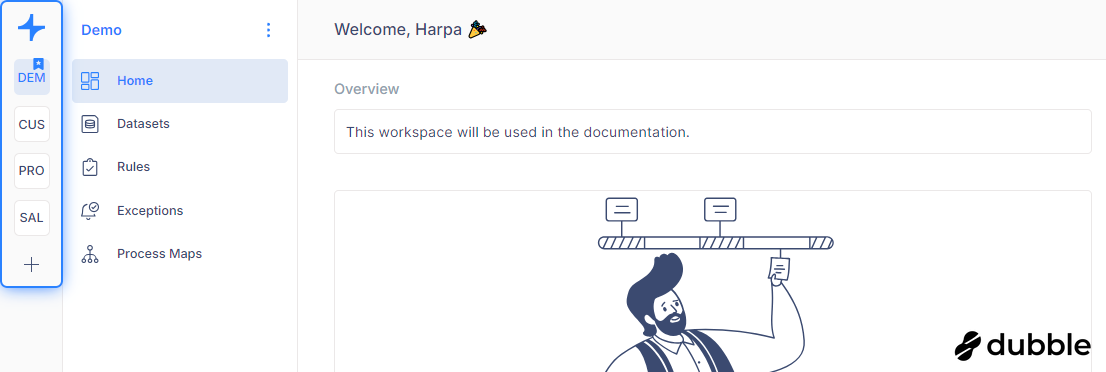
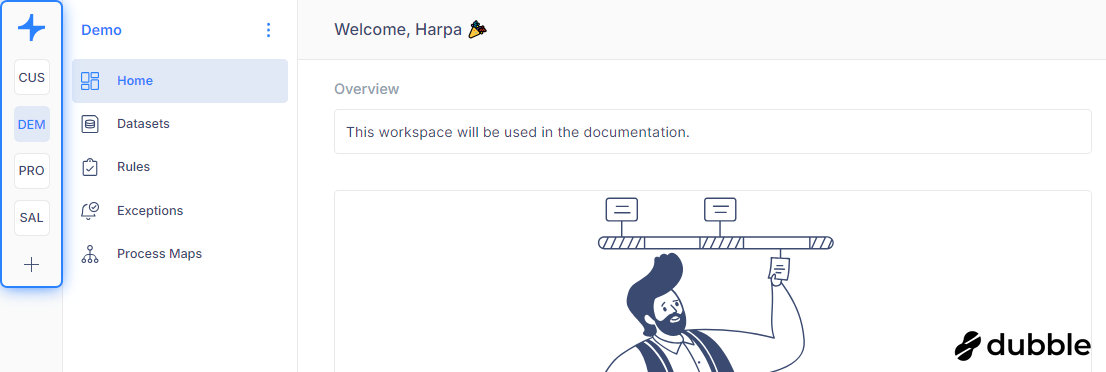
Navigate: Go to the workspace navigation tab located on the left side of the screen. Here, you'll find a list of all your existing workspaces.
-
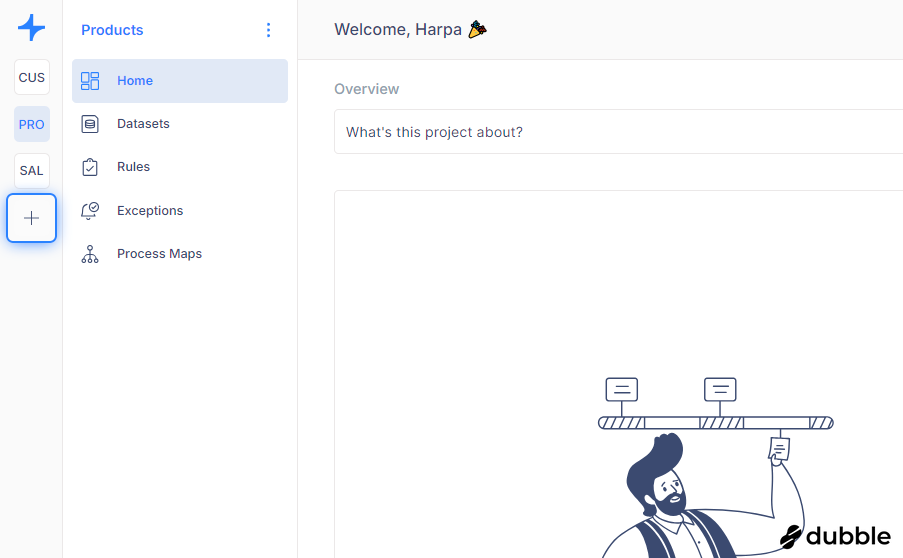
Create: Click on the plus icon located below the list of created workspaces
-
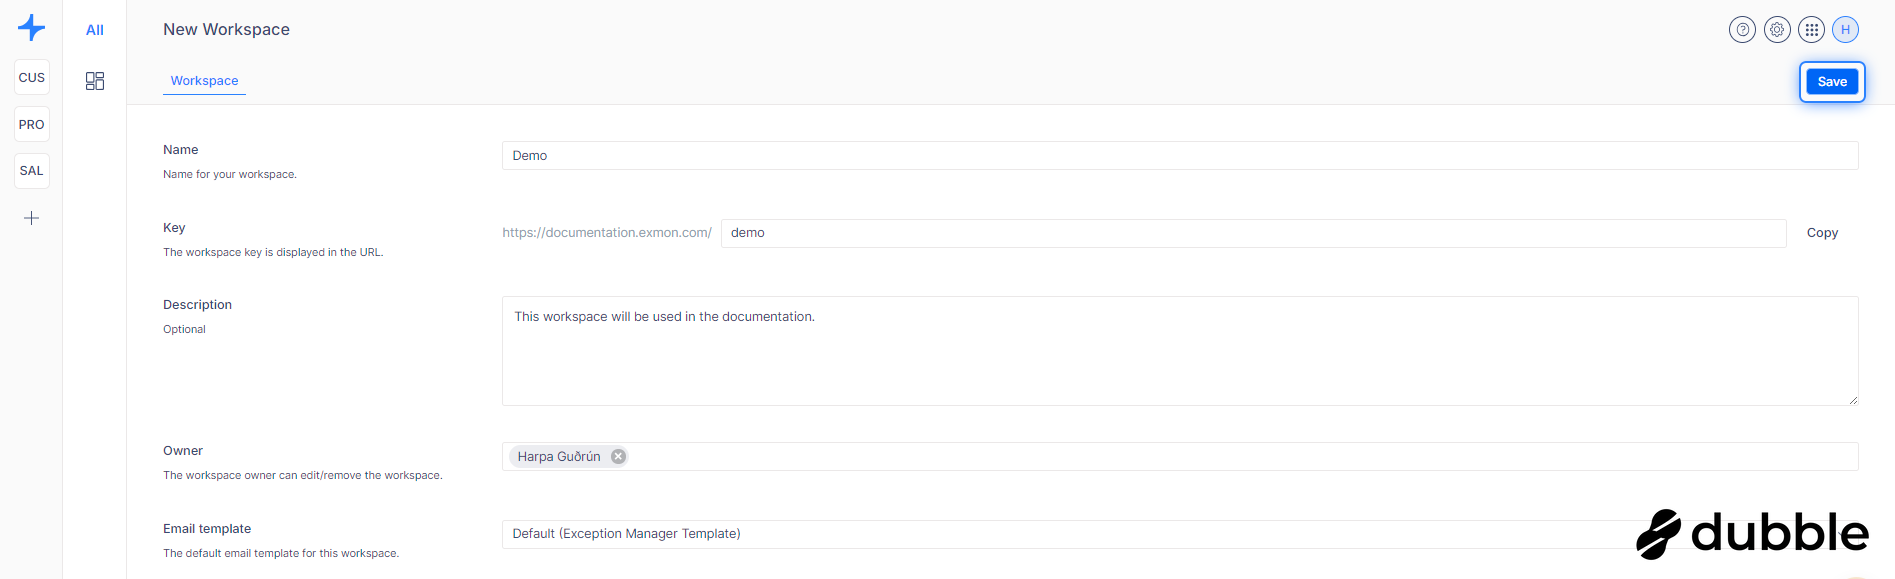
Fill Out Information: Provide the following details for your new workspace:
- Name: Give your workspace a descriptive name.
- Key: The workspace key is displayed in the URL.
- Description (optional)
- Owner: The workspace owner can edit or remove the workspace.
- Email Template: Set the default email template for this workspace.
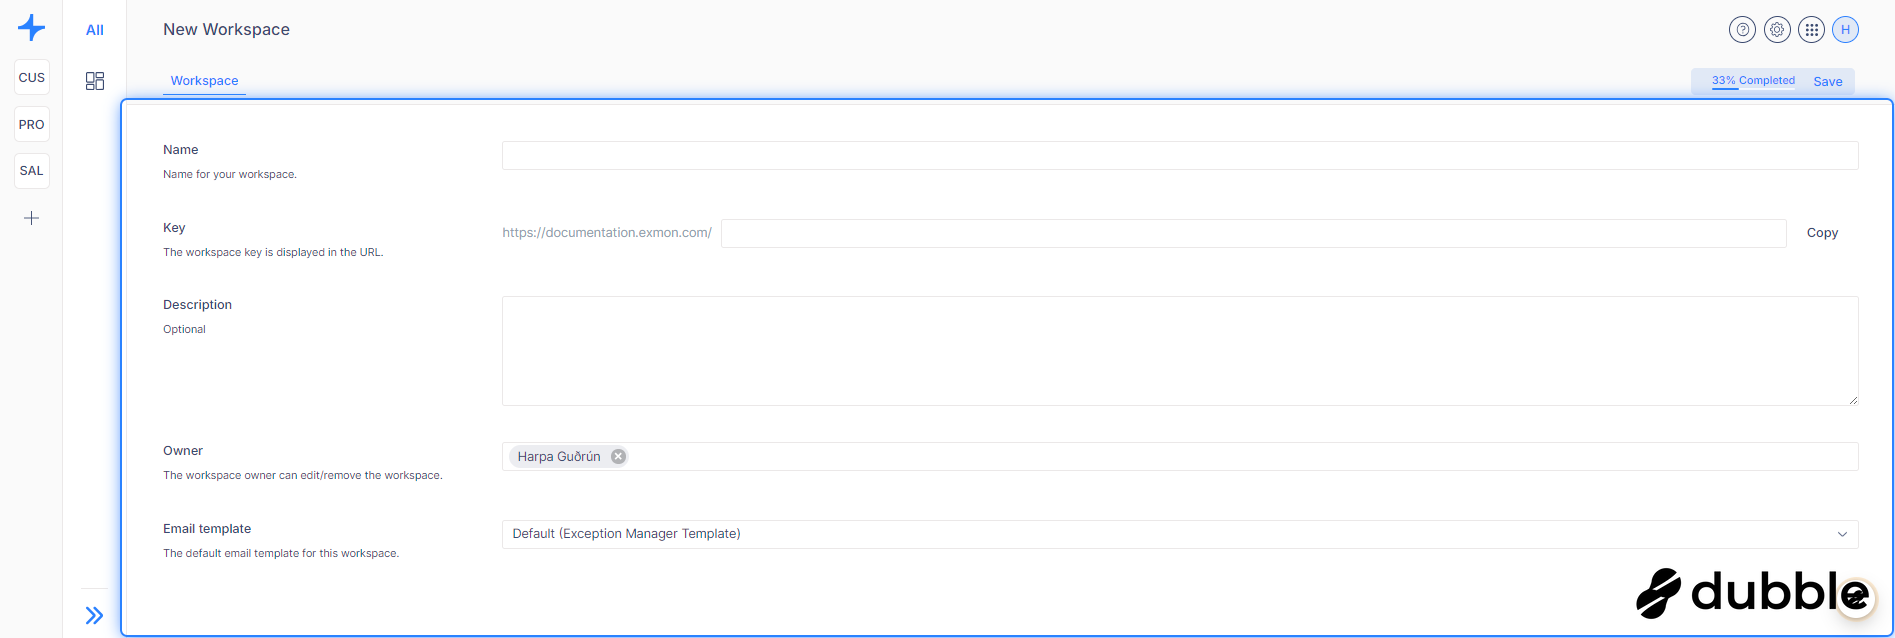
- Save: Once you've filled out the required information, click on the "Save" button to finalize the creation of your workspace.

Editing a Workspace
To edit an existing workspace:
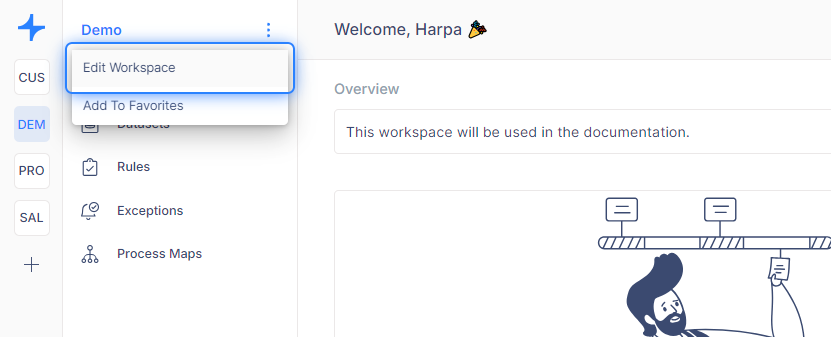
- Select Workspace: From the workspace navigation, choose the workspace you want to edit. You'll see the workspace name appear in the primary navigation.
- Access Edit Options: Next to the workspace name, click on the three dots icon or anywhere on the name itself to open a dropdown menu.

-
Edit Workspace: Select "Edit Workspace" from the dropdown menu.
-
Make Changes and Save: Edit the fields as needed, including the name, key, description, owner, and email template.
Deleting a Workspace
To delete a workspace:
-
Edit Workspace: Follow the steps above to access the workspace's edit options.

-
Delete Workspace: In the top right corner of the edit workspace view, click on the "Delete" button.

-
Confirm Deletion: Confirm the deletion when prompted. Be aware that deleting a workspace will also delete all datasets and rules associated with it.
Adding a Workspace to Favorites
To easily access a workspace, add it to your favorites:
-
Access Options: Click on the name of the workspace to open the dropdown menu.
-
Select Option: Instead of choosing "Edit Workspace," select "Add to Favorites."
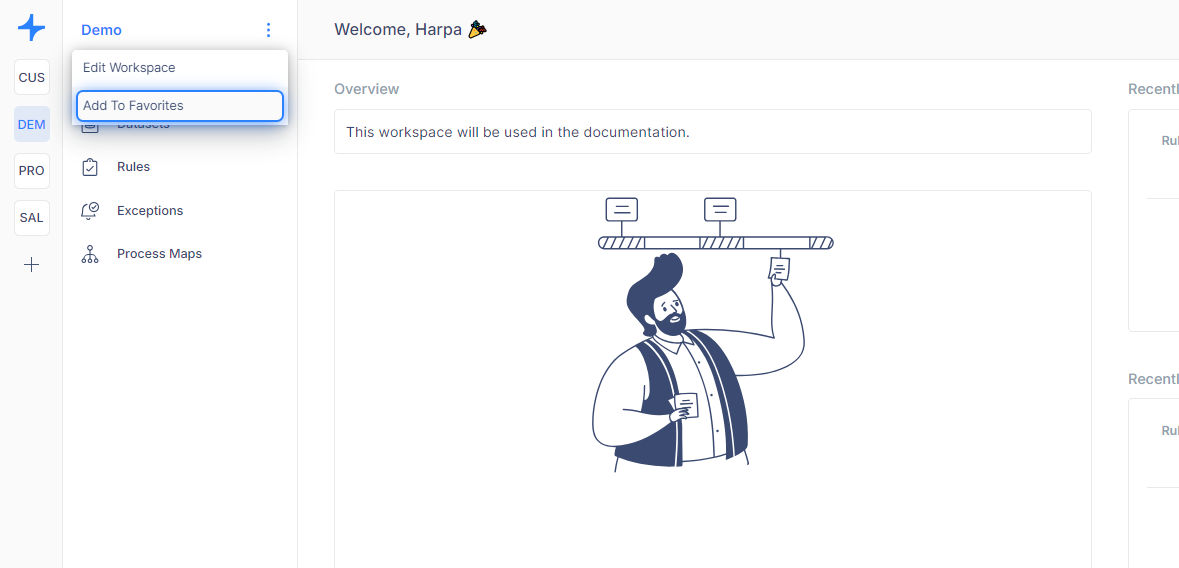
The workspace will now appear at the top of your workspaces list with a blue ribbon icon indicating it's a favorite.