The TimeXtender Migration Tool is here to assist you in the upgrade of your existing TimeXtender Classic (Version 20.10) projects to TimeXtender Data Integration. This article explains how to use the migration tool.
Benefits
TimeXtender Data Integration is Cloud-enabled for significantly improved scalability and usability. Some features only available in TimeXtender Data Integration include:
No need to host project repositories - TimeXtender Data Integration is powered by fully managed cloud instances.
Goodbye License Keys and Client Secrets - TimeXtender Data Integration now supports user sign-in and granular user permission management.
Simplified Multiple-Environment management & transfer in the portal, including the Ingest instance.
Cloud-based Data Source connection management - Admins can now create and share access to data sources without passing around passwords.
Run PowerShell scripts in Execution Packages - Unlock significantly automation capabilities within Azure through PowerShell.
Support for Snowflake as a Prepare instance storage.
TimeXtender Data Integration differs significantly from TimeXtender Classic (v20.10) and below. Some features from the older version are no longer present, such as:
Business Units (These can be converted to Prepare instances using this tool)
Multidimensional OLAP Cubes
Project Variables
External SQL Connection
We strongly encourage you to review the release notes and test thoroughly before upgrading to understand the changes and the potential impact on your operations.
Prerequisites
To migrate a project, you must create all the required target/destination instances in the Portal - please see Add and Configure Instances - so the Migration Tool has something it can migrate your project to. The Migration Tool is designed to allow for partial migration - e.g. one data warehouse or a few Semantic models at a time - so you're not strictly required to create all target instances before you begin. The instances required are as follows:
1 Deliver instance per semantic model
0-1 Prepare instances for each data warehouse and staging database (business unit). Multiple data warehouses and staging databases can be migrated into the same Prepare instance as separate data areas, provided that the target Prepare instance has not been opened and initialized in TimeXtender Data Integration.
1 Ingest instance per ODX
The Migration Tool can automatically migrate many data sources, both from ODXs and business units. Some data sources, however, have no direct equivalent in TimeXtender Data Integration. In these cases, you must create the data source connections in the Portal and map them in the Migration Tool. The tool will list the data sources that cannot be migrated automatically when it validates the project. After creating all the instances above, the following is necessary before running the migration tool:
Do NOT open or initialize any of the Prepare or Deliver instances in the TimeXtender Data Integration.
Do open and initialize the Ingest Instance in the TimeXtender Data Integration to have it available to associate with the Prepare instances as the data sources for their mapping. This requires running the TimeXtender Ingest Server Configuration and selecting the newly created Ingest instance, and then opening the Ingest instance in TDI.
Note: Only uninitialized Prepare and Deliver instances will be available to choose as migration destination targets, so it is important not to open these in the TimeXtender Data Integration prior to running the migration tool. However, when it comes to associating the data sources to the Prepare instance data areas, only those Ingest instances with mapped data sources are available, so your Ingest Instance does need to be initialized and have the appropriate data sources associated with it prior to running the migration tool. For Deliver instances, a separate target empty Deliver Instance will need to be created for each Semantic model that will be migrated. It is not necessary to have the Endpoints created in order to complete the migration, so these can be created along with the empty instances or added later as appropriate.
Using the Migration Tool
The Migration Tool is designed for migrating your project one layer at a time - first data sources and ODX, then data warehouses and staging databases, and lastly, semantic models. Within each layer, you can migrate a subset of items at one time. By splitting the migration into many smaller migrations this way, we're aiming to make it more manageable.
Opening the tool and project validation
Open TimeXtender 20.10.x and open the project you want to migrated
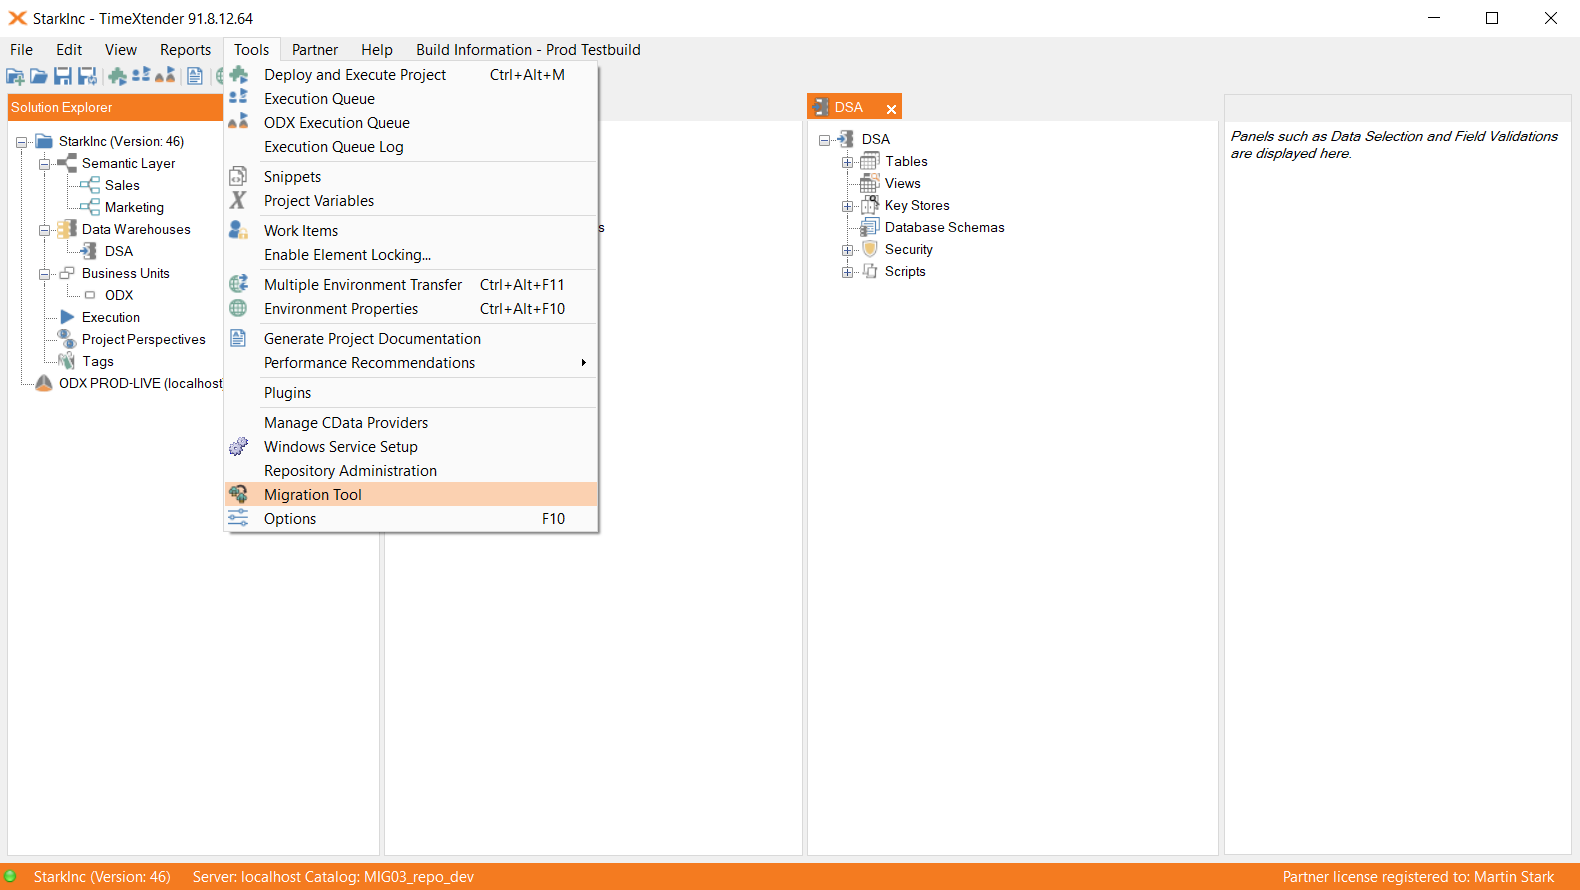
Under Tools, click Migration Tool
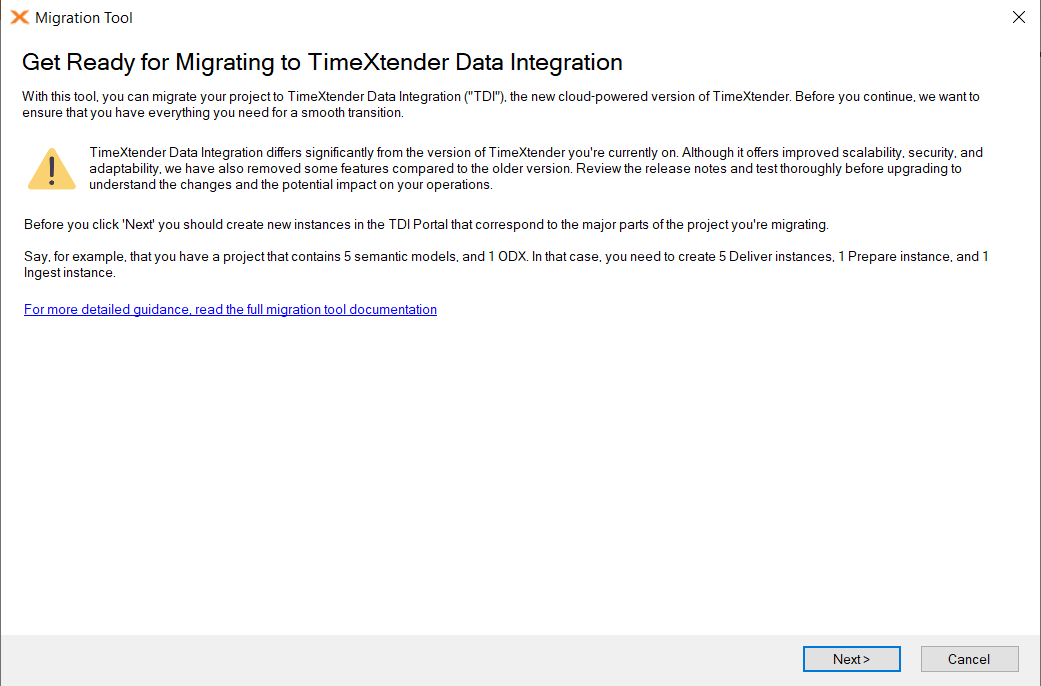
On the first page of the wizard, read through the guidelines, then click Next.
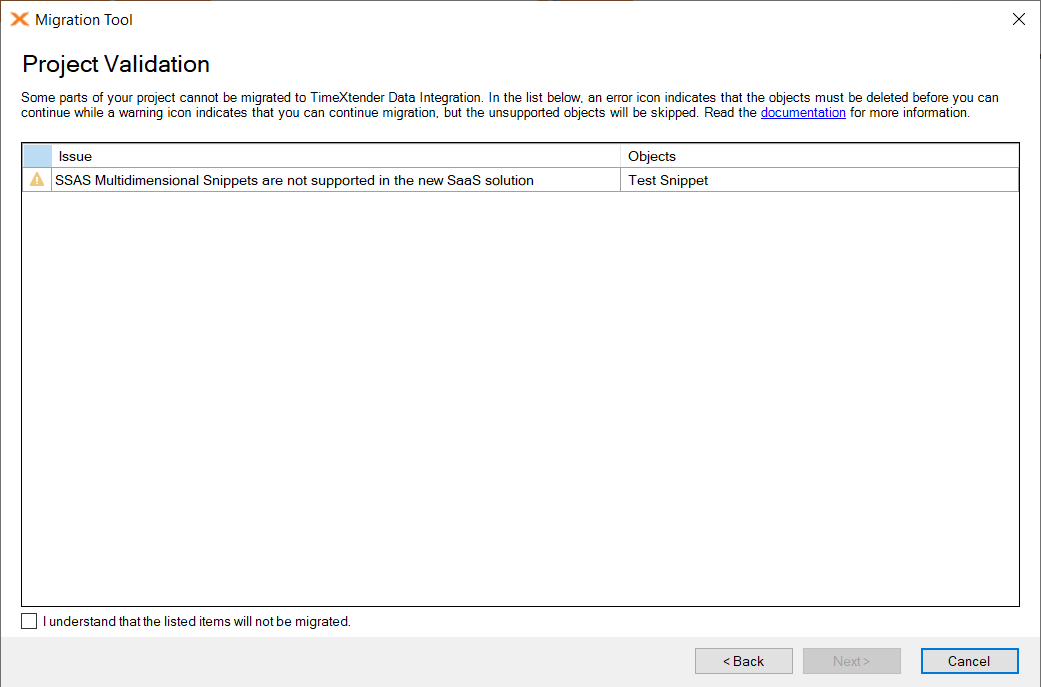
The project will be validated to see if it's ready to be migrated or if further steps are required before migrating. If issues are found, the Project Validation page will be displayed. Two types of issues may be encountered during Project Validation (more information about the different types of warnings and errors can be found in the Migration Tool - Project Validation):
Errors: Issues that need to be handled before the project can be migrated, e.g. a deprecated feature still in use. Usually, this involves refactoring the project to not use the unsupported functionality.
Warnings: Less severe issues that do not prevent the project from being migrated, e.g. a feature that is not supported in the TimeXtender Data Integration and, as a result, cannot be migrated. However no further action is required, and the project is ready to be migrated despite the warning since these features can be skipped (e.g. data export).
If your project has errors, click Cancel to close the wizard, then fix the issues, and finally start the Migration Tool again. If the project validation completes without errors, select the 'I understand' checkbox to accept any remaining warnings, and then click Next.
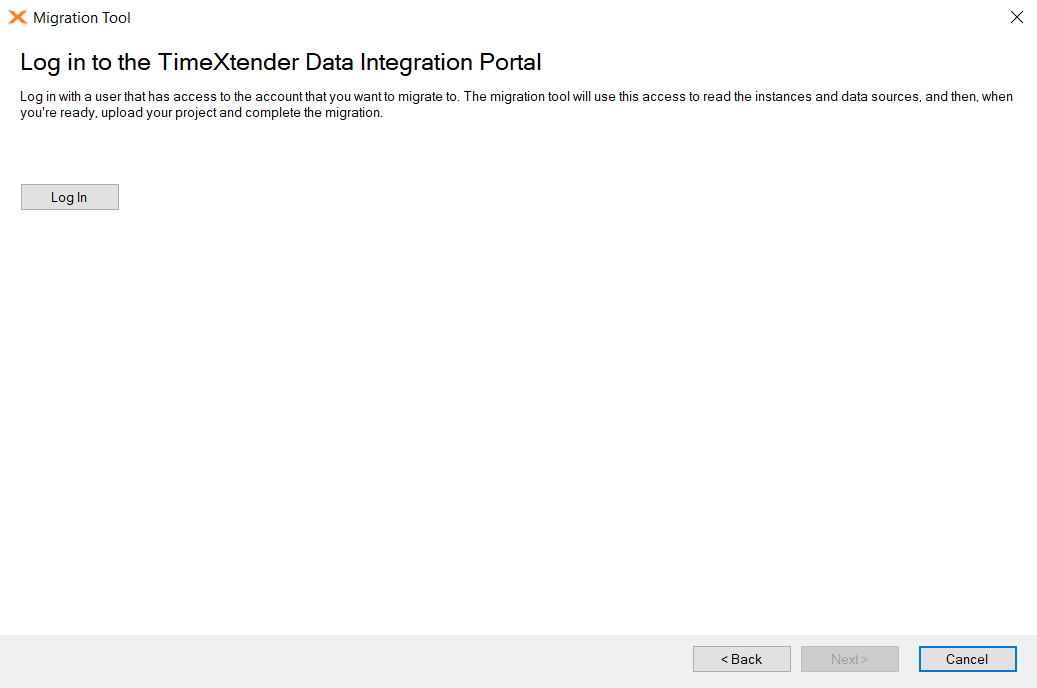
Click Log In, enter your credentials and click Sign In. On the page, you can now see the user account you're logged in with and click Log Out in case you used the wrong credentials. Click Next.
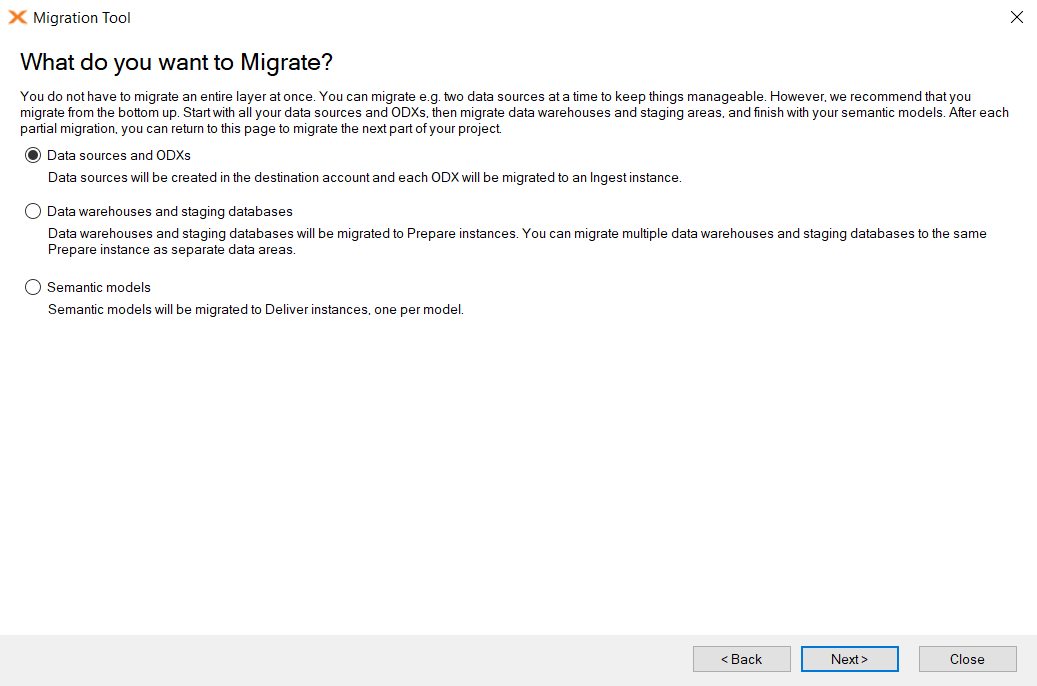
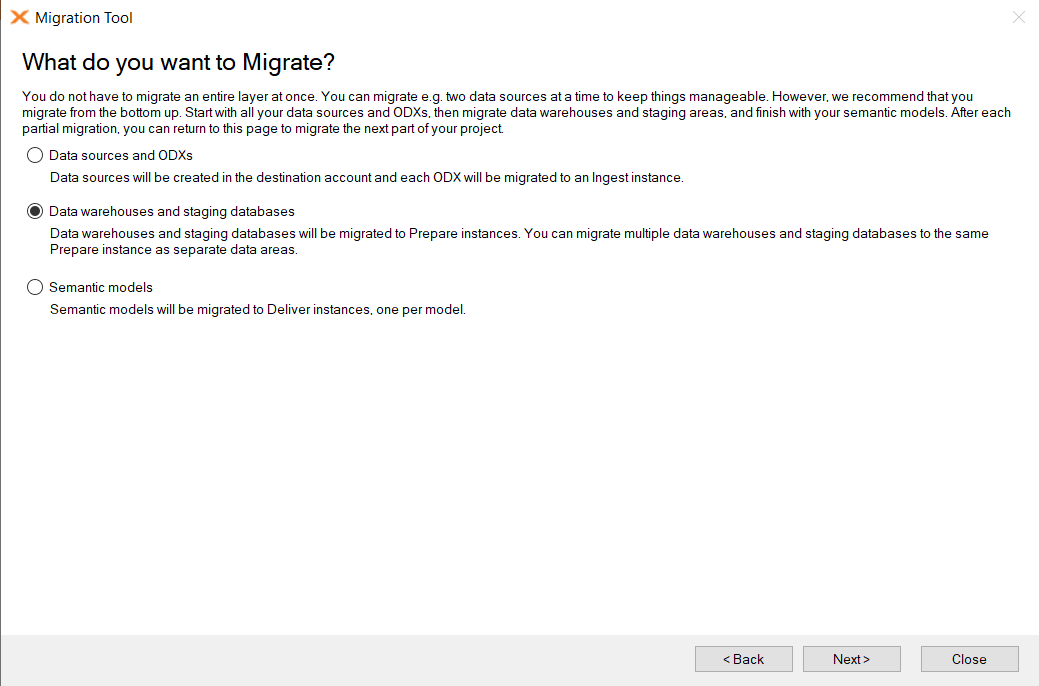
On the What do you want to Migrate? page, click Next to migrate data sources and ODX.
Migrating ODX and data sources
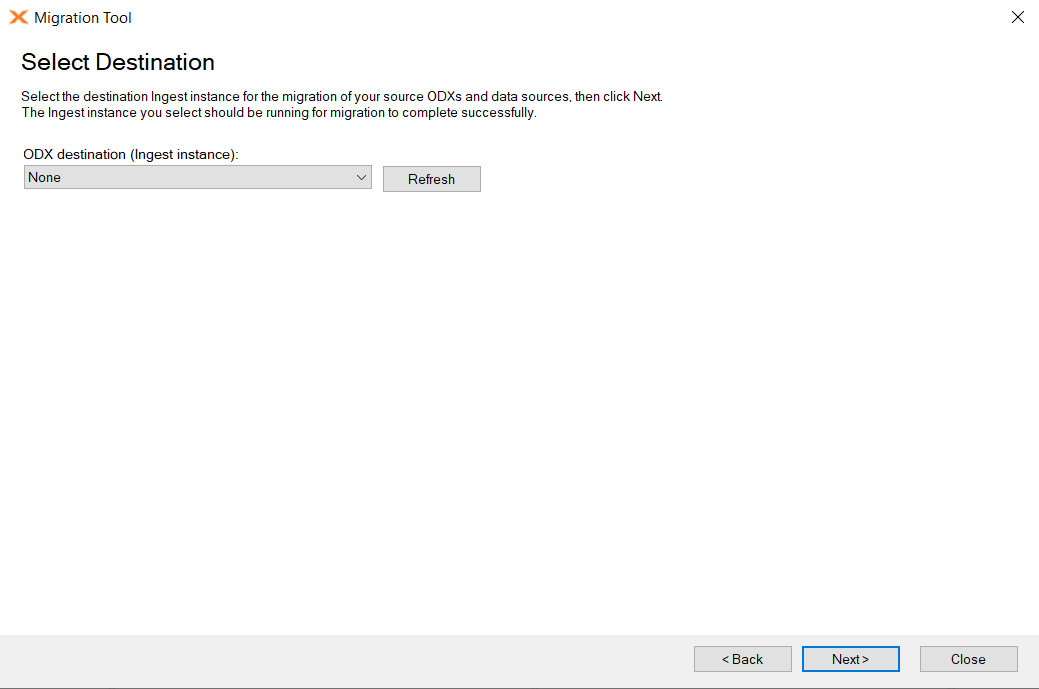
On the Select Destination page, select the Ingest instance you want to migrate your data sources to, from the drop-down, then click Next. If you cannot see an instance in the drop-down, make sure you have created a new Ingest instance, ran the TimeXtender Ingest Server Configuration for this instance, and opened this instance in TDI, then click Refresh.
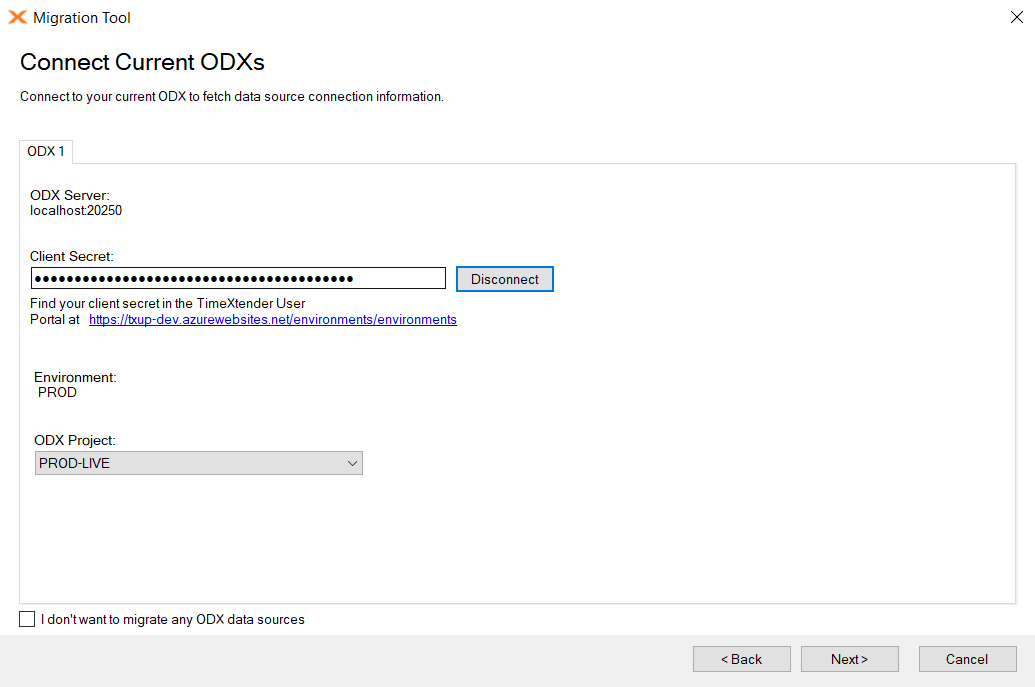
On the Connect Current ODXs page, enter the Client Secret and select the ODX Project for each ODX you are migrating or select I don't want to migrate any ODXs - skip this step if you only want to migrate business unit data sources. Click Next.
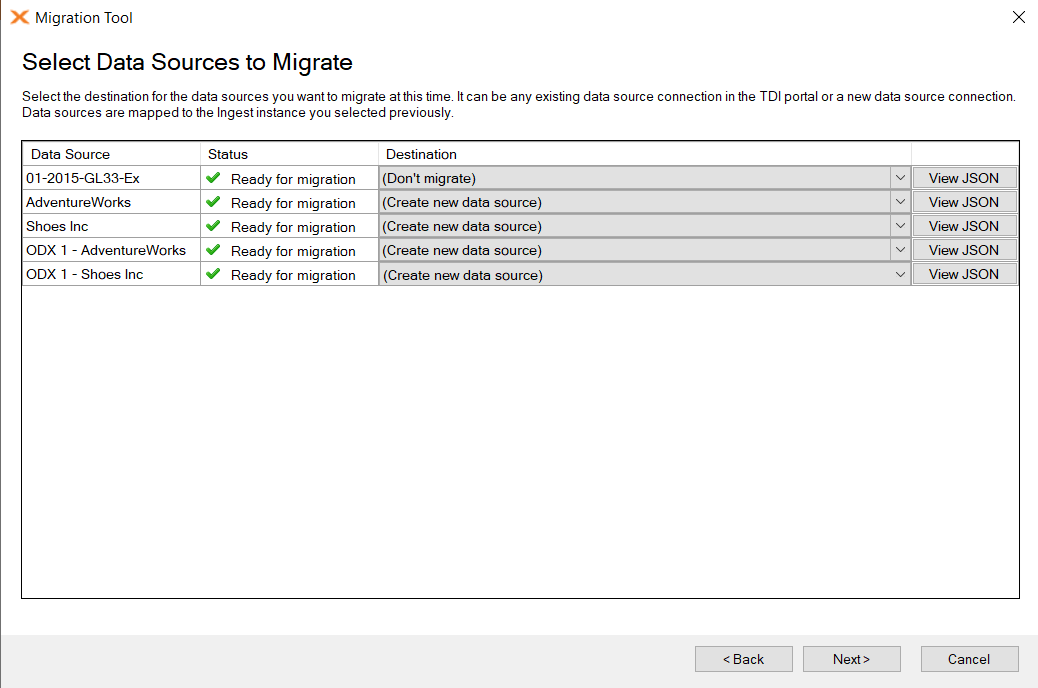
On the Select Data Sources to Migrate page, choose what to do with each data source.
In the Data Source column, data sources from an ODX can be recognized because they have the ODX name as a prefix. In the Status column, the value will be ‘Already migrated’ if you have migrated the data source during a previous migration.
In the Destination column, select (Create new data source) to automatically migrate the data source to a new data source or select a specific data source connection that has been manually created in the Portal to use that. If the name of the data source in the project matches the name of a data source connection in the Portal, then the Migration Tool will automatically map them.
If you do not see the option (Create new data source) for a specific data source then it means that the particular data source cannot be automatically migrated. In this case, manually create the data source connection in the TDI portal and then go click Back until you get to step 1 above, and then click Refresh and then click Next until you reach this step again, and then the newly manually created data source connection will appear in the Destination drop-down. Select this manually created data source connection from the drop-down for the data source that cannot be automatically migrated. Click Next when you're ready to continue.
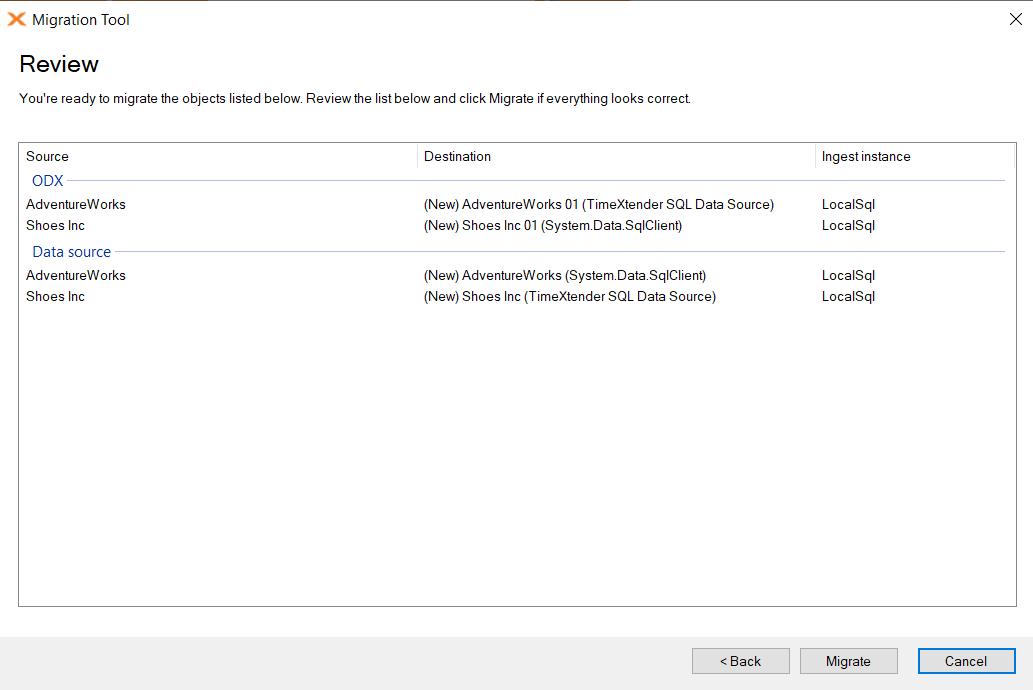
On the Review page, confirm that everything looks OK. In the ODX group, data sources from the your ODX are listed, while the business unit data source can be found in the Data sources group. Click Migrate to migrate the data sources you selected on the previous page.
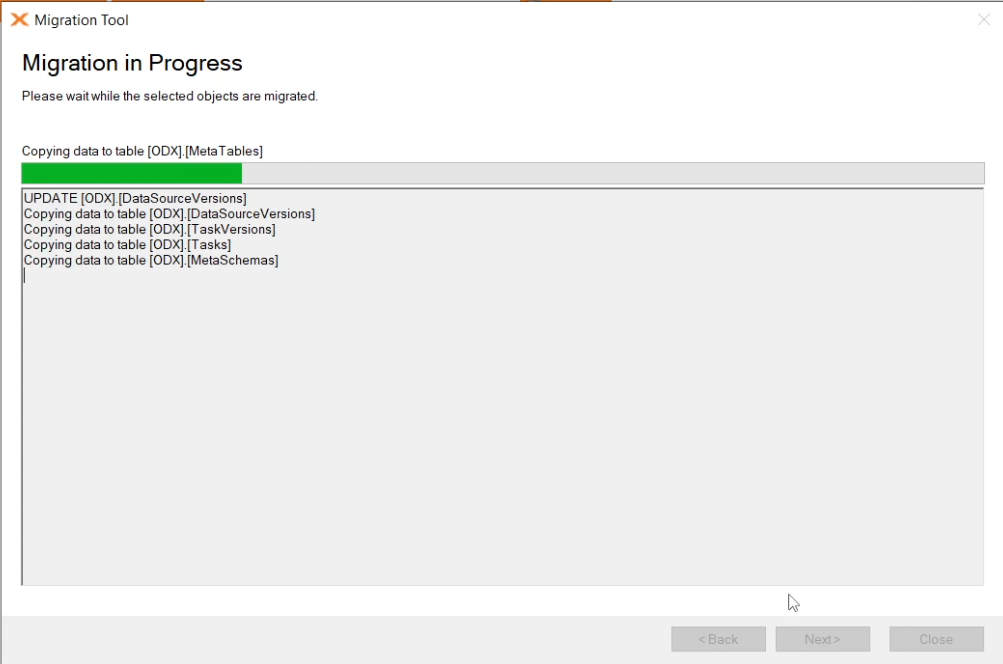
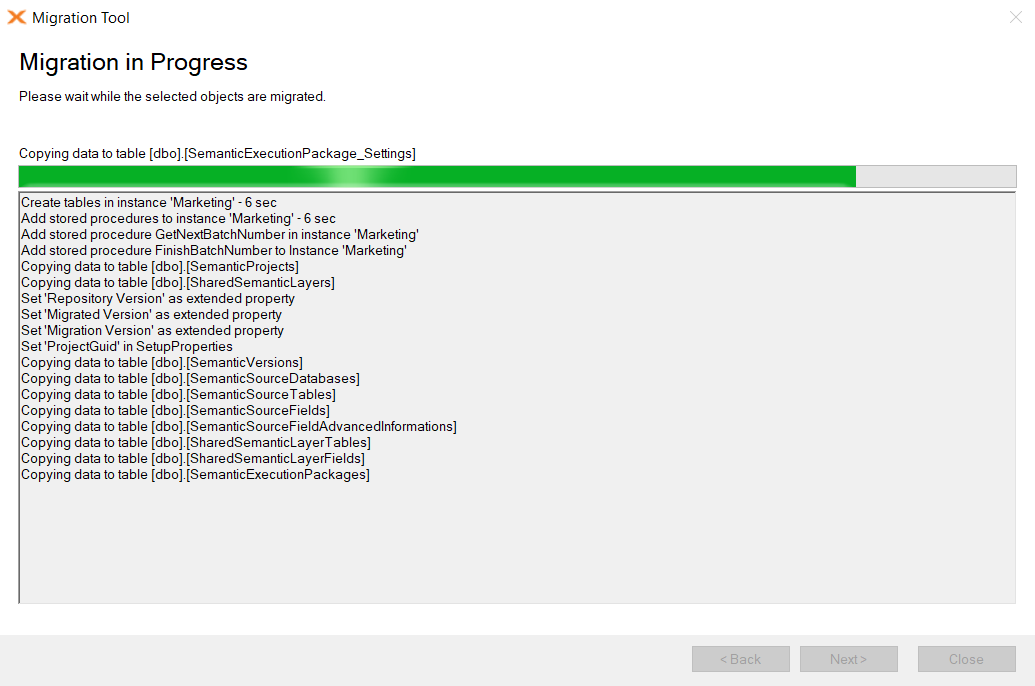
On the Migration in Progress page, you can follow the migration as it happens.
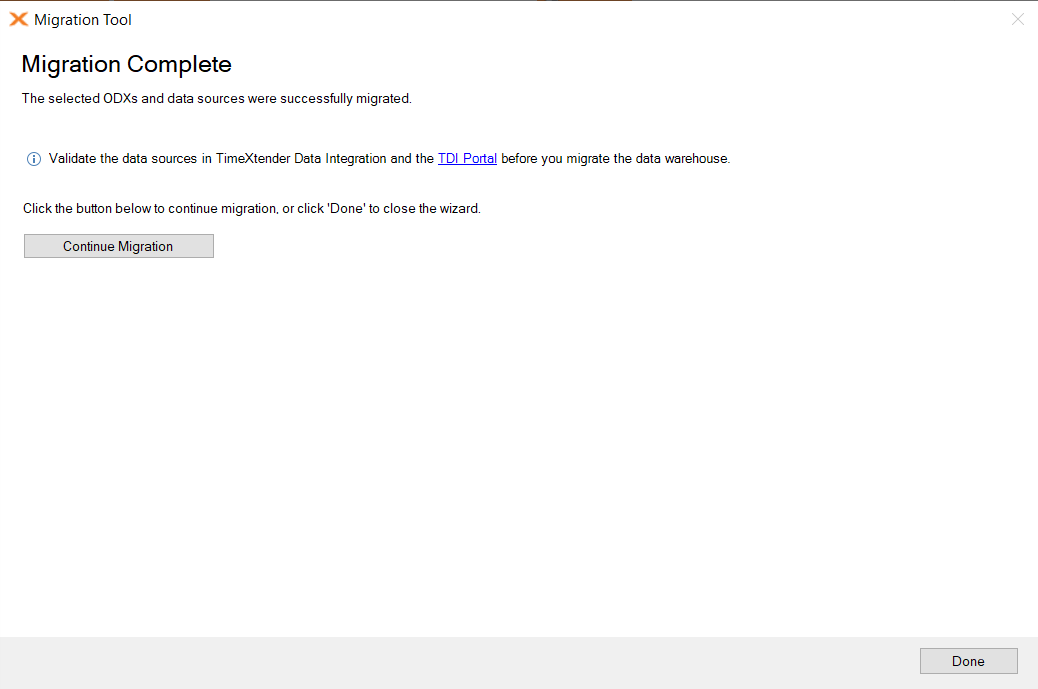
On the Migration Complete page, click Continue Migration to migrate the next part of the project, your data warehouses, or click Done if you don't want to migrate more at this time. It is recommended that you open TimeXtender Data Integration and the TDI Portal to validate that the data sources were migrated correctly.
Migrate data warehouses and staging databases
On the What do you want to Migrate? page, select Data warehouses and staging databases, then click Next.
On the Select Destination page, select the Prepare instance you want to migrate to in the Destination list. Under Objects that will be migrated, you can review the data warehouses and staging databases that will be migrated and, in the Destination schema column, the schema they will use. If you want to customize the schema for one of the objects, click Rename Schema and type a new name in the Rename Destination Schema window that opens. When you are ready to continue, click Next.
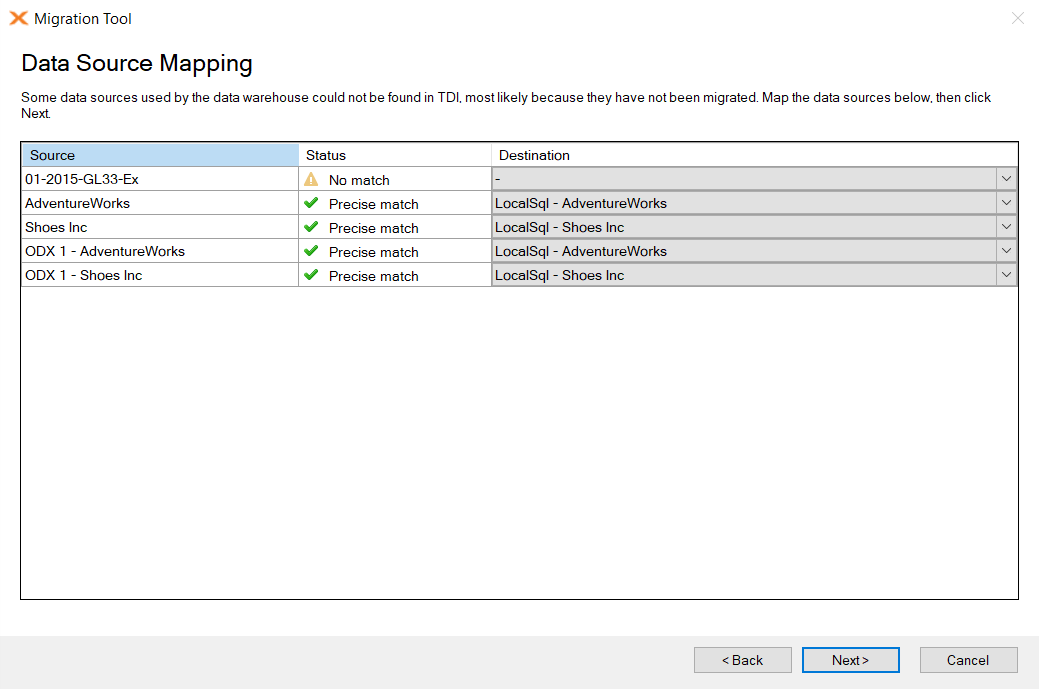
Data warehouses store mappings to data sources. If you haven't migrated all data sources before migrating the data warehouse, the Data Source Mapping page will be displayed. Here, you can map the data sources in the data warehouse - Sources column - to the data source connections in TDI listed in the Destination column. The Status column has the following values:
Precise match: Source and destination were unambiguously mapped on ID.
Suggested match: Source and destination were mapped on name.
No match: The tool couldn't map the source to any destination.
User selected: You have made a selection.
On the Copy Data Warehouse Data page, select Copy existing data to the Prepare instance if you want to migrate data as well as metadata. This is especially useful if your data warehouse contains historical data that would be cumbersome to load from the data sources again. Click Let me select the tables if you don't want to migrate data from all tables in the data warehouse, then click Next.
Note: To copy data warehouse data you will first need to:
Create Ingest instance storage. To do this, right-click on the ingest instance in TDI and select Edit, and then select Create Storage. You do not have to create the prepare instance storage as the Migration Tool will create the destination database if it does not exist using the collation of the majority of the databases being migrated. If you want to use a specific collation, you can create the database in SQL Server before you migrate and the tool will take ownership of the database, but not change the collation.
Make sure all migrated data source are working by executing the import metadata task, synchronizing and selecting the tables/fields in metadata manager and running a transfer task.
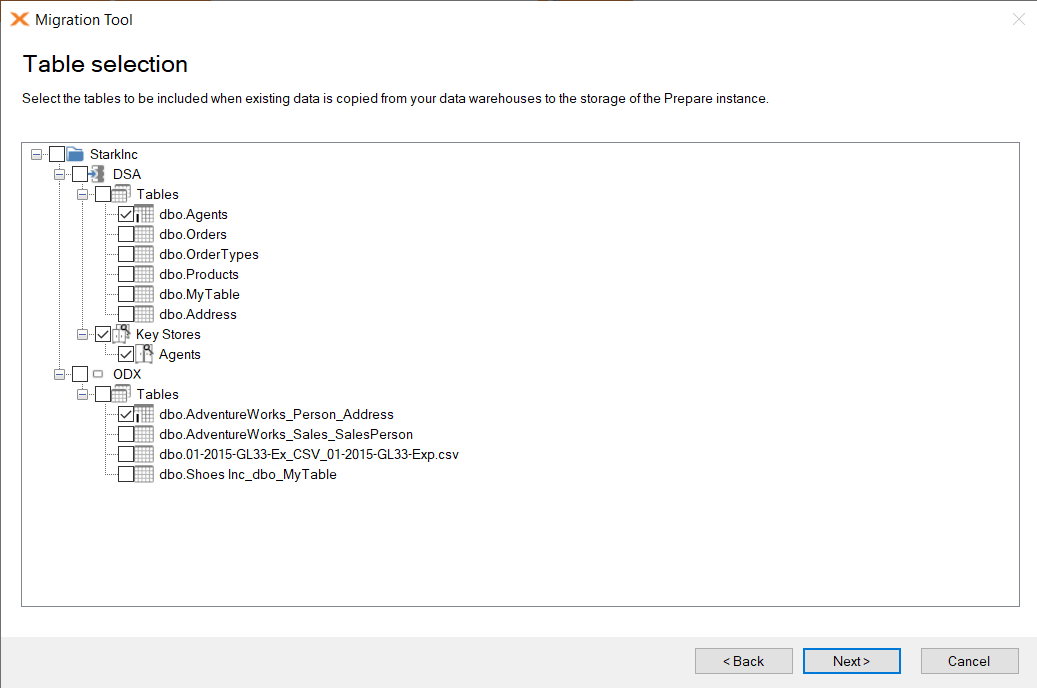
If you chose to migrate data and select the tables to migrate as well, the Tables Selection page will be displayed. Select the tables you want to migrate data for, then click Next.
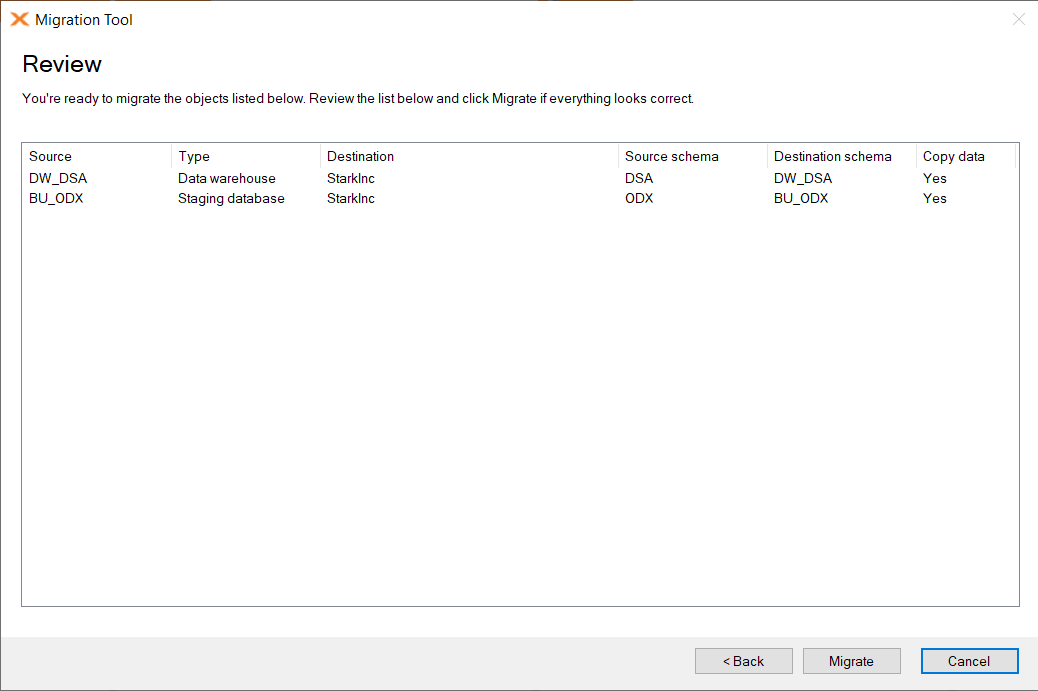
On the Review page, confirm that everything looks OK, then click Migrate to migrate the data warehouses and staging databases you selected on the previous page.
On the Migration in Progress page, you can follow the migration as it happens.
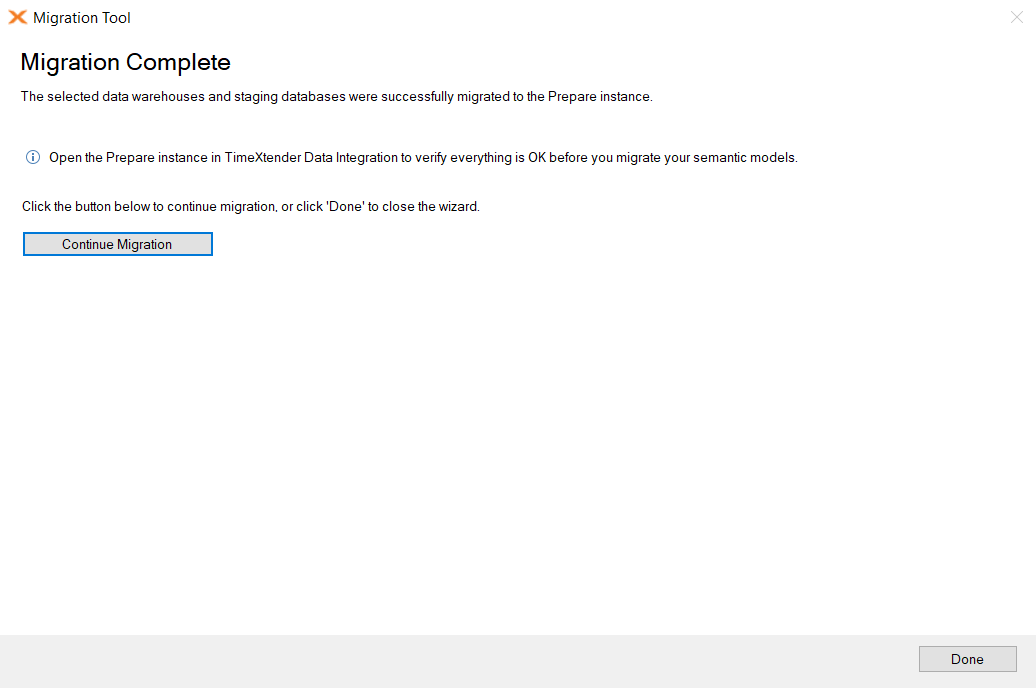
On the Migration Complete page, click Continue Migration to migrate the next part of the project, your semantic models, or click Done if you don't want to migrate more at this time. It is recommended that you open TimeXtender Data Integration to verify that everything looks OK before you continue. However, if you have additional projects to migrate and want to use the same Prepare instance for the data warehouses, then do not open the Prepare instance in TimeXtender Data Integration yet. Instead, complete migration for the current project and migrate the next project before you open the instance.
Migrating Semantic models
On the What do you want to Migrate? page, select Semantic models, then click Next.
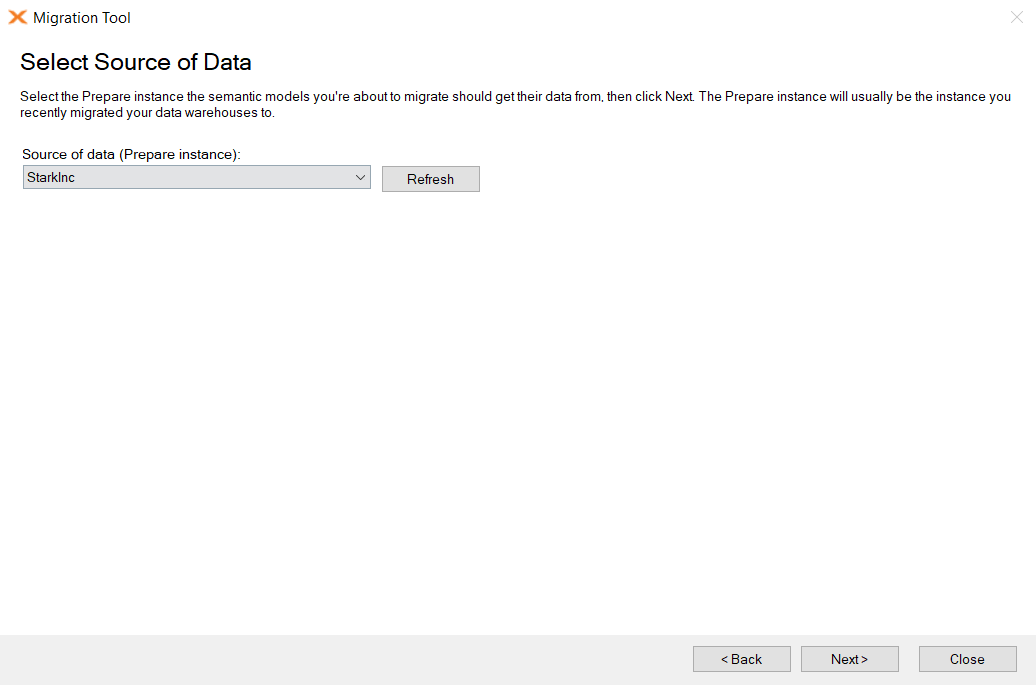
On the Select Source of Data page, click the Prepare instance your semantic models/Deliver instances should get data from once migrated, then click Next. This will usually be the Prepare instance you just migrated your data warehouses to.
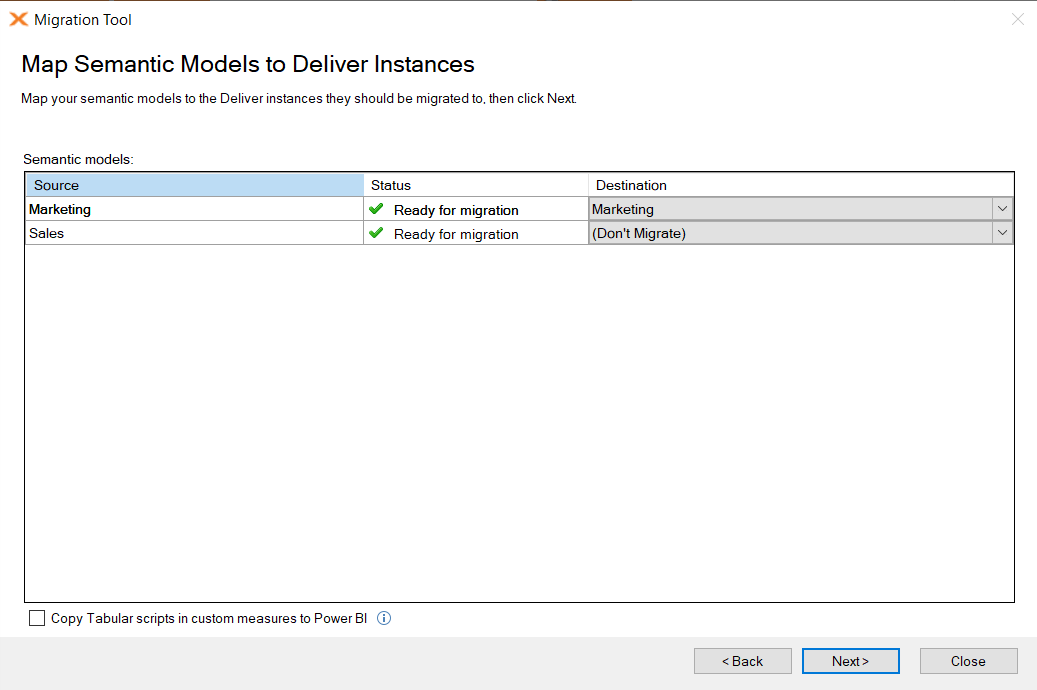
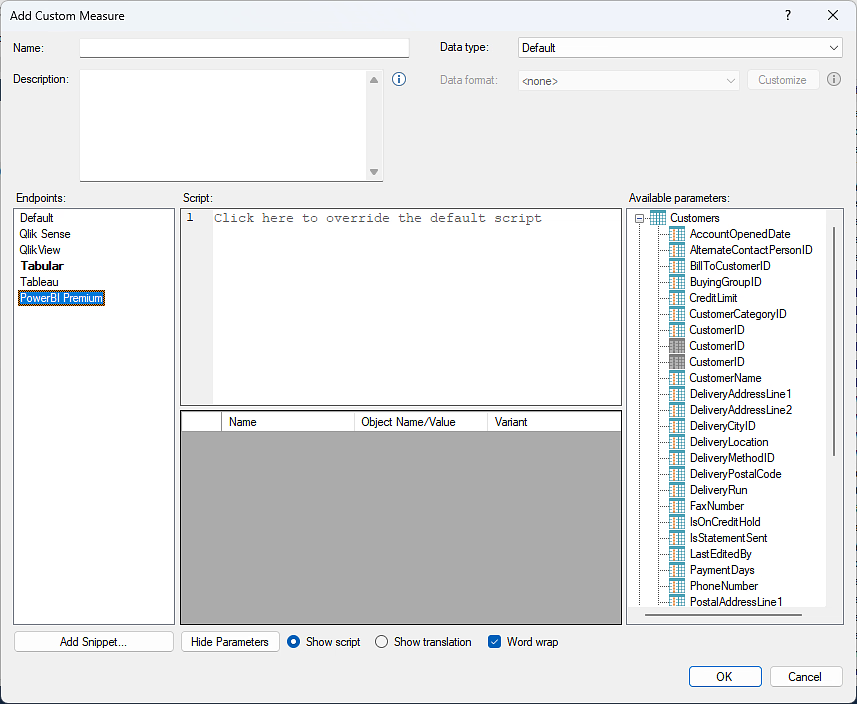
On the Map Semantic Models to Deliver Instances page, configure which Deliver Instances in the Destination column your semantic models in the Source column should be migrated to. Select Copy Tabular Scripts in custom measures to Power BI if you are moving from Tabular to Power BI as part of the migrating project. This will simply copy the script under 'Tabular' in custom measures to 'Power BI Premium', saving you a bunch of copy-pasting. When you are happy with your selections, click Next.
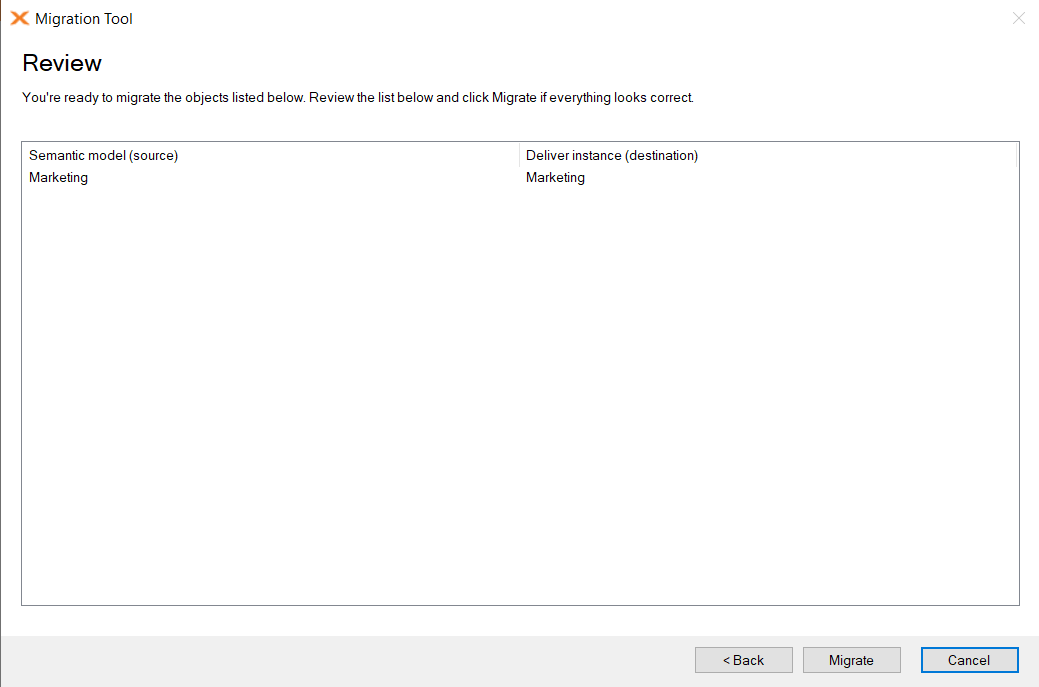
On the Review page, confirm that everything looks OK, then click Migrate to migrate the semantic models you selected on the previous page.
On the Migration in Progress page, you can follow the migration as it happens.
On the Migration Complete page, click Continue Migration to migrate more, or click Done if you are done with migration for now. In any case, it is recommended that you open TimeXtender Data Integration to verify that everything looks OK.
After migration
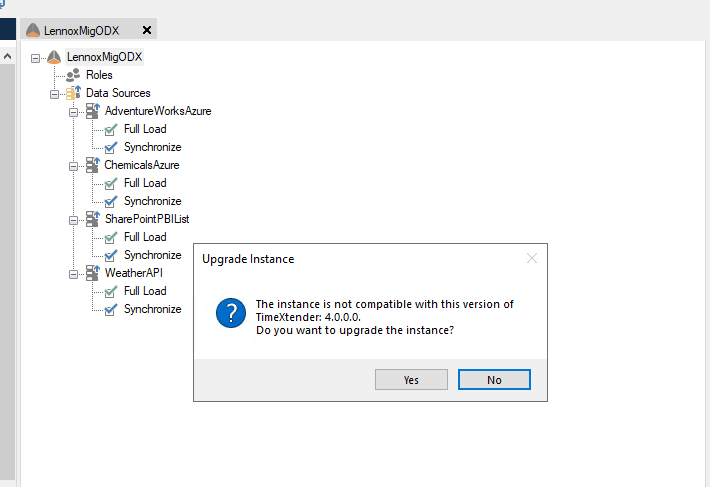
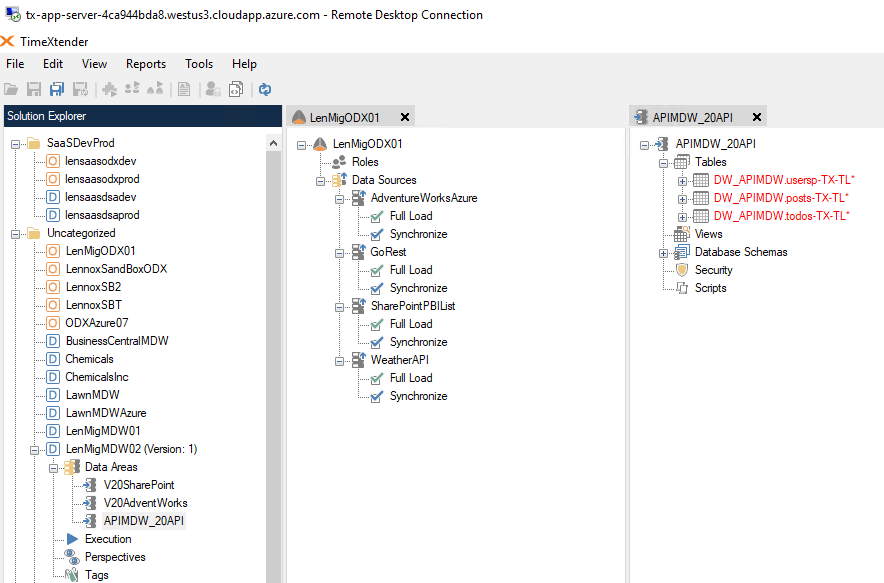
Once the migration of all the projects is complete, you can open the TimeXtender Data Integration and open the target Prepare instance. Each project will have its own data area within the instance. Click Yes to upgrade the instance if prompted to do so.
Afterwards, expand the Tables node and note how all the tables are marked in red. Right-click and select “Deploy and Execute” to deploy your tables.
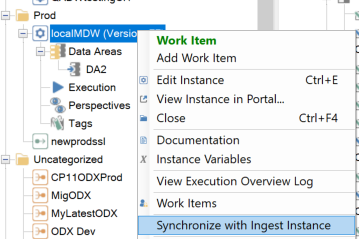
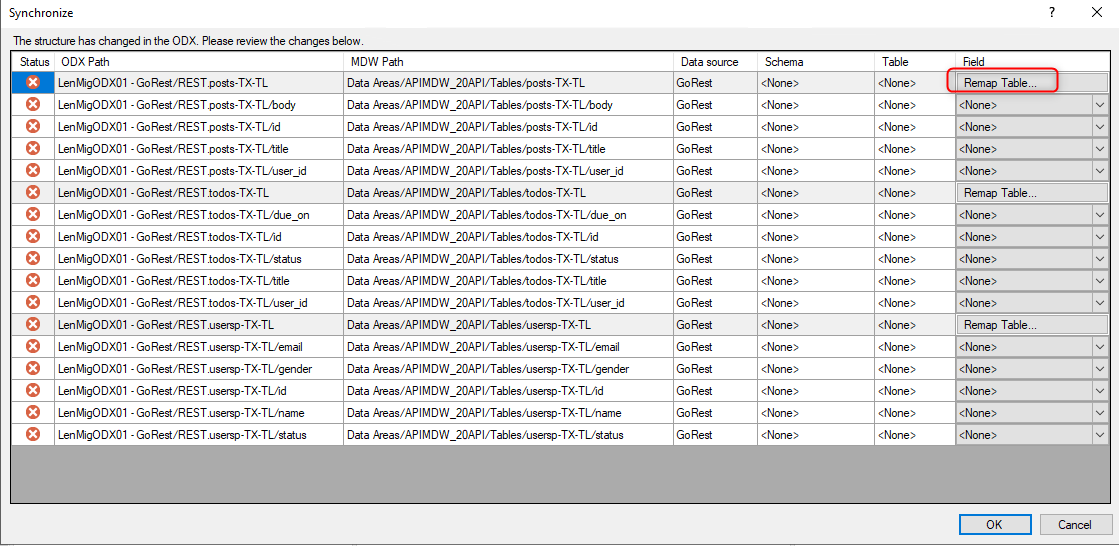
Optional - If the deployment of the tables does not complete and returns a “Table Not Found” error, then it may be necessary to use the Synchronize with Ingest instance functionality to remap the tables to the new data source table name. Provided all the fields have the same name, then this may be a fairly straightforward operation.
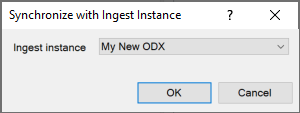
Right-click on the Prepare instance and select Synchronize with Ingest instance
Choose the appropriate Ingest instance from the list of Ingest instances. If you migrated more than one project into the same Prepare instance, then the same Ingest instance may be listed out more than once. Open them up one by one until you find the Ingest instance that matches your current data area.
Click the Remap button next to any tables that have red X next to their Status.
Use the Select Tables dialog for find the correct table to remap the tables to.
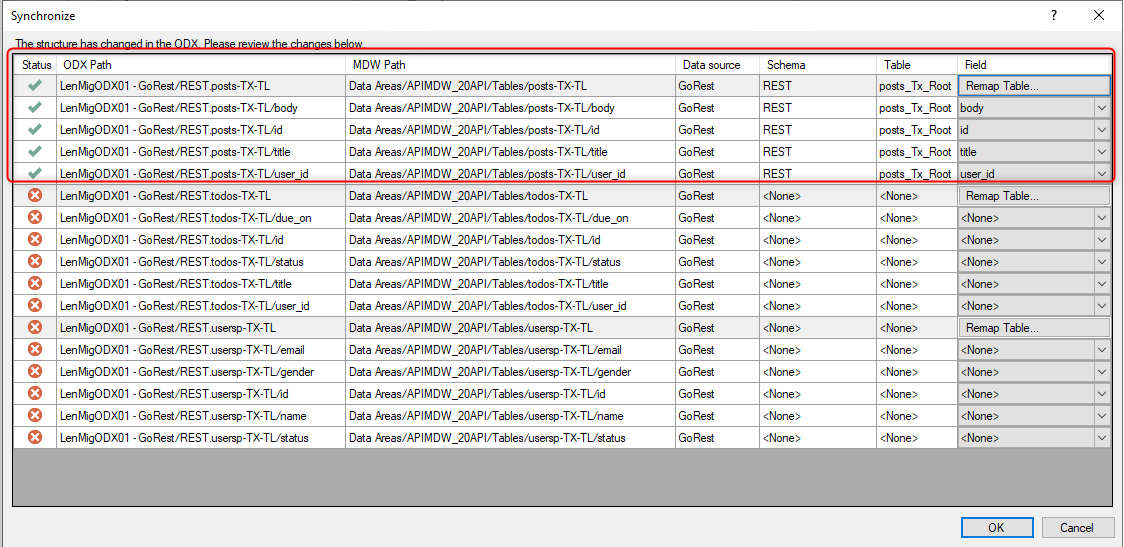
Click OK and note whether the status changes to green.
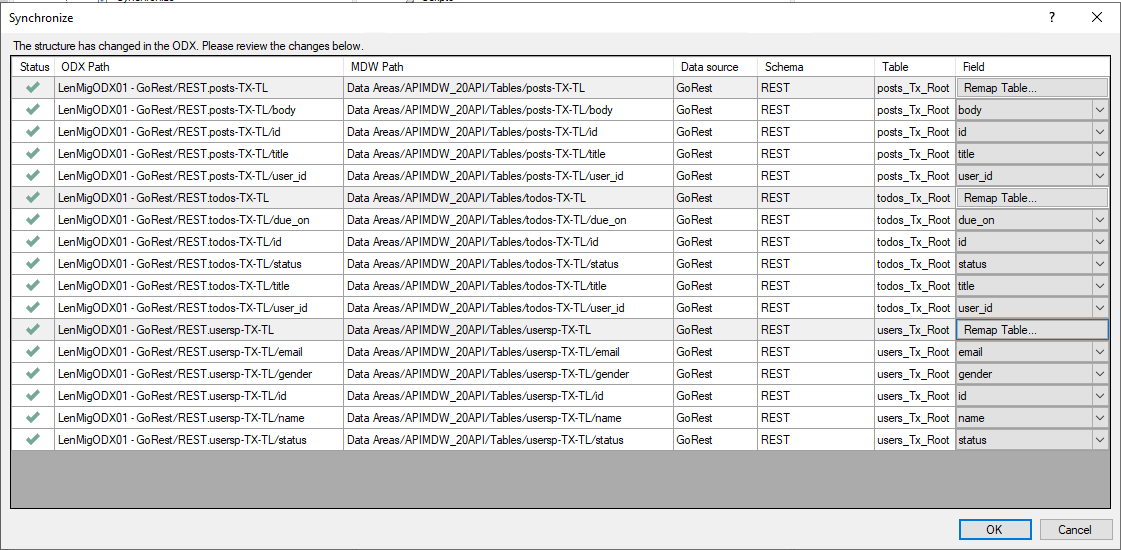
Complete the remapping for the remaining tables as needed and then click OK.
Attempt to Deploy and Execute the tables in the data area again and now it should complete.
We're excited to get to work using the new migration tool! I have a couple of questions about the database used for storage in version 20.10 and the database used for storage in the destination instance:
Can the destination instance storage database in version 21 be the same database as the data warehouses in version 20?
If yes, will version 21 take over the existing tables on the database, including e.g. history etc.?
If no, will the new tables have a different schema from the old tables to prevent ‘object already exists’ problems on deploy?
Will the migration tool separate the tables in the data-areas of the destination instance, for example with schema's, since the data-areas on a single instance are now always on one database for storage?
Another prerequisite is to upgrade the legacy version to version 20.10.45 (or higher if newer versions are released) so the migration tool becomes available in the Tools menu. Might be good to add that where the prerequisites are mentioned.
For making it easy to know what you need to do I made a checklist. Initially it was for internal use, but it can be used by everyone who is in the process of doing a migration.
You will need to upgrade to the newest version of LTS (Long Time Support) before doing this and that is also not part of this guide.
@Christian Hauggaard The migration tool isn’t available by default after installing 20.10.45, so I think it would be good to add that it needs to be activated by TimeXtender. Took me a while to find that out.
@Christian Hauggaard Using TX V20.10.59 - The ingest instance dropdown only shows ‘None’, while I have an Ingest service running in the TDI environment. How can I make it show my Ingest service? Best regards, Peter
Hi @rory.smith , I added the container manually in the ADLS. The ‘create storage’ option (in edit instance) shows me that the ‘container is ready to use’. I have used it already in TDI (even added some data sources manually, loaded metadata).
But still I don’t get it in the list of available ingest instances.
if the storage is created and you have some sources mapped to the Ingest, I think it should show up. Not sure if you need to ensure it is closed in TDI or not. I guess it may be time for a support ticket.