Relates to TimeXtender 6024.1 and later versions
As with other instances, your Deliver instances are added in the TimeXtender portal. Here, you can add both the Deliver instance and the accompanying semantic endpoints that you want to use. You can always edit a Deliver instance to add more endpoints or remove existing ones.
Add a Deliver Instance
In the TimeXtender Portal navigate to Data Estate > Instances, click Add new instance > Add deliver instance
Note: All connection credentials are protected with 256 bit AES encryption
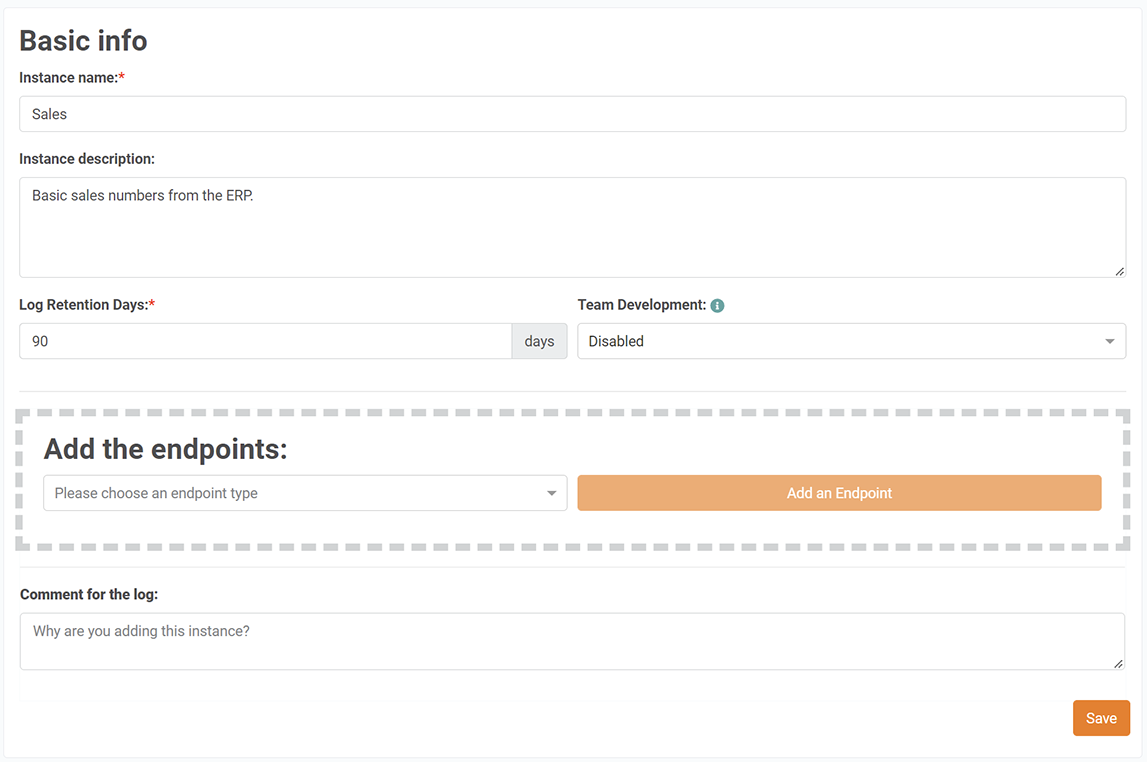
The 'add' form is divided into two sections - we'll take them one by one in the following.
General
- Name: type the name you want to use for the data warehouse.
- Description: type a description of the Instance. The description is displayed on the desktop and on the instance details page.
- Log Retention Days: adjust the number of days logs should be kept (default is 90).
- Team Development: Enable if you want to allow multiple developers to develop on the instance at the same time. Since Deliver instances are relatively small this is not typically recommended.
Add Endpoints
When you've taken care of the general information, it's time to add the endpoints you want to use with this model.
In the Add endpoints list, click on the type of endpoint you want to add and then click Add an endpoint
A new form appears with the fields used by the endpoint you selected. For all types, the Name field is required.
CSV Endpoint
Power BI Premium Endpoint
Tabular Endpoint
Tableau Endpoint
Qlik Endpoint
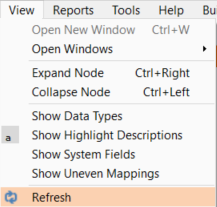
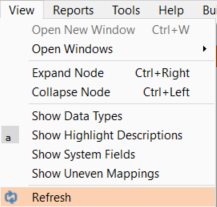
Note: TimeXtender Data Integration must be refreshed to retrieve the newly created Deliver Instances and endpoints.
Edit a Deliver Instance
Go to TimeXtender Portal
Home > Data Estate > Instances
1. Click on your instance, it will open a page with instance details
2. Click on Edit button, edit properties and Save
Note: TimeXtender Data Integration must be refreshed to retrieve the latest changes for the Deliver Instance and endpoints.
Delete a Deliver Instance
Go to TimeXtender Portal
Home -> Data Estate -> Instances
1. Click on Delete button next to your instance. The Delete dialog will be shown.
2. Enter the instance name to confirm, add a comment (reason) and click on Delete
Test Endpoint Connection
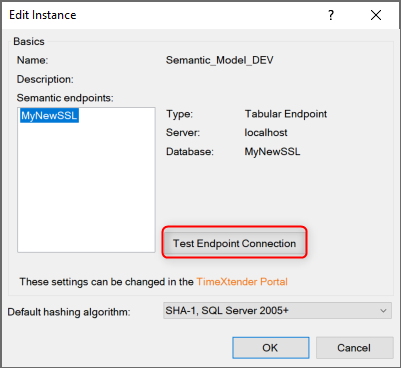
In order to deploy and execute a Deliver instance, the endpoint connection that is defined in the TimeXtender Portal needs to be valid. Right-click on the instance and select Edit Instance.
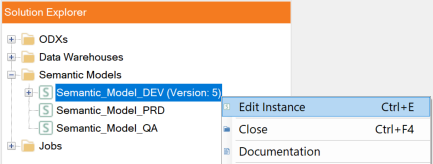
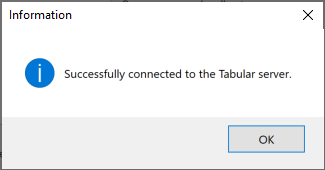
Next, select the semantic endpoint from the list and choose Test Endpoint Connection to ensure that we can successfully connect to each endpoint.
