TimeXtender Data Integration can leverage Microsoft Fabric SQL Database as storage for your Prepare Instance, providing a fully managed, cloud-based data warehouse solution. This feature enables seamless integration with Microsoft Fabric's ecosystem while maintaining TimeXtender's powerful data transformation capabilities.
Why Use Fabric SQL Database?
- Seamless integration with your Fabric Ecosystem
- Database mirroring to Fabric OneLake
- Fully managed database-as-a-service
- Always running the latest SQL Engine
- No patches or updates required
- Automatic scaling capabilities
- Read more: Fabric SQL Database decision guide | Microsoft Learn
Prerequisites in Fabric
Create a Fabric SQL Database
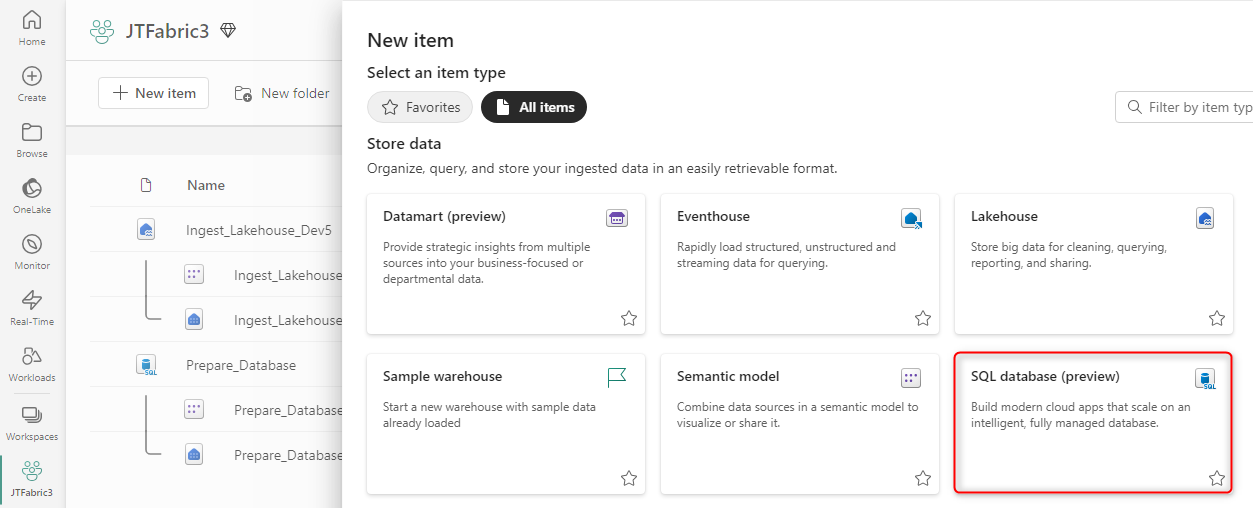
- Navigate to your Fabric Workspace
- Click + New item
- Scroll to Store Data section and select SQL database (preview)
- Enter a database name and click Create
Add an Admin User or Service Principal
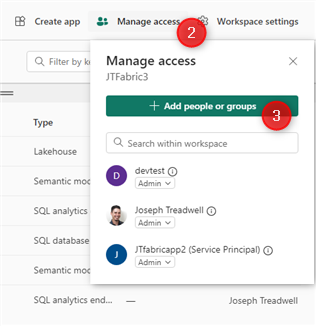
- Navigate to your Fabric workspace
- Click Manage Access
- Select Add people or groups
- Enter the name or email:
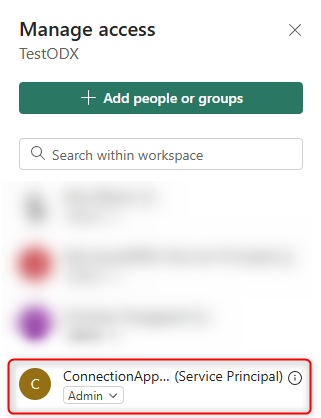
- A Service Principal is recommended
- Non-MFA user/password is also supported
- Select Admin role from dropdown
- Click Add
Locate Connection Details

- Open the newly created SQL database in Fabric portal
- Click Settings (the blue gear icon in the left of the ribbon under the Home tab)
- Select Connection Strings
- Note the server name (between “Data Source =” and the first comma. Include the “,1433” but Exclude "tcp:")
- Note the database name (between "Initial Catalog=" and ";")
Configure TimeXtender
Configure your Prepare Instance
- Navigate to Instances in the TimeXtender Portal
- Click Add Instance > Add prepare instance
- Configure General Settings:
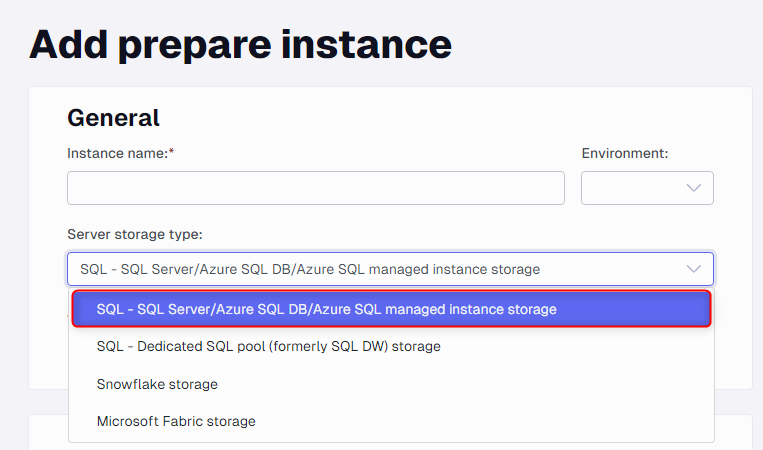
- Enter the Instance name
- Select SQL Server as Server storage type
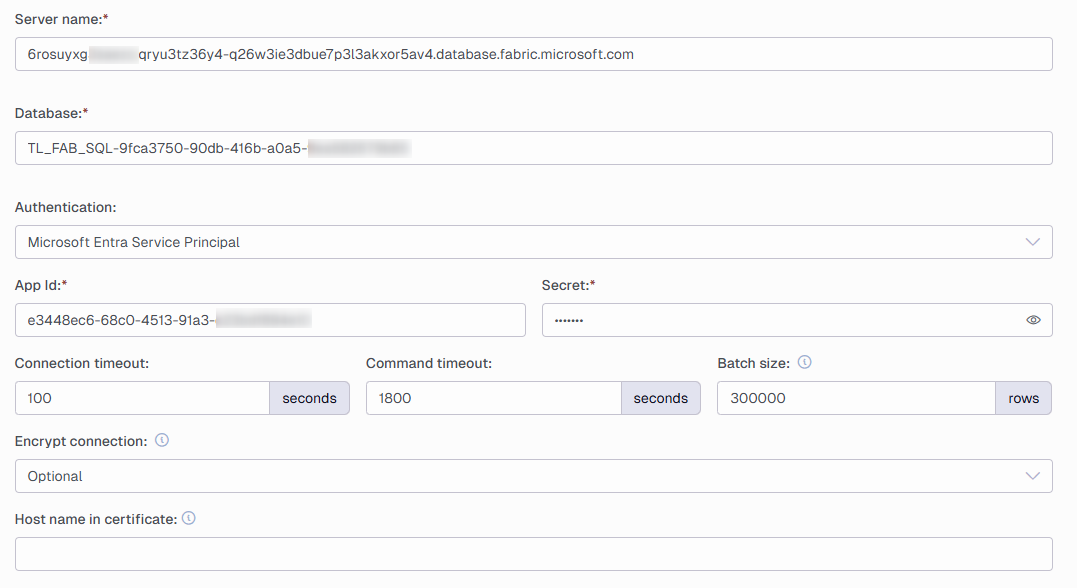
- Configure SQL Server Settings:
- Enter Server name from connection string
- Enter Database name from connection string
- Select Authentication Type:
- Microsoft Entra Service Principal (Recommended)
- Microsoft Entra Password Authentication (Must be Non-MFA user)
- Enter username and password of a User or Service Principal with Admin Permissions
- Validate Connection:
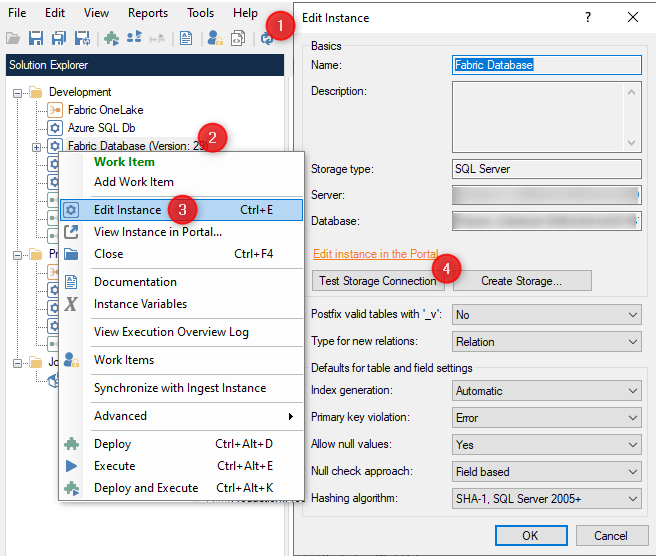
- In TimeXtender Data Integration interface, refresh your instances
- Identify your newly created instance and double click on it to open the instance
- Right-click on the instance and select Edit Instance
- Click Test Storage Connection
Troubleshooting
Invalid Cast Exception Error
When executing a table in the Prepare instance you receive this error:
Exception Type: System.Exception
Message: Data processing faulted
.....
Inner Exception:
Exception Type: System.InvalidCastException
Message: Specified cast is not valid.
Stack Trace: at DataStorageEngine.Fabric.FabricDiscoveryHubExecution.<>c__DisplayClass25_0.<ReadData>b__0(DataColumn[] dataColumns, Int64 rowCount, ParquetColumnGroup dummy_group) at ODX.Parquet.ParquetDataDownloader.ProcessData(Action`3 onDataAvailable)
This error occurs when your Ingest Lakehouse Parquet files were created using the Spark Runtime Version 1.3. These Parquet files store date and timestamps in a different format that’s not directly supported by Fabric Databases. However, creating the Parquet files using the Spark Runtime 1.2 fixes the issue.
Follow these steps to resolve:
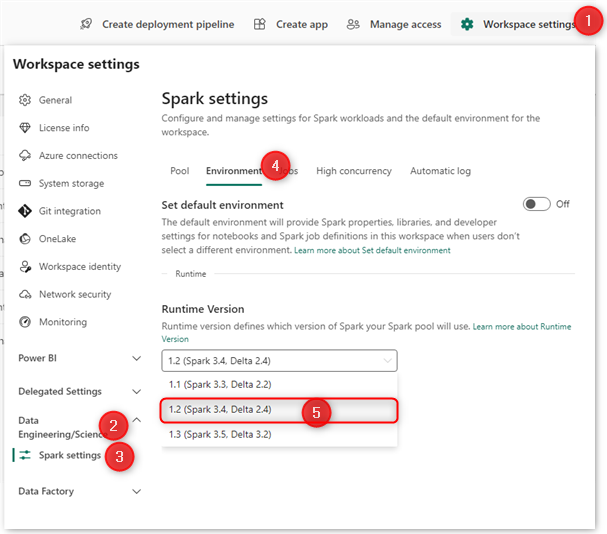
- Navigate to the Fabric workspace and click Workspace settings
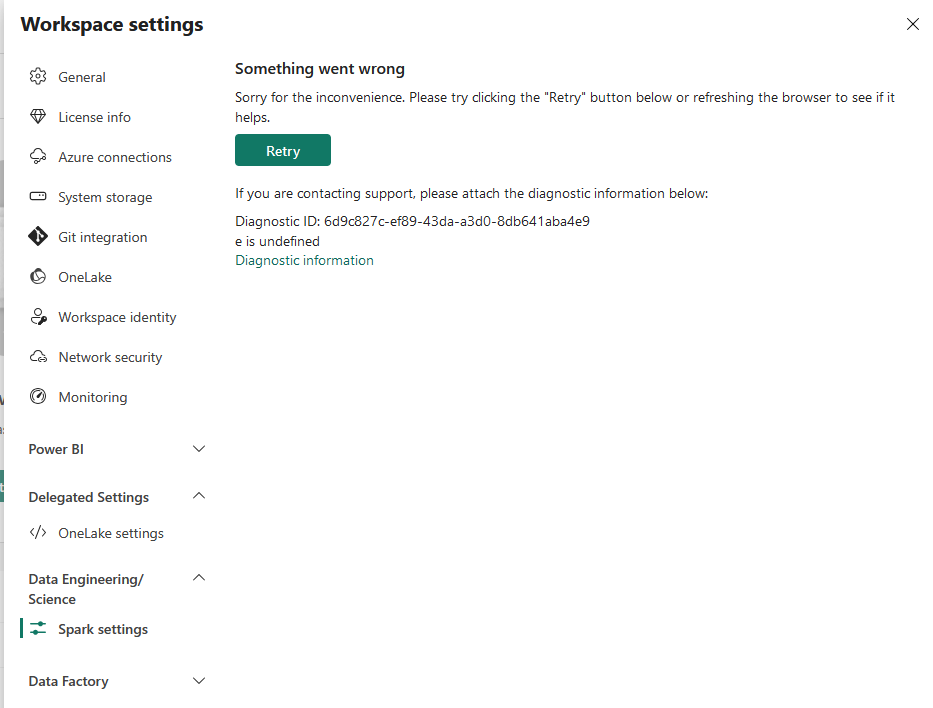
- Expand Data Engineering/Science and select Spark settings
- Click on the Environment tab
- Set Runtime Version to 1.2 (Spark 3.4, Delta 2.4)
- Click Save
- If you previously created Ingest Lakehouse using runtime v1.3, you need to run a full load transfer task for your data sources after changing to 1.2. Alternatively delete the tables in your lakehouse and run the transfer tasks for your data sources again.
Fabric capacity paused
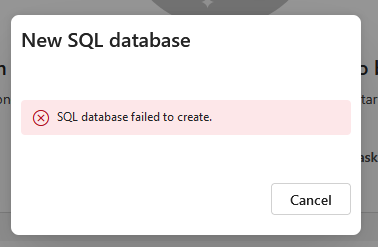
If you encounter errors similar to below please start your Fabric capacity in the Azure portal
