Warning: CData data source providers are no longer supported. We strongly recommend that you use or upgrade to TimeXtender CSV Data source.
This is a CData data source, more on what this is in the following link. Add a CData data source
CSV Information
Here is a link to the file I use in this example
http://mysafeinfo.com/api/data?list=moviesbyearnings2005&format=csv
It is set up with elements like this.
Year,Rank,Title,Gross $,Month Opened,Theatres2005,1,Star Wars: Episode III - Revenge of the Sith,380270577.000000,2015-05,36632005,2,The Chronicles of Narnia: The Lion the Witch and the Wardrobe,291710957.000000,2015-12,38532005,3,Harry Potter and the Goblet of Fire,290013036.000000,2015-11,38582005,4,War of the Worlds,234280354.000000,2015-06,3910Setup of the provider
Add a data source, search for CSV and choose this provider.
The first step in setting up a CData connector should always be to click the following link CSV guide from CData it will show the documentation CData provides.
Connecting to one file
You can save the link in the CSV Information area as something csv and save it in a folder your user has rights to.
I saved mine in C:/Flat Files/Movies2005.csv. Then you just add a link to it in the Data Source field.
You can then set it up like this.
An important thing to check is the following Row Scan Depth field.

It is now by default this is set to 0, it used to be 100. If it is 100 it meant that it would define the data types by reading the first 100 rows. The new default of 0 means that it is a indefinite number, then it will read the whole file before determining the fields data types. If your file is very large it can take a lot of time to synchronize and here setting it to 10000 is better.
Connecting to more than one file
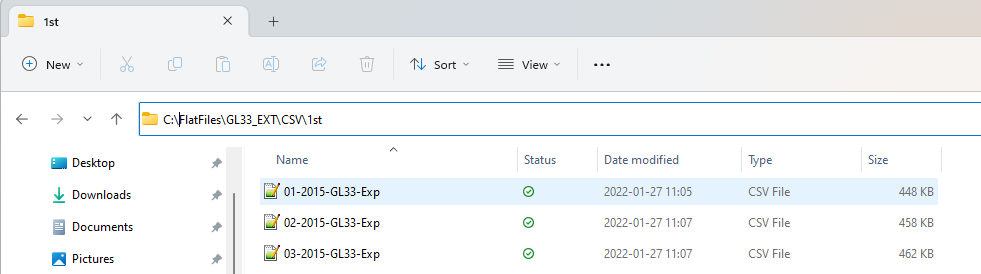
If you have multiple files, you can connect to a folder. Instead of adding a path to a file you add the last level in the URI field. C:\FlatFiles\TESTCSVFTP

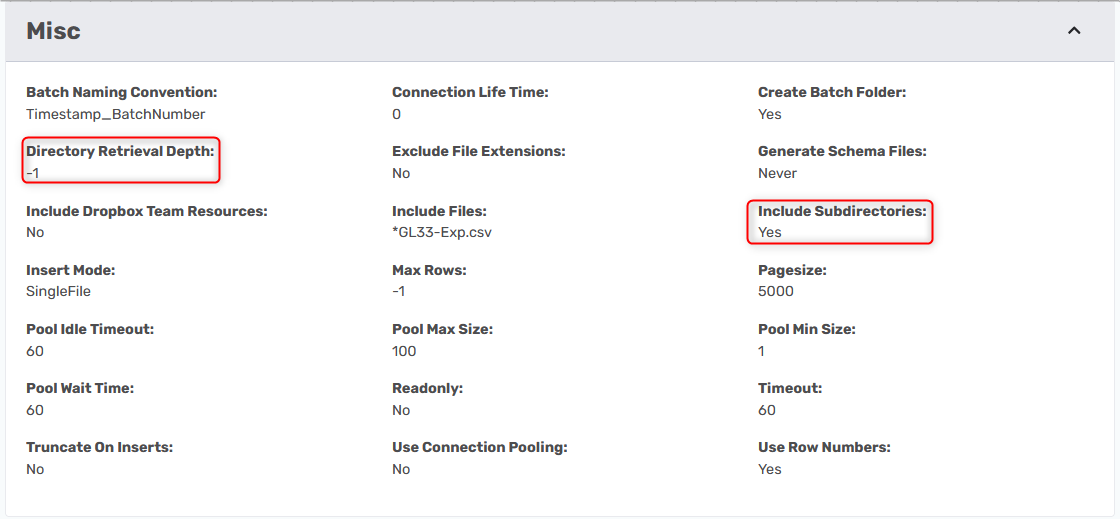
You can also point to files across many folders. You need to be sure the following features are turned on.
Connect to more than one file across sub-directories
You need to set Include Subdirectories to True and if you do not want it to go all the way to the end of the path, you can change the Directory Retrieval Depth to another number. -1 means that it has no limit and is the default value.
Connect to CSV files on a FTP/SFTP server
You also have the option of connecting to a FTP server that contains CSV files. The connection string is as follows.
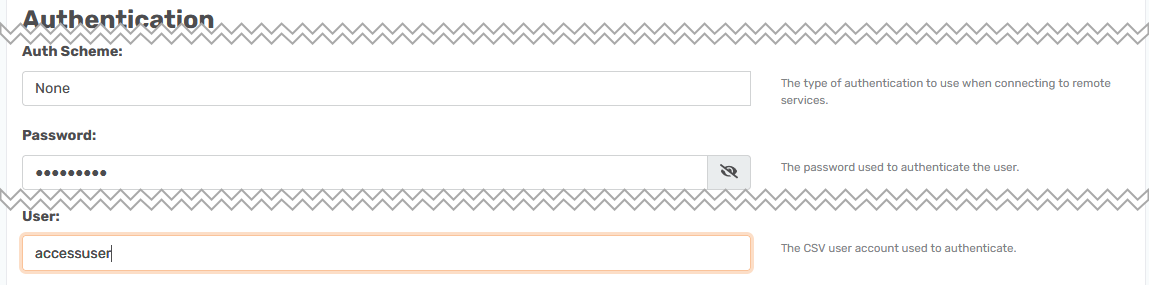
URI=ftp://localhost:port/folder1; User=user1; Password=password1;I have a FTP server with a folder that contains some CSV files and here is how I set it up.


I added the password to the Password field, the user account to the User field and in the URI field I added the location of the server. The default ftp port is 21.
If the files are stored on a SFTP server it works similarly, but you need to change the string slightly.
URI=sftp://127.0.0.1:port/folder1; User=user1; Password=password1;
Connect to files on Azure Storage
Files stored in an Azure Data Lake Gen2 Storage Container are generally accessed using one of the following two authentication methods.
- Azure Service Principal. Click on How to Use an Azure Service Prinicipal to access files stored in an Azure Data Lake Gen2 Storage Container for a detailed explanation on how this is done.
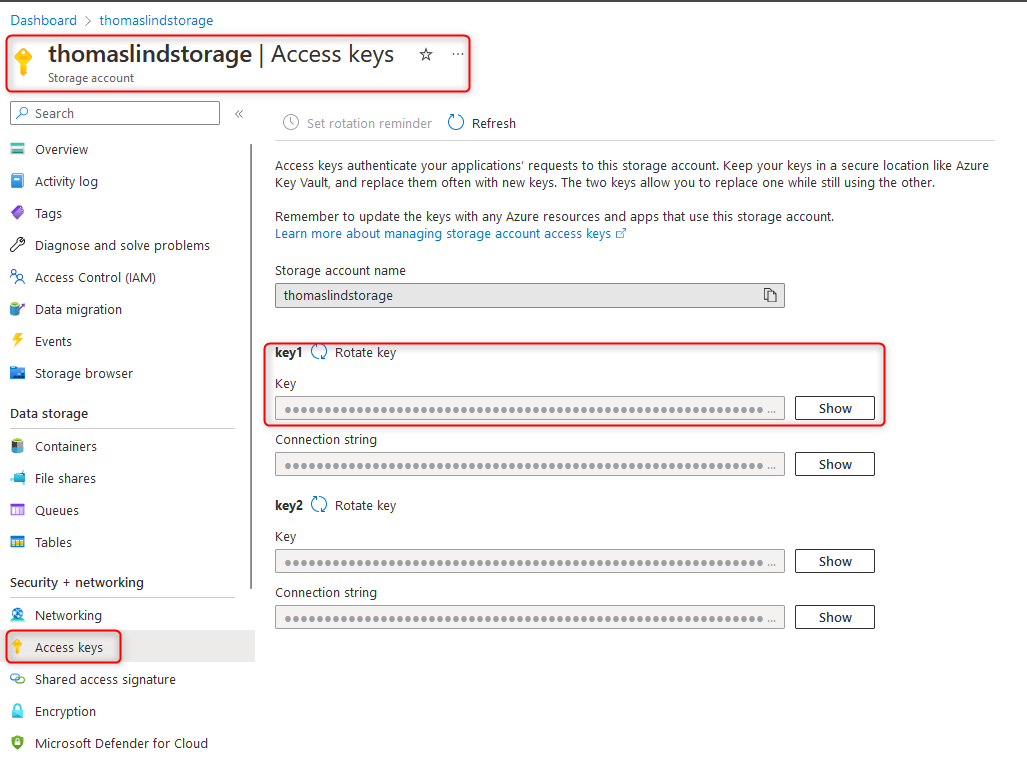
- Azure Access Key. The instructions on how to use an Access Key is outlined below.
Connect using Storage Account and Access key
Start by setting the Auth Scheme field to AzureAD.
Data Lake Gen 2 ABFSS
abfss://myfilesystem/remotePath
URI=abfss://myfilesystem/folder1; AzureStorageAccount=myAccount; AzureAccessKey=myKey;
Your myfilesystem is the name of the container and the remotePath is the name of the folder
Important: specify abfss:// in the URI field in lowercase letters

I have a container called sharedfiles and a file there with the name applied.
AzureBlob
azureblob://mycontainer/myblob/
URI=azureblob://mycontainer/myblob/; AzureStorageAccount=myAccount; AzureAccessKey=myKey;
Your mycontainer is the name of the container and the myblob is the foldername.

For both methods what comes after the // is the same. First is the container name, then the folders and finally the file. Though you can choose to point at only the folder if you want.
AzureFile File Share
If your file is stored in a File Share instead of a container you can use the azurefile:// option
azurefile://fileShare/remotePath
URI=azurefile://bucket/folder1; AzureStorageAccount='myAccount'; AzureSharedAccessSignature='mySharedAccessSignature'; 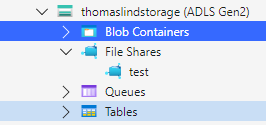

Troubleshooting
Here are some of the common issues you can experience and how to resolve these issues.
The file is not using the default delimiter settings
As long as it is comma separated, this is all you need. If it is not comma separated there are two options.
There are two fields you can use to change the default settings.
The first field is the FMT field. It has the default value CsvDelimited.

As explained here Link this field can be filled with whatever sign you want to use as a delimiter.
Here I overwrote the std options with a 'pipe' | sign.

When synchronized it will search for this field to base the fields on.
The other field is this Row Delimiter field.

So if your file doesn't use CR LF as the row delimiter, you can add it here.
Aggregate multiple files into one
A feature of CSV is the option to aggregate files in a folder into one. I have this folder with some files that contain data from a specified month.
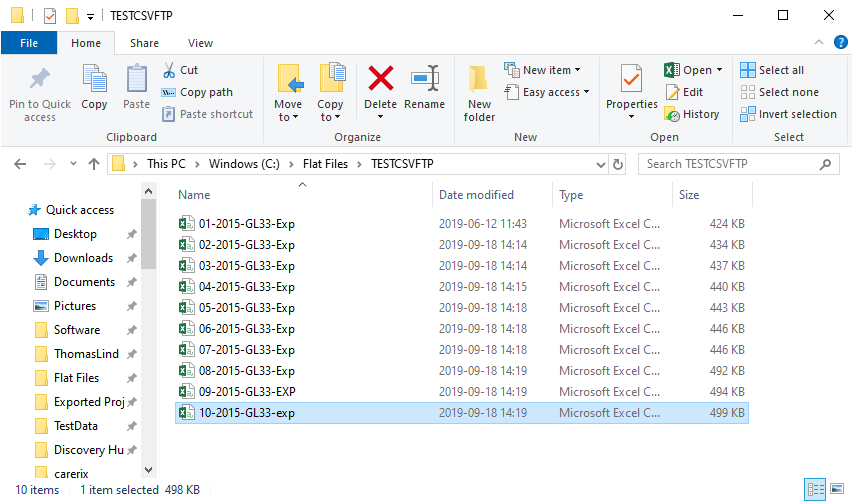
Other than that they are exactly the same. It is the same folder I pointed at in the section regarding connection to multiple files. For this to work it is important that they have the exact same field names in all of the files.
You connect to the files the same way as in the connect to multiple files, the only difference is that you set the Aggregate Files field to true.

URI: points to the folder where the files are stored. This could also be a folder on a FTP/SFTP server.
Aggregate Files: Needs to be set to True for the CSV provider to attempt to merge the files.
Specifically for this I also change the default Row Scan Depth to 10000. This is because I had no decimal points in a field for at least 100 rows, but there where one in a row above that number. In this instance I would not set it to 0 as it would read all the merged files first before choosing the data types and this makes synchronizing slow.
When I synchronize the data source it will generate a table called AggregatedFiles.
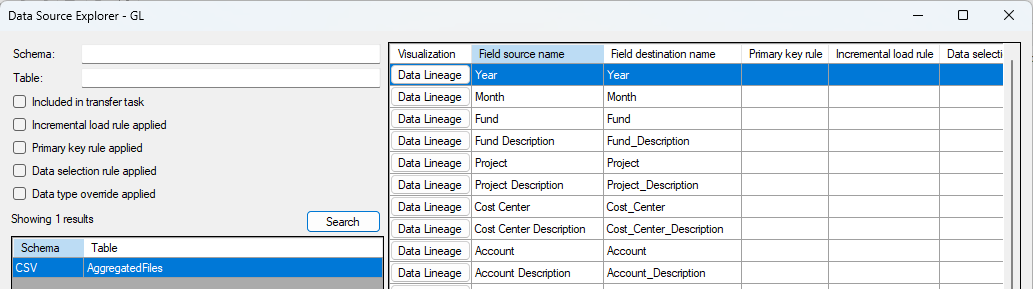
It contains data from all 10 files with the URI field showing the file name.

Select and aggregate files with similar names across folders
It can be that you have more than one file type in the folder you do aggregates at, for example some files with a date part of their names, but also files that do not contain the same fields and data types.

You only want to merge the Orders files not the others. To do this you change the Include Files field to contain the name and add an asterisk for the part you want to ignore.
Include Files: Order*.csv

Now it will only aggregate the two order files and not the others. You can also mix this with the Include Subdirectories feature to do it across many folders. This also works for all the special connections such as FTP, Azure and similar.
Controlling the names of the fields
If you cannot control that the field names are always the same, you can set it to ignore the field names and skip the 1st row in each file.
Uncheck the field Include Column Headers and set the field Skip Top to -1 in the Data Formatting area.
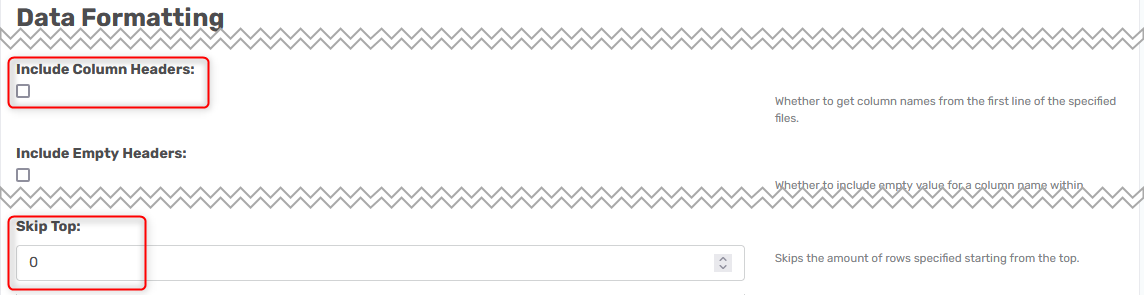
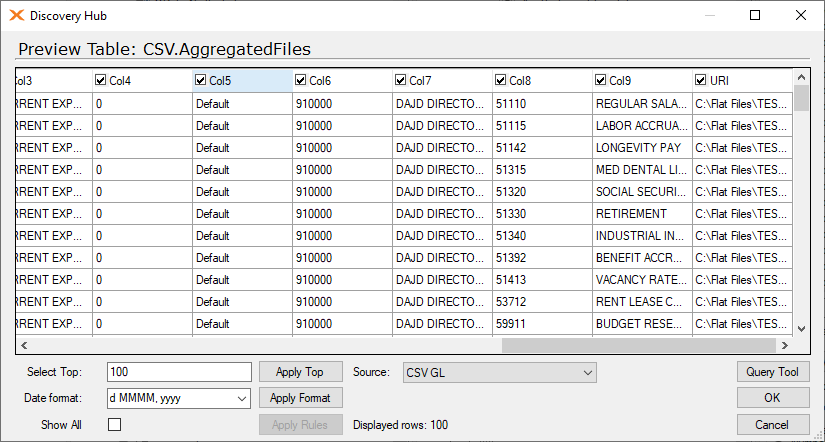
The above settings will give this. Where all field names is called Col1 and so forth.
Troubleshooting data types
The provider attempts to detect data types, but sometimes it may run into errors. There are a few workarounds for quick data extraction:
- Generate a RSD file and change the field types manually to override specific data types.
- Set Type Detection Scheme = “None” in the provider setup dialog options.
- This will bring all data as string type (varchar). You may convert it later to other types as needed.
- This technique may work in any CData provider which exposes Type Detection Scheme property.
Dates are shown in the wrong timezone
Sometimes your datetime fields will have added or subtracted hours. This is due to it being converted to your timezone. The CData provider expects all dates will come in UTC and add hours according to the settings on your computer. It even knows about summertime.
If you do not want this to happen, you need to add this to the other field

Convert the character set

If your CSV file is in a specific encoding, you can convert it by adding this to the field.
Charset=UTF-16
It could be other encodings as well, but UTF-8 is the default. The file needs to be in this, it will not convert it by changing this.
The files were made with different culture settings
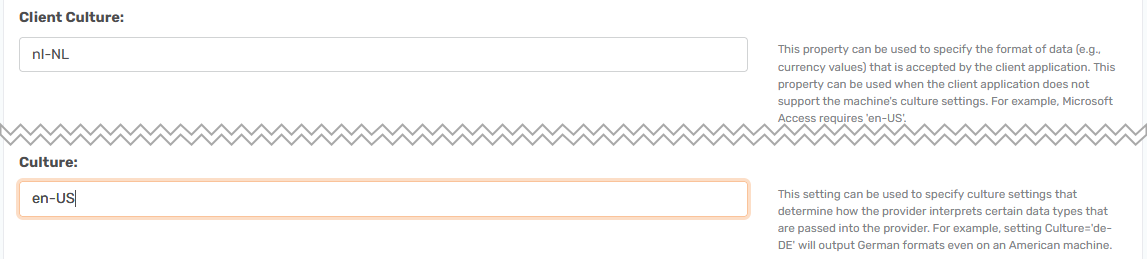
If your file is created with some specific culture settings you can use the two fields Culture and Client Culture to align it to a specific one.
The list of available options is here.
So if my files are set up with Dutch culture settings and I wanted to convert them to settings for USA, I would add nl-NL in the Client Culture field and en-US in the Culture field. Then it should align the values after this when you synchronize.