
Warning: Jobs have been deprecated. Please schedule TDI execution packages via TimeXtender Orchestration rather than using jobs
Relates to TimeXtender Data Integration 6024.1 and later versions. The On-Demand Ingestion feature was released in TimeXtender Data Integration 6134.1
What are Jobs?
Jobs are used to schedule executions for Ingest, Prepare, and Deliver instances. For Ingest instances, jobs are used to schedule synchronization, transfer, and storage management tasks. For Prepare and Deliver instances, jobs are used to schedule execution packages.
TimeXtender Execution Service
In order to schedule jobs, you must first Configure the TimeXtender Execution Service and include the instances which you want to schedule. Go to Services and ensure that the TimeXtender Execution Service is running. Right-click on the TimeXtender Execution Service and set the Startup Type to Automatic (Delayed Start)
Execution Packages
Adding Execution Packages in Prepare and Deliver Instances
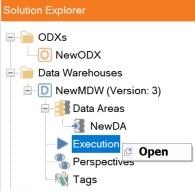
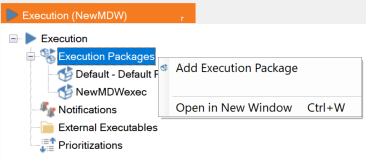
Before adding a job for a Prepare or Deliver instance, the execution package that you want to schedule has to be setup. In order to add an execution package to a Prepare instance, expand the instance in the Solution Explorer and Open the Execution tab.
Right-click on Execution packages, and select Add Execution Package.
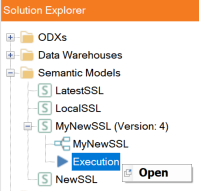
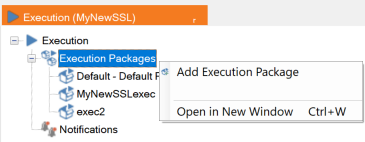
In order to add an execution package to a Deliver instance, expand the Deliver instance in the Solution Explorer and Open the Execution tab.
Right-click on Execution packages, and select Add Execution Package.
Configuring an Execution Package
An execution package determines which objects in an instance will be executed and how.
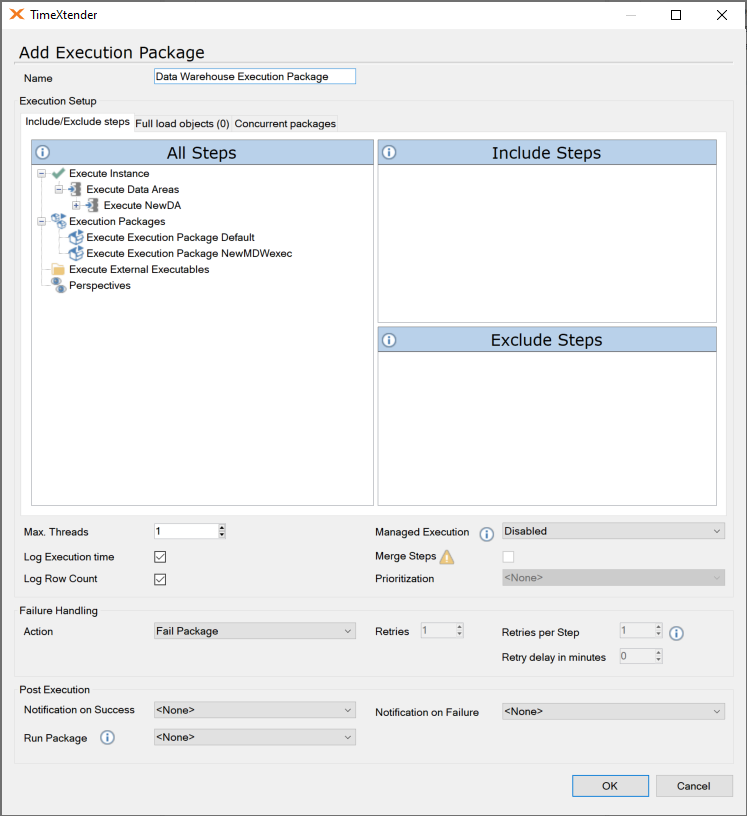
The following window shows setup options for an execution package in a Prepare instance.
The following window shows setup options for an execution package in a Deliver instance.
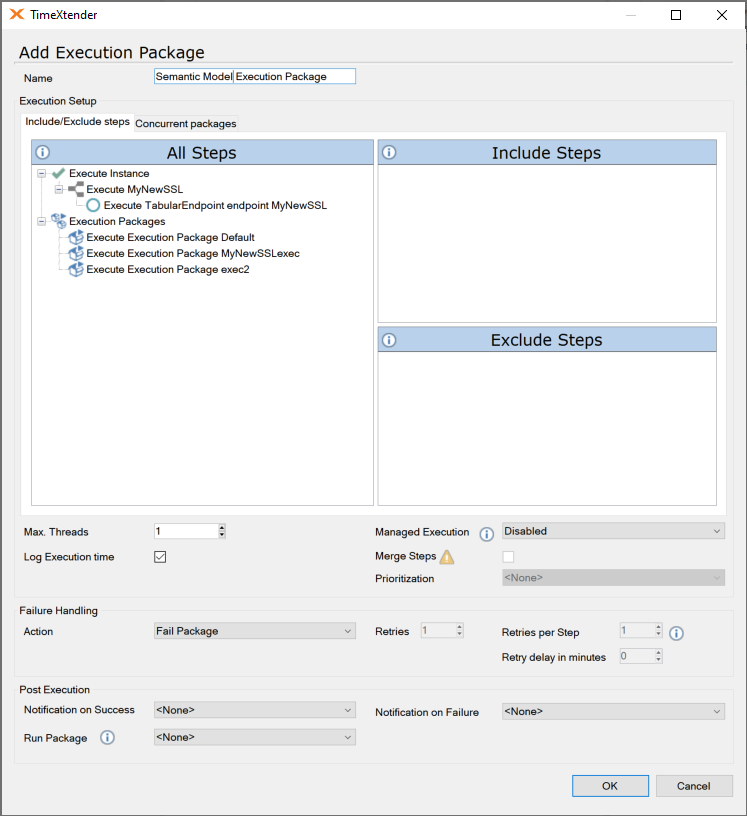
To setup an execution package, follow the steps below.
- Type a Name for the execution package.
- In the Include/Exclude Steps tab, choose the steps you want to include in or exclude from the execution package by dragging objects from All Steps to Include Steps or Exclude Steps, respectively. For example, simply drag the Execute Instance step to Included Steps if you want to execute the entire instance when the package is executed. If you want to exclude the entire instance except for one or more steps, simply drag those steps to Exclude Steps. Right-click an object and click Remove Step to remove a step from the Include Steps or Exclude Steps.
- (Optional) On the Concurrent packages tab, select the other packages that can execute concurrently with the package you are adding. By default, two packages from the same instance will not run at the same time unless you explicitly allow them to.
- Note: When you set package "A" to be able to execute concurrently with package "B", package "B" will also be set to be able to execute concurrently with package "A". In other words, if you want to be able to execute "A" when "B" is already running, you cannot use this functionality to prevent "B" from being run when "A" is already running.
- Enter the maximum number of steps that can run in parallel during execution in Max. Threads. The optimal number of threads depends on server resources. Too few threads mean slower than necessary execution times, while too many threads can cause the server to become slow or unresponsive.
- Clear the Log Execution time and/or the Log Row Count check boxes if you do not want to log this information. Note: the Log Row Count option is only available for Prepare instances.
- Select a setting for Managed Execution. You have the following options:
- Disabled: Managed execution is disabled. Objects will be executed in the order they are listed in the tree.
- Warning: If you disable managed execution, tables are executed in the order in which they appear in the tree. To avoid errors during execution, you must ensure that tables are executed in a logical order. For example, an Order table must be executed before the related Order Detail table. Tables can be moved up and down the tree using drag-and-drop or the keyboard combination Alt+Up/Down.
- Execution Number: When more than one object is ready to execute, TimeXtender Data Integration prioritizes the objects based on their position in the tree from top to bottom.Classification: When more than one object is ready to execute, TimeXtender Data Integration prioritizes the objects based on their table classification. The order will be “Fact Table – Large”, “Fact Table”, “Dimension Table – Large”, and “Dimension Table”. If two tables have the same classification TimeXtender will use the execution number as the secondary criteria.
- Execution Time: When more than one object is ready to executed, TimeXtender Data Integration prioritizes the objects based on their average execution time so that the object with the longest execution time is executed first. If two tables have the same execution time (e.g. in case of new objects), TimeXtender Data Integration will use the execution number as the secondary criteria. When execution time of the objects in the instance are known, this option will result in the shortest execution time in most cases.
- Check Merge Steps if you want to treat all individual sub-steps of the chosen steps as one big collection. This can speed up execution.
- (Optional) In the Prioritization list, click the prioritization you want the execution package to use. For more information on prioritization, see the Adding a Prioritization section below.
- Under Failure Handling, select what Action TimeXtender Data Integration should perform if the execution fails. You have the following options:
- Fail Package: When a step fails, the execution is stopped and the package is declared failed.
- Retry Step: When a step fails, the step will be retried until the maximum number of retries for the entire package or the individual step is reached. Enter the maximum number of retries allowed for the package in the Retries box and the maximum number of retries allowed for an individual package in Retries per Step. Enter the amount of time to wait between retries in Retry delay in minutes. For more information on retries, see Setting up retry steps.
- Under Post Execution, select a Notification on Success and a Notification on Failure. You have to create a notification before it is available from the list. See the Adding Notifications section below.
- If you want to run another package after a successful execution, select the next package to run under Run Package.
- Click OK to add the execution package.
Jobs
Adding a Job
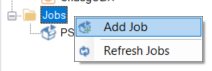
In order to add an execution schedule to tasks or execution packages, a job needs to be added. Right-click the Jobs node in the left-hand pane, and select Add Job.
Provide a name for the job, click Next, and select the tasks or Execution Packages to include in the Job.
Note: Only tasks relating to one Ingest instance can be added to a job. In other words, tasks from different Ingest instances cannot be added to the same job. Furthermore, a job can contain either execution packages or tasks from Ingest instances, not both in one job.
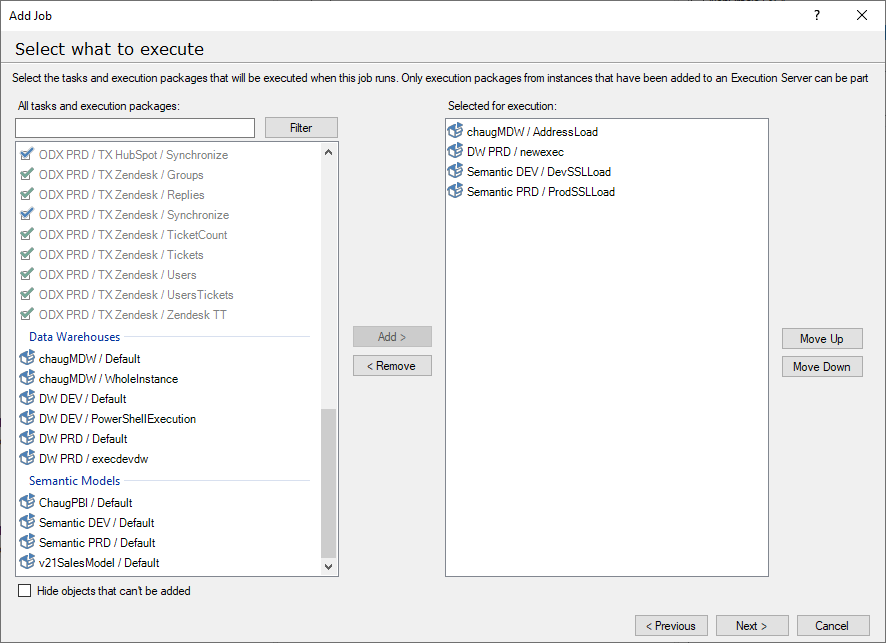
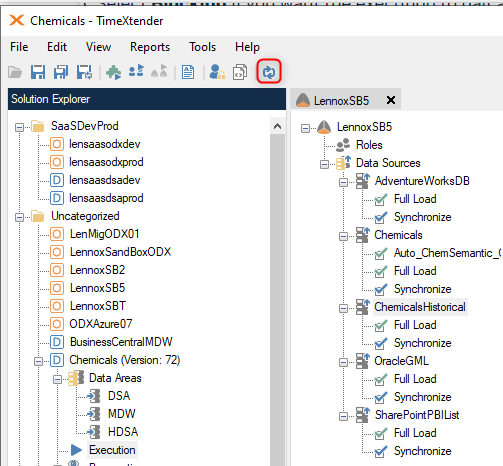
If the instances you want to select for your job are all grayed out, click the “Refresh” button to reload all of your instances, which may resolve this issue.
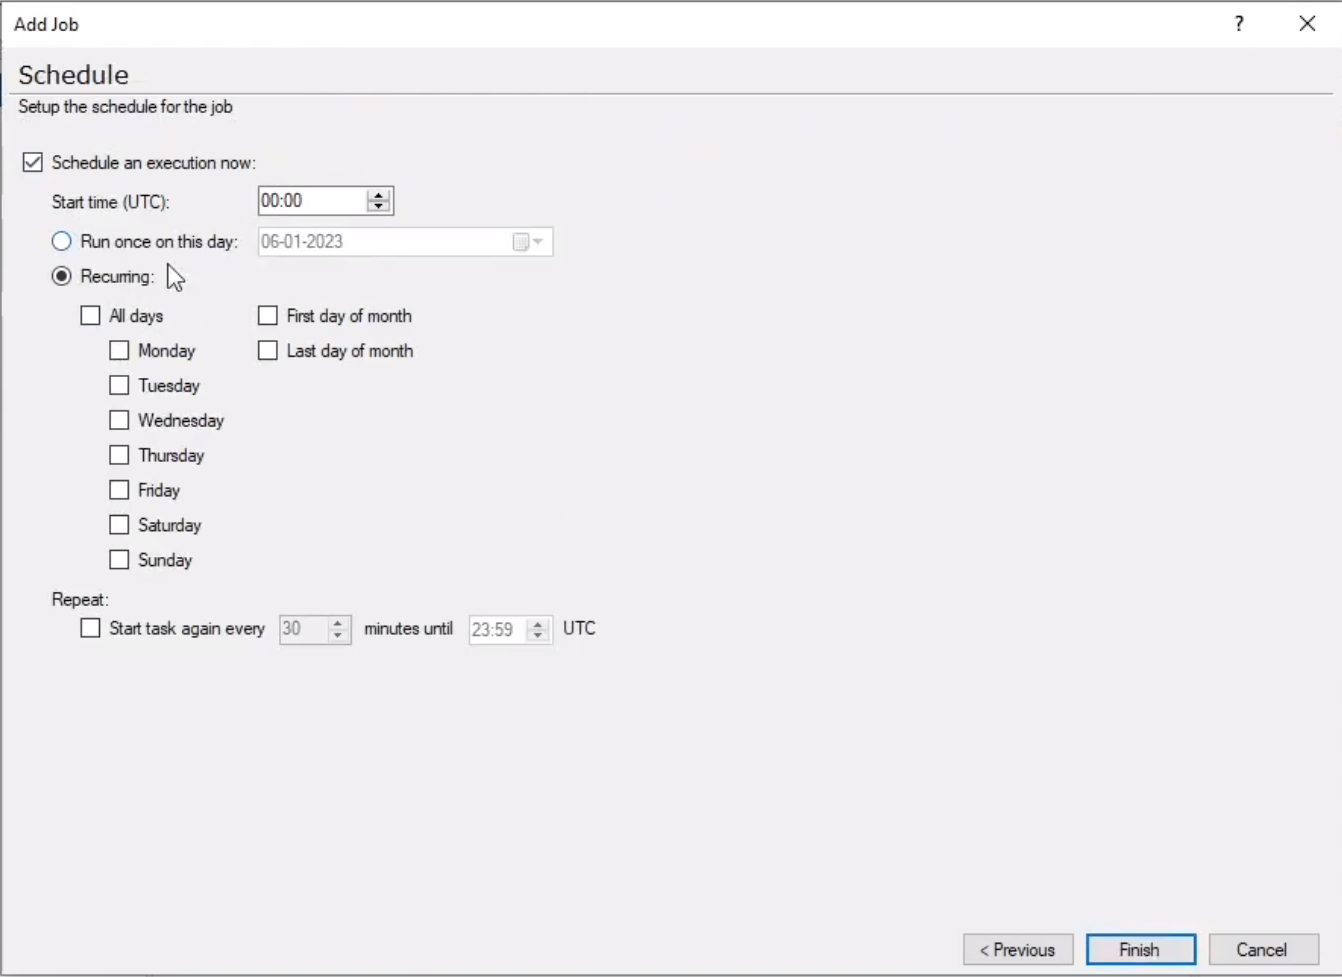
Next, add a Schedule for the job. In the example below, the job is set to run every hour and a half on all work days.
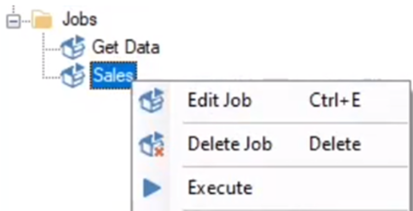
Edit and Delete Jobs
Right-click on the job, to edit or delete it.
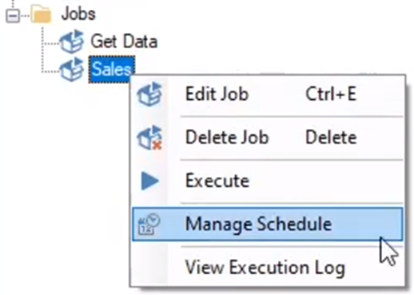
Job Schedules
Schedules for a job can be added, edited or deleted by right-clicking on the job and selecting Manage Schedule.
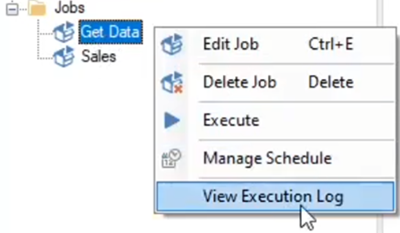
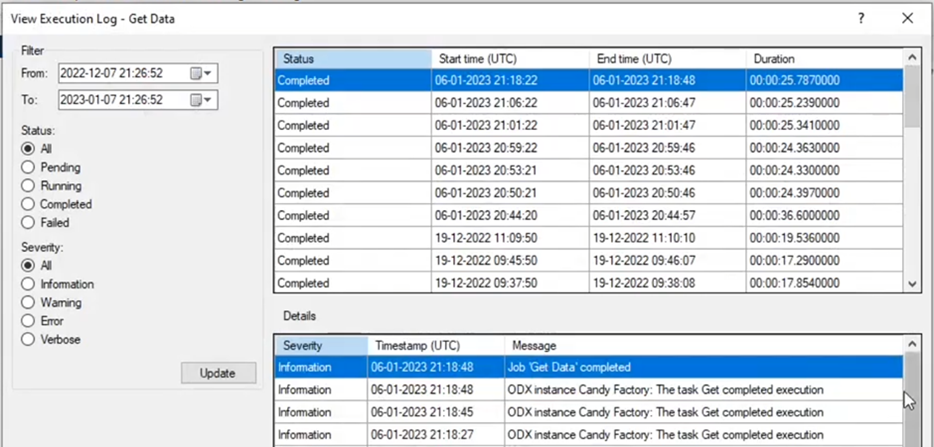
View Job Execution Log
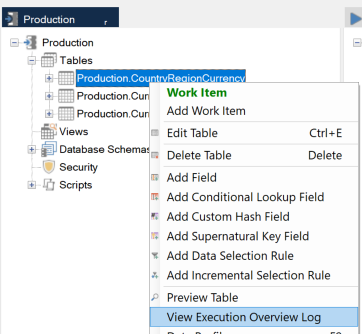
Right-click on the job to view the execution log for the job.
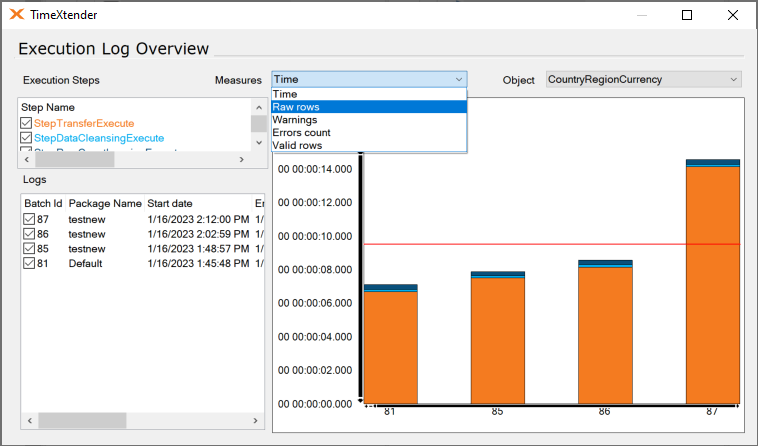
Use the date, status and severity filters to search through the execution log for the job.
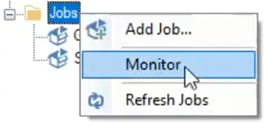
Job Monitor
View the status of existing jobs in the Job Monitor by right clicking on Jobs in the solution explorer and selecting Monitor.
The Job Monitor shows if a job is valid, the state of the job, its execution state, and the last execution date. A job will be shown as invalid if the Execution Service Configuration has not been setup for the instances related to the job. When a job is run, the state of the job will change from Idle to Active, and the execution state will then change to Running and, once done, to Completed.

Adding a Notification for an Execution Package
Notifications can be used to alert specified individuals when the execution package was successfully run or in case something caused it to fail. Notifications are most commonly set up as email alerts, but can be saved to the Event Log as well.
- On the Execution tab, right-click Notifications, and click Add Notification. The Notification window appears.
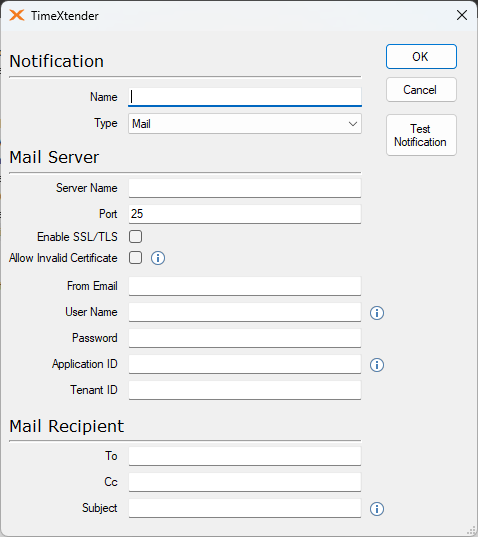
- Enter a Name for the notification and select the Type of notification you want to create. You have the following options:
Option Description Mail Creates an email notification EventLog Writes a notification to the event log Both Creates both an email notification and writes to the event log - Enter the information for the SMTP server you want to use under Mail Server.
- Since October 1st, 2022 Microsoft has ended basic authentication on email on online SMTP servers. To deal with this you need to add an Application (client) id for an app to use for this and the Tenant ID for your company. The app you use needs the following permissions.
-
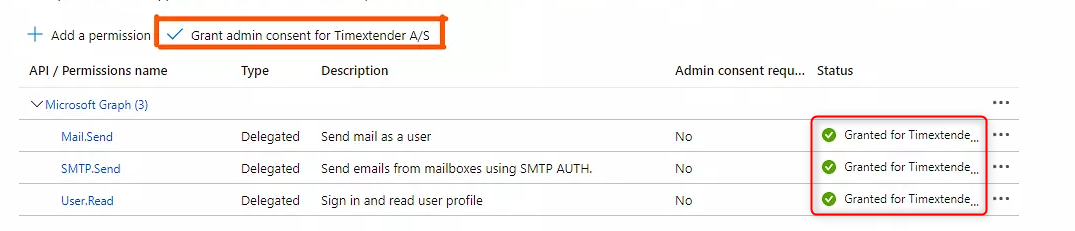
You need the three options, (Mail.Send, SMTP.Send and User.Read) set on your app
-
You need a Admin to grant consent for the three settings.
-
The user account you add as the From Email and the User name needs to run without Multi-factor Authentication.
-
- If you use GMail to authenticate, it is not possible to use email and an std password. Here you need to turn on 2-step authentication for your email account and then use the App Password in the password field.
- Since October 1st, 2022 Microsoft has ended basic authentication on email on online SMTP servers. To deal with this you need to add an Application (client) id for an app to use for this and the Tenant ID for your company. The app you use needs the following permissions.
- Enter the email addresses of the recipients and a Subject under Mail Recipient. In the subject, you can use the following variables:
- %Instance%: The name of the instance.
- %Status%: The status of the execution (Success / Fail).
- %ExecutionPackage%: The name of the execution package.
- Click OK.
The notification can now be selected when you create an execution package.
Adding a Prioritization to an Execution Package
You can choose what objects to prioritize during a managed execution. This is useful if you, for instance, only have a small timeslot for extracting data from a source, or If you would like to have a certain cube ready for the users as early as possible during execution.
To set up a new prioritization for use in an execution package, follow the steps below.
- On the Execution tab, right-click Prioritizations and click Add Prioritization. The Add Prioritization window opens.
- In Name, type a name for the prioritization.
- Drag and drop an object from the Available Objects tree to Selected Objects to add this object to prioritized objects.
- Click an object in the Selected Objects list to have the execution steps for that object displayed under Object Settings. Select or clear the individual steps under Selected steps to configure what steps will be prioritized in the execution. For instance, you might only want to prioritize the transfer of data from a specific table because your priority is to have the transfer completed as soon as possible.
- Select Blocking if you want the execution to halt all other execution tasks until the selected steps for the selected object have been completed.
- Click OK to close the window and create the new prioritization.
Adding a Usage Condition to an Execution Package
If you want to execute an execution package only under certain conditions, you can add a usage condition to the execution package. To add a usage condition to an execution package, follow the steps below.
- Right-click on the instance, and select Instance Variables, to add the instance variable you want to use in your usage condition.
- On the Execution tab, expand Execution Packages, right-click the relevant execution package, and click Add Usage Condition. The Usage Condition pane appears on the right-hand side.
- The available instance variables are listed in the window. Click the variable you want to use.
- In the Operator list, click the operator you want to use.
- In the Comparer list, click the data type you want to use when comparing the variable to the value.
- In the Value box, type the value you want to compare the variable against.
- Click Add to add the usage condition.
If you try to manually execute a package with a usage condition that evaluates to "true", a warning message will pop up. The same message will be written to the log if you try to execute the package in a scheduled execution.
On-Demand Ingestion
Warning: On-Demand ingestion does not currently support ADF data sources
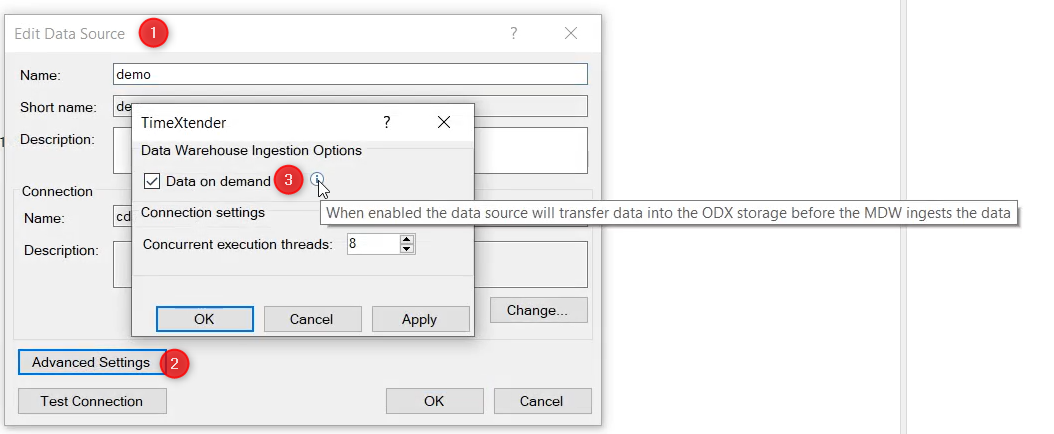
When ‘Data on demand’ option is enabled (in TimeXtender Data Integration select Edit Data Source > Advanced Settings), the data source will transfer data into Ingest instance storage before the Prepare instance ingests the data. This will work without configuring an explicit Transfer task under the data source.
1. In TimeXtender Data Integration, edit your data source
2. Click on Advanced Settings
3. Check the box Data on demand