Relates to TimeXtender Data Integration 6744.1 and later versions
Prior to Installation, be sure you have properly configured the server you want to install on according to the TimeXtender Prerequisites. You also need at least one Ingest instance set up in the portal and a user account which has been granted access to this instance.
Check for Prerequisites
Download Installation Files
Click to download the latest version of
For prior releases and versions of our product TimeXtender Classic, you can find these here.
Install TimeXtender Ingest Server
- Unzip the TimeXtender Ingest Server installation package (TimeXtender Ingest Server.zip) and run the Setup.exe.
- On the Choose Setup Type page, select the Typical or Complete option. Either will install the service. Custom gives you an option to choose what to install.
- On the last page, there is an option to Launch the IngestConfigurationService, be sure to check that to open the Ingest Server Configuration tool. If this is unchecked, you can also launch the Ingest Server Configuration wizard from
Configure the Ingest Server Service
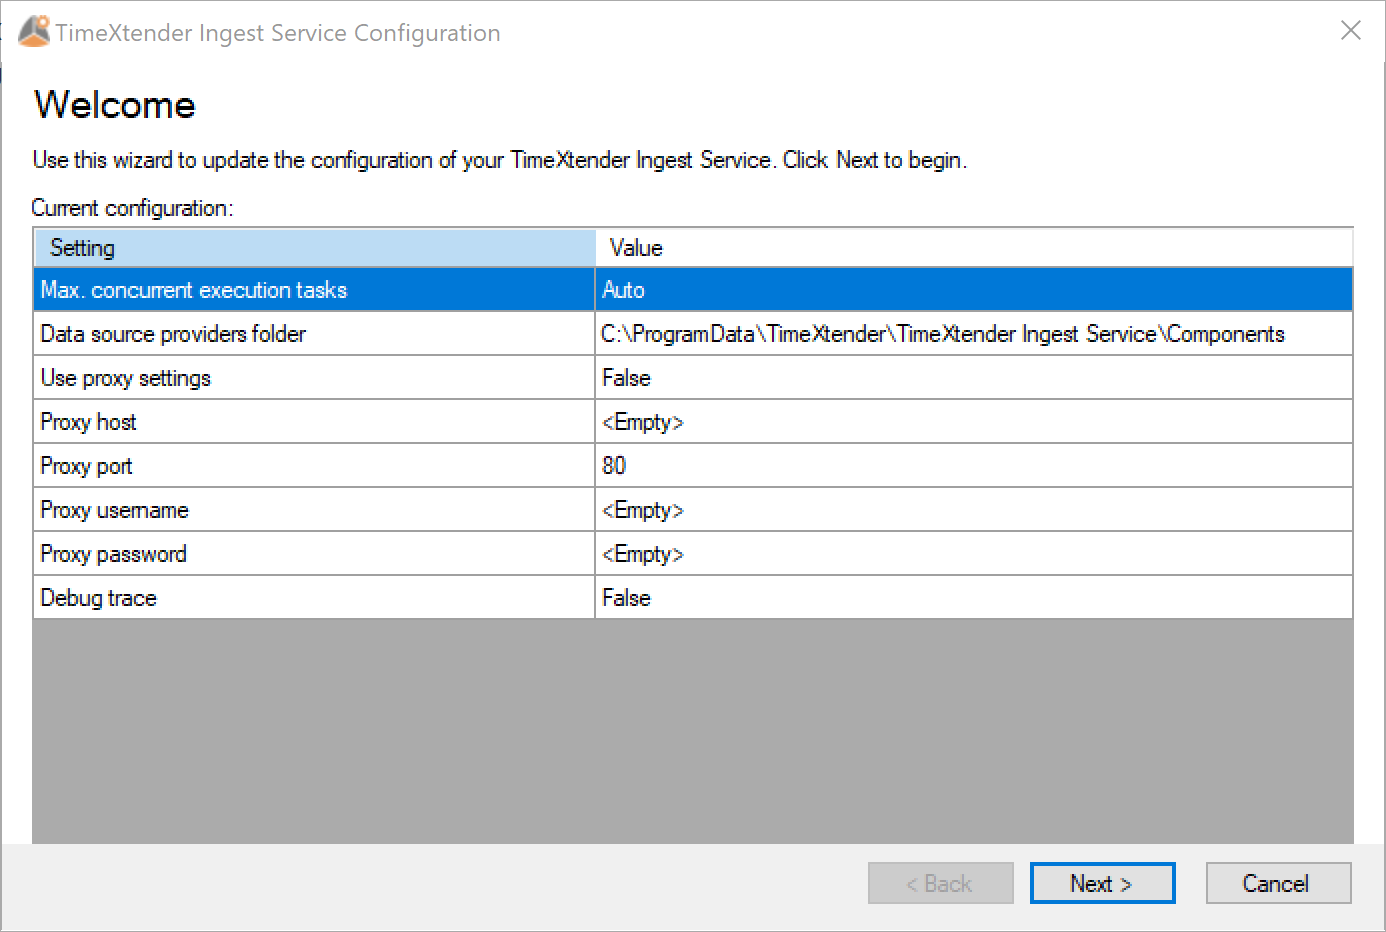
- At the start of the wizard, will be presented with the Welcome page, Click Next. If you have already run the Ingest Service Configuration tool and run it again, the Welcome page will show the previously added settings.
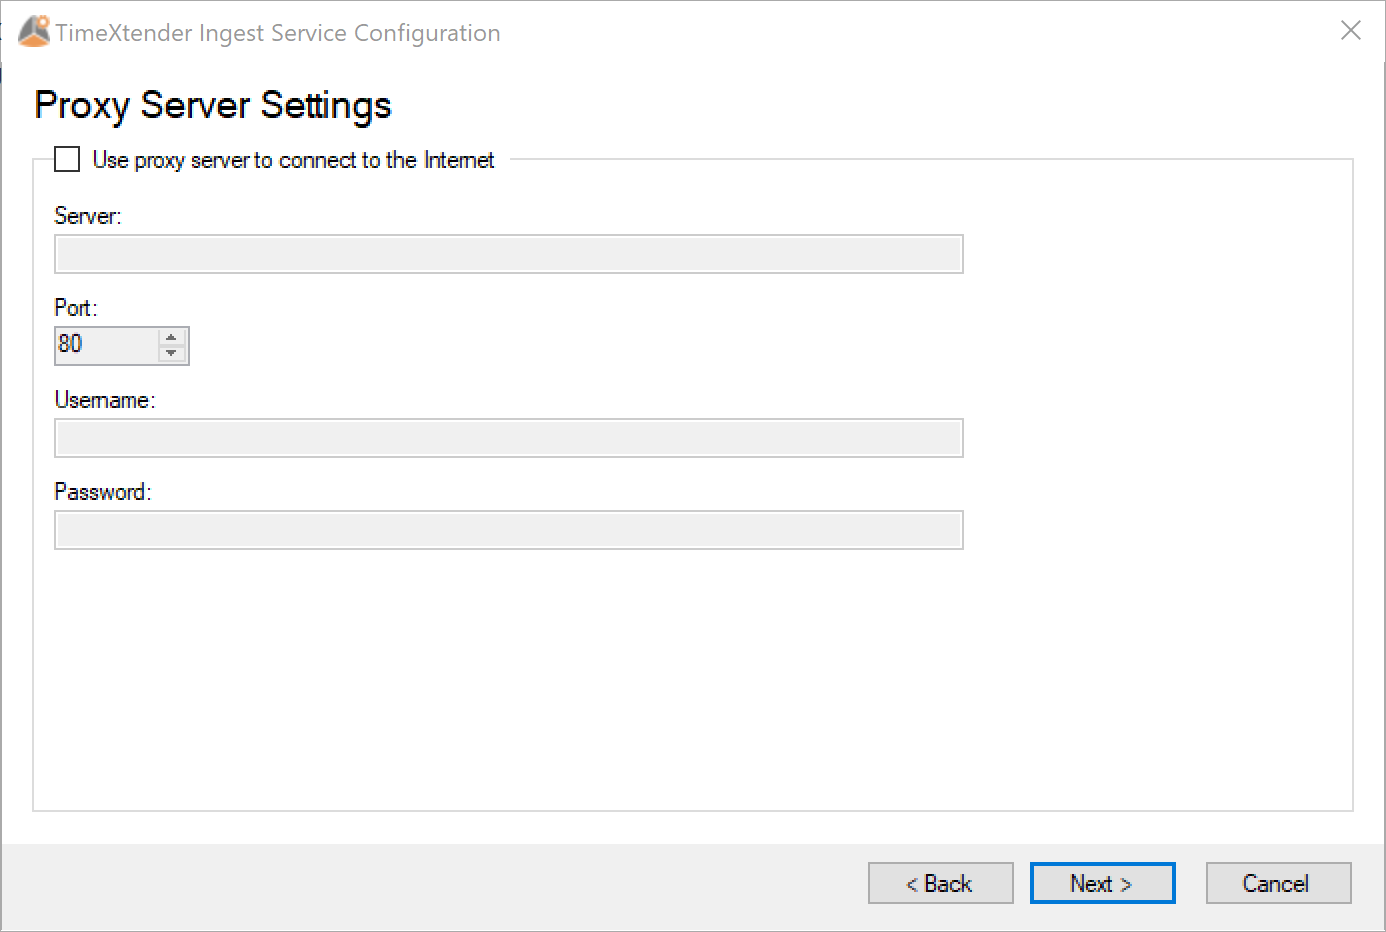
- If your Ingest server is behind a Proxy Server, configure your proxy settings (click on the check box to add a server, a port, and a user account). Otherwise, leave as default and click Next.
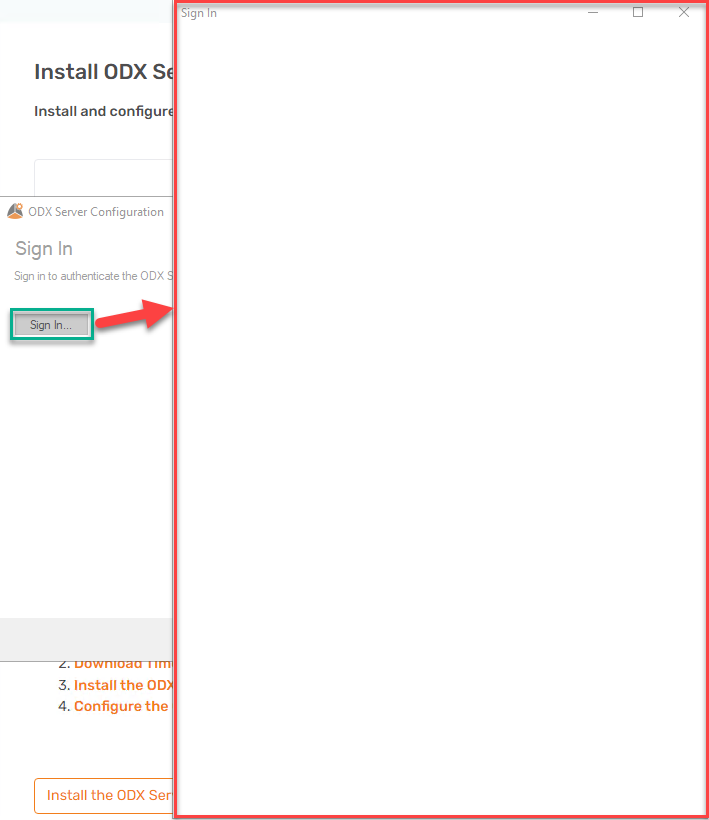
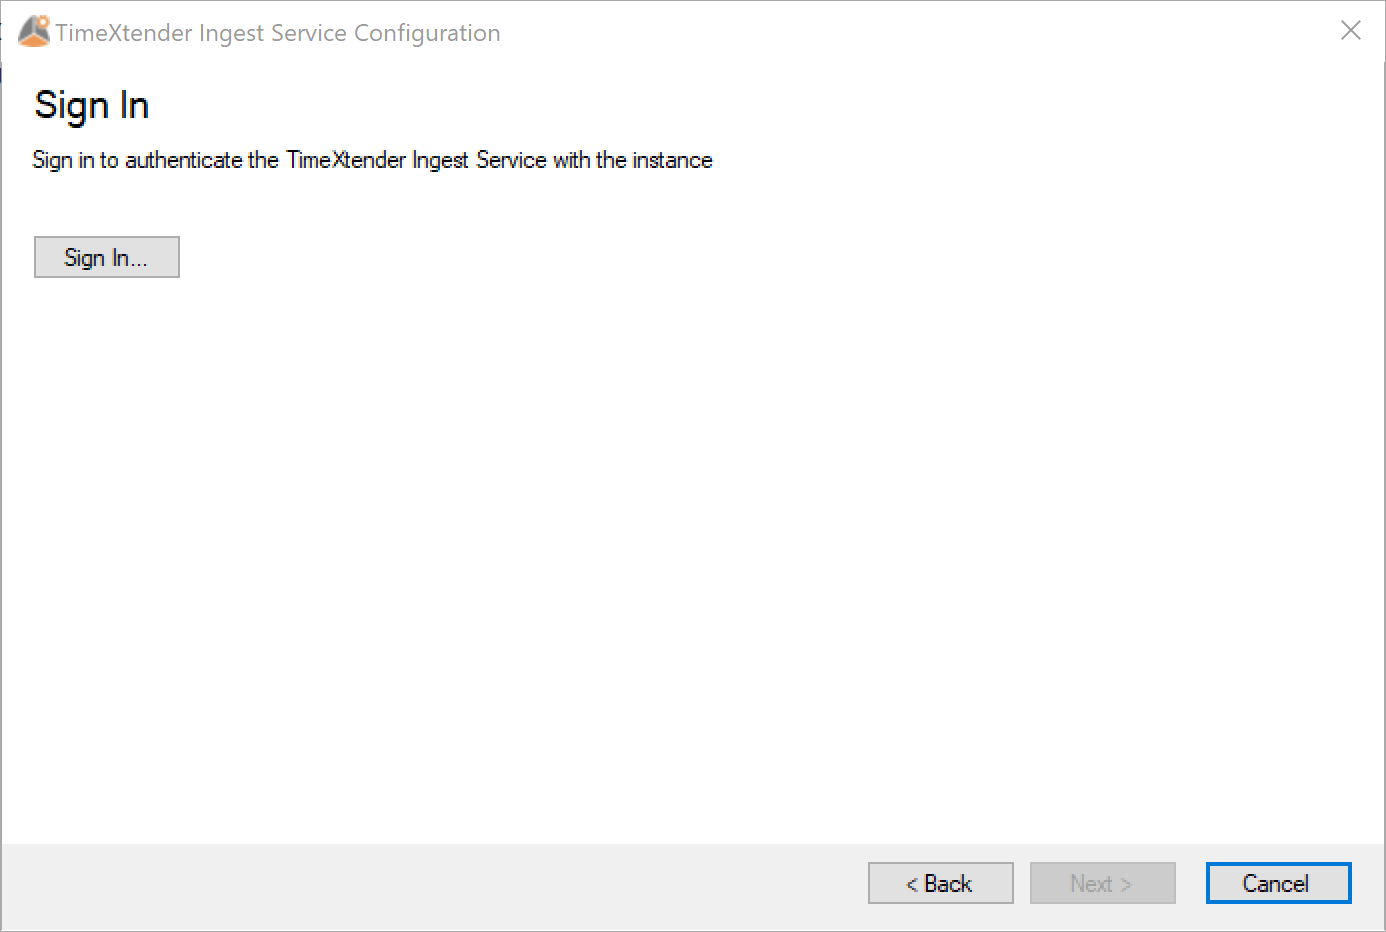
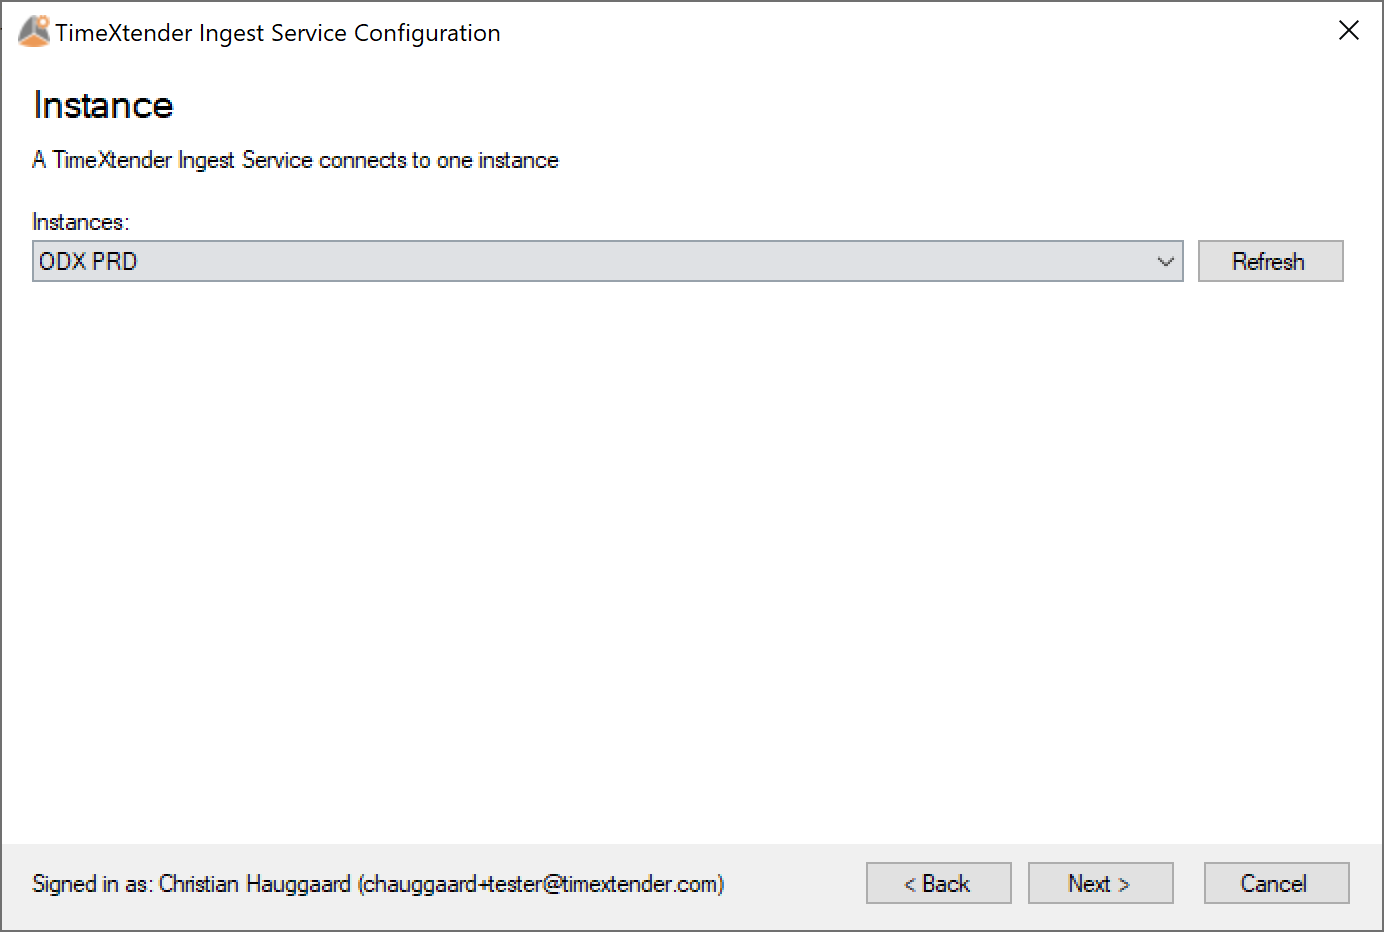
- Sign in and choose the Ingest instance you want to use on this specific installation. The user that is used for sign in, must have access to the Ingest instance in order to select the instance. For more information on how to grant access to an Ingest instance in the TimeXtender Portal, see Grant Access to Instances. Click Next.
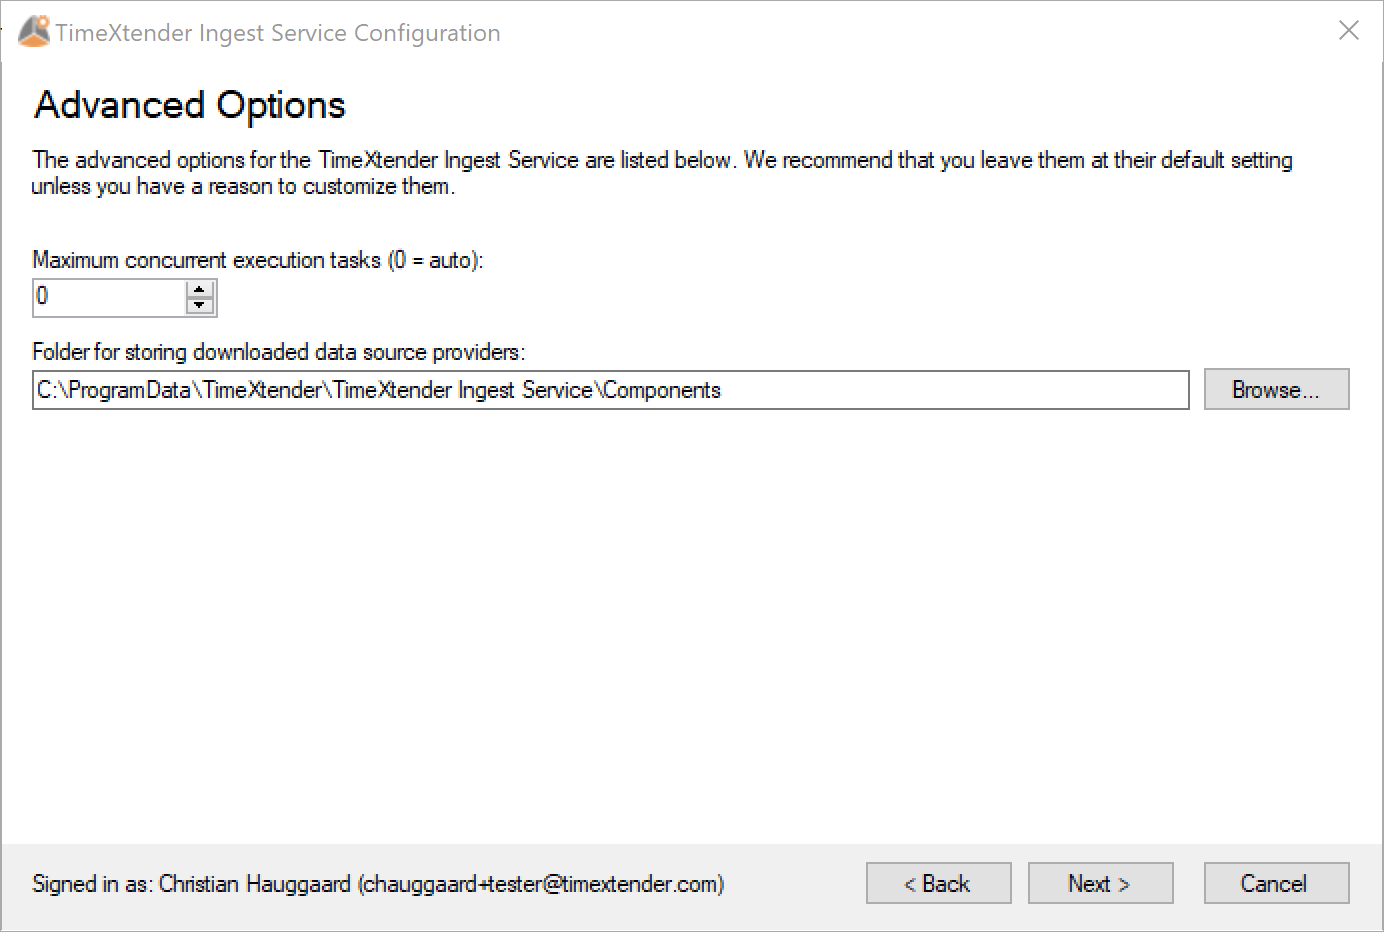
- Specify the maximum concurrent execution tasks and the folder for storing downloaded data source providers. These can be left as default unless you have a reason to customize them. Click Next.
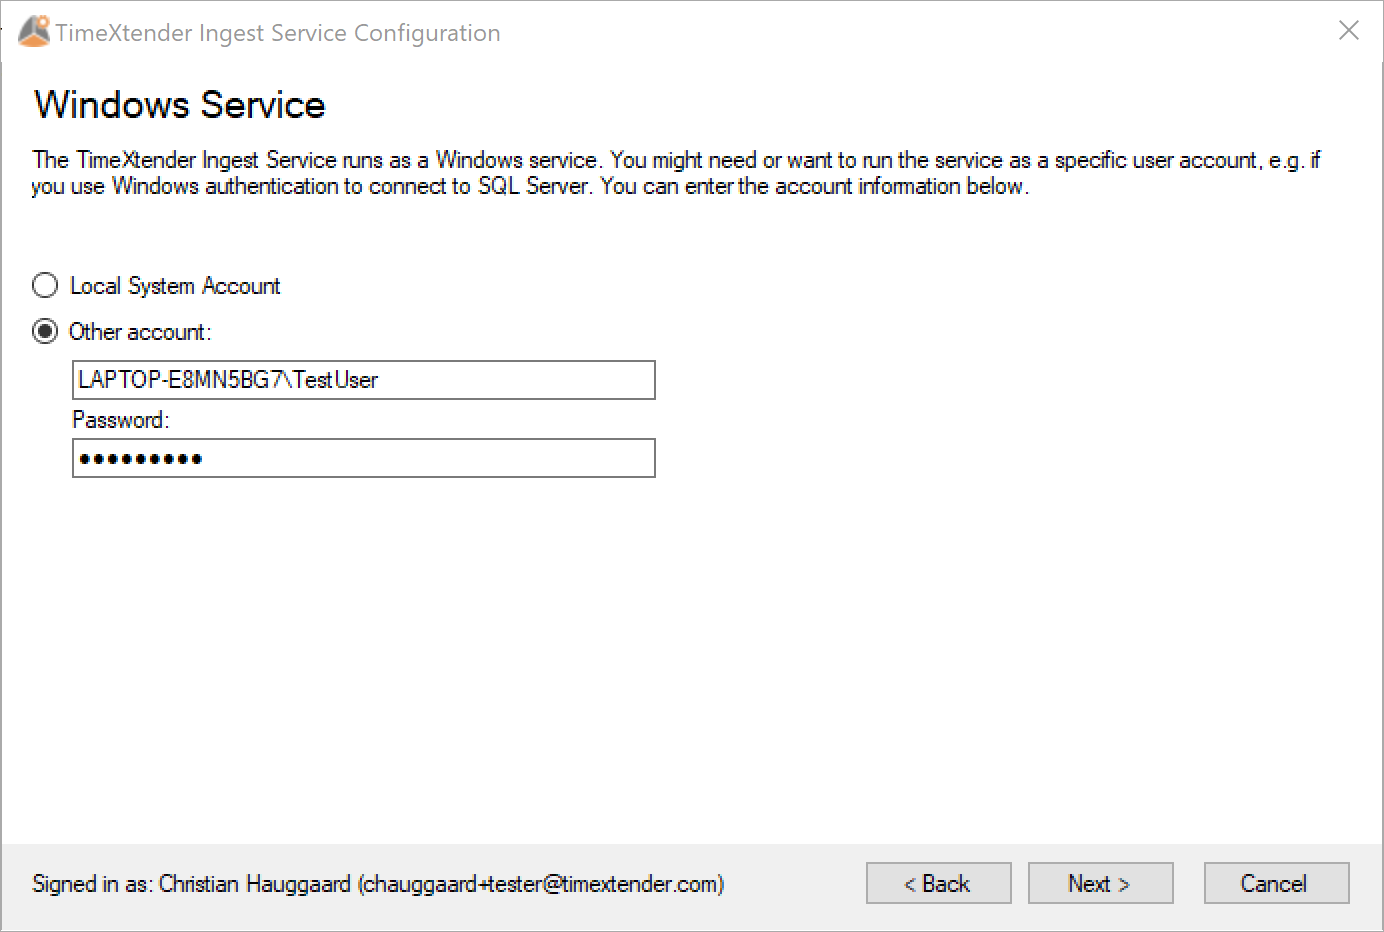
- Specify the Windows or Active Directory account you want to run the Ingest Server Service. If you are connecting to SQL Server data sources using Windows Authentication, the user account specified needs to have the appropriate access to these servers. It is important that you state the user as domainname\useraccount, rather than .\useraccount. Specify the account or use the Local System Account and click Next.
- Save your settings and start the Ingest Server Service. Click Save.
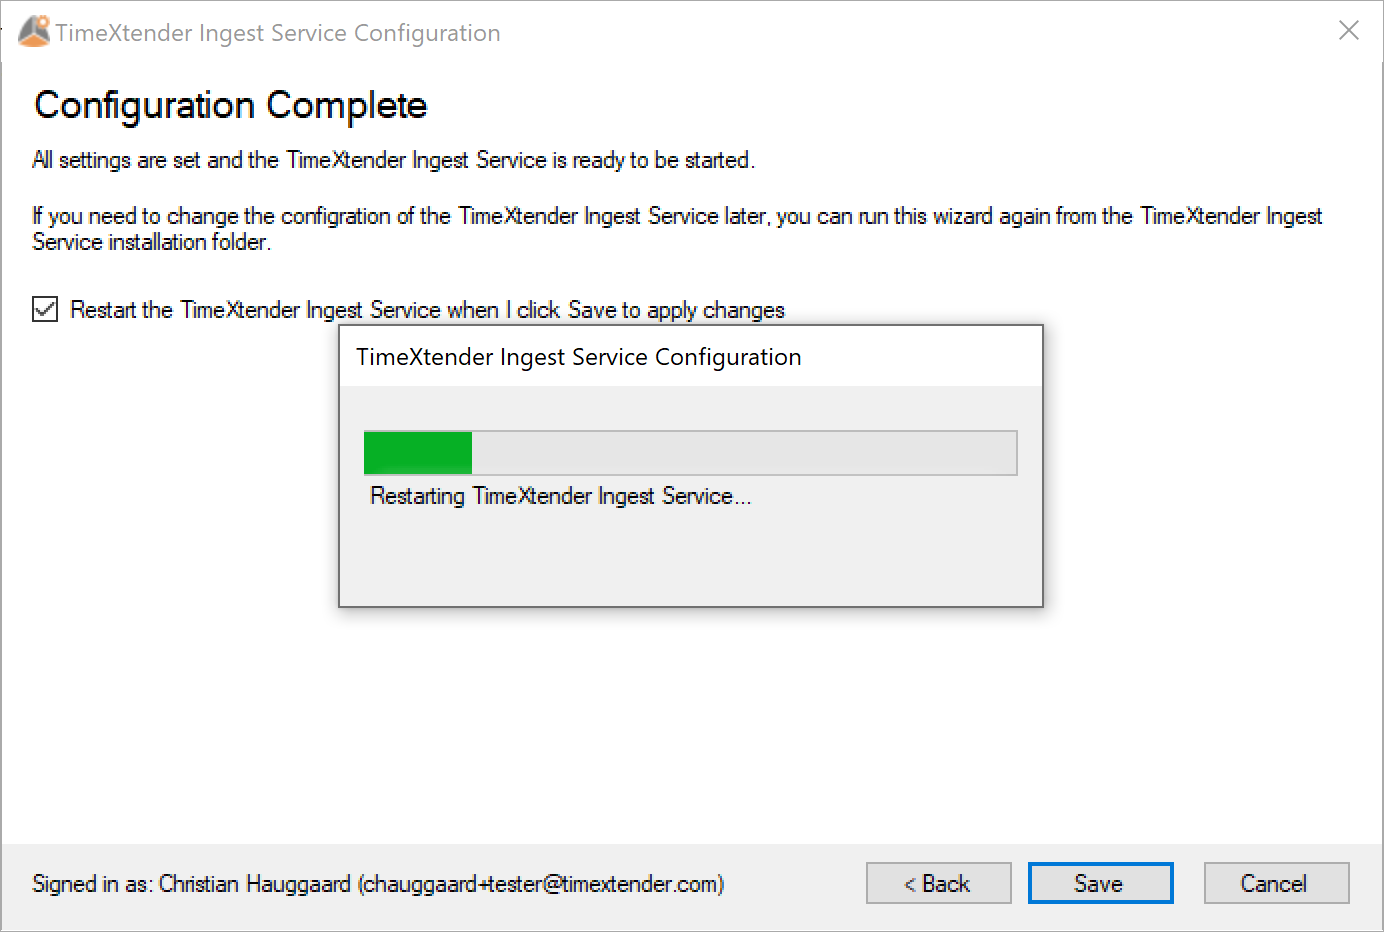
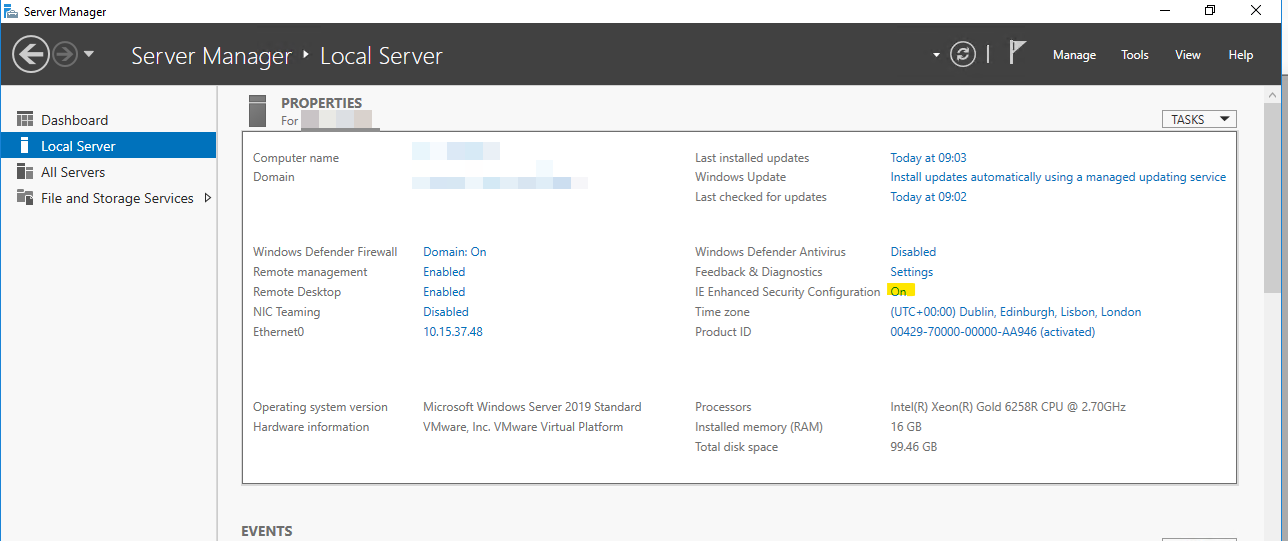
- Open up Windows Services, to ensure that the TimeXtender Ingest Service is running.

Install TimeXtender Data Integration
- Unzip the TimeXtender Data Integration installation package (TimeXtender Data Integration.zip) and run Setup.exe.
- On the Choose Setup Type page, select your desired option. Typical and Complete will install the TimeXtender Execution Service. Use Custom and select "do not install" if you do not need this service, you can always add it later.
Configure the TimeXtender Execution Service
In order run scheduled execution packages for instances, you must first setup your instances in the TimeXtender Portal. Once these have been setup:
Note: Ingest tasks only require the TimeXtender Ingest Service to run. However, execution packages from Prepare and/or Deliver instances, require the TimeXtender Execution Service to run.
- Launch the TimeXtender Execution Service Configuration app from the file path C:\Program Files\TimeXtender\<TimeXtender Data Integration Version>\TimeXtender.Job.Execution.Configuration.exe
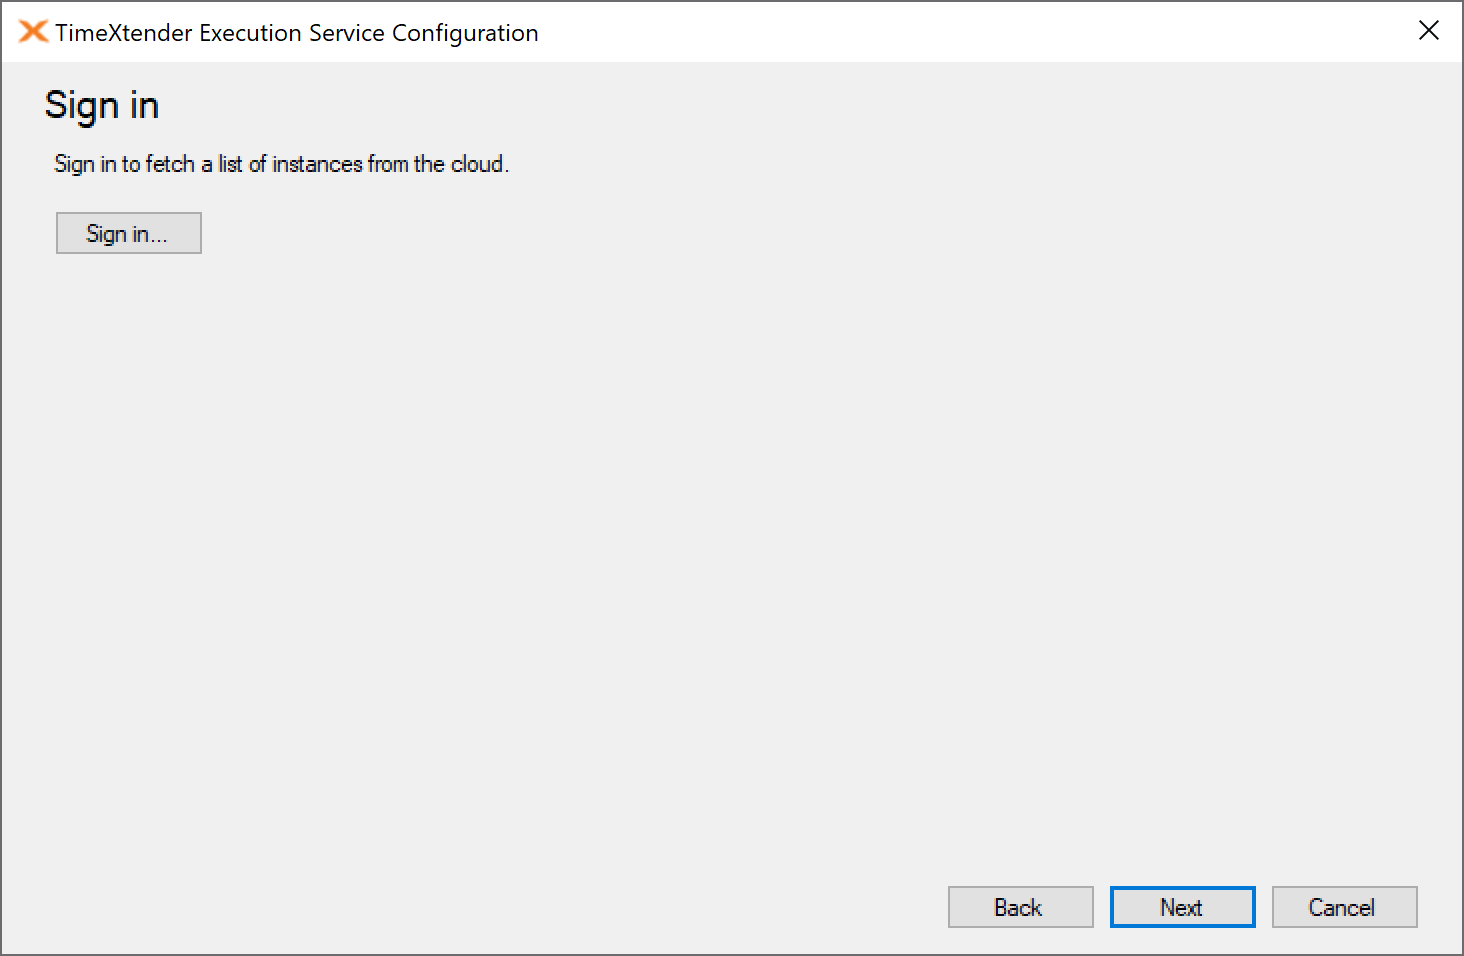
- Sign in
- Select the Prepare and Deliver instances that you would like the execution service to execute. Set the Max degree of Deliver instance parallelism, this setting determines how many deliver instances can be executed at the same time (i.e. in parallel) by the execution service.
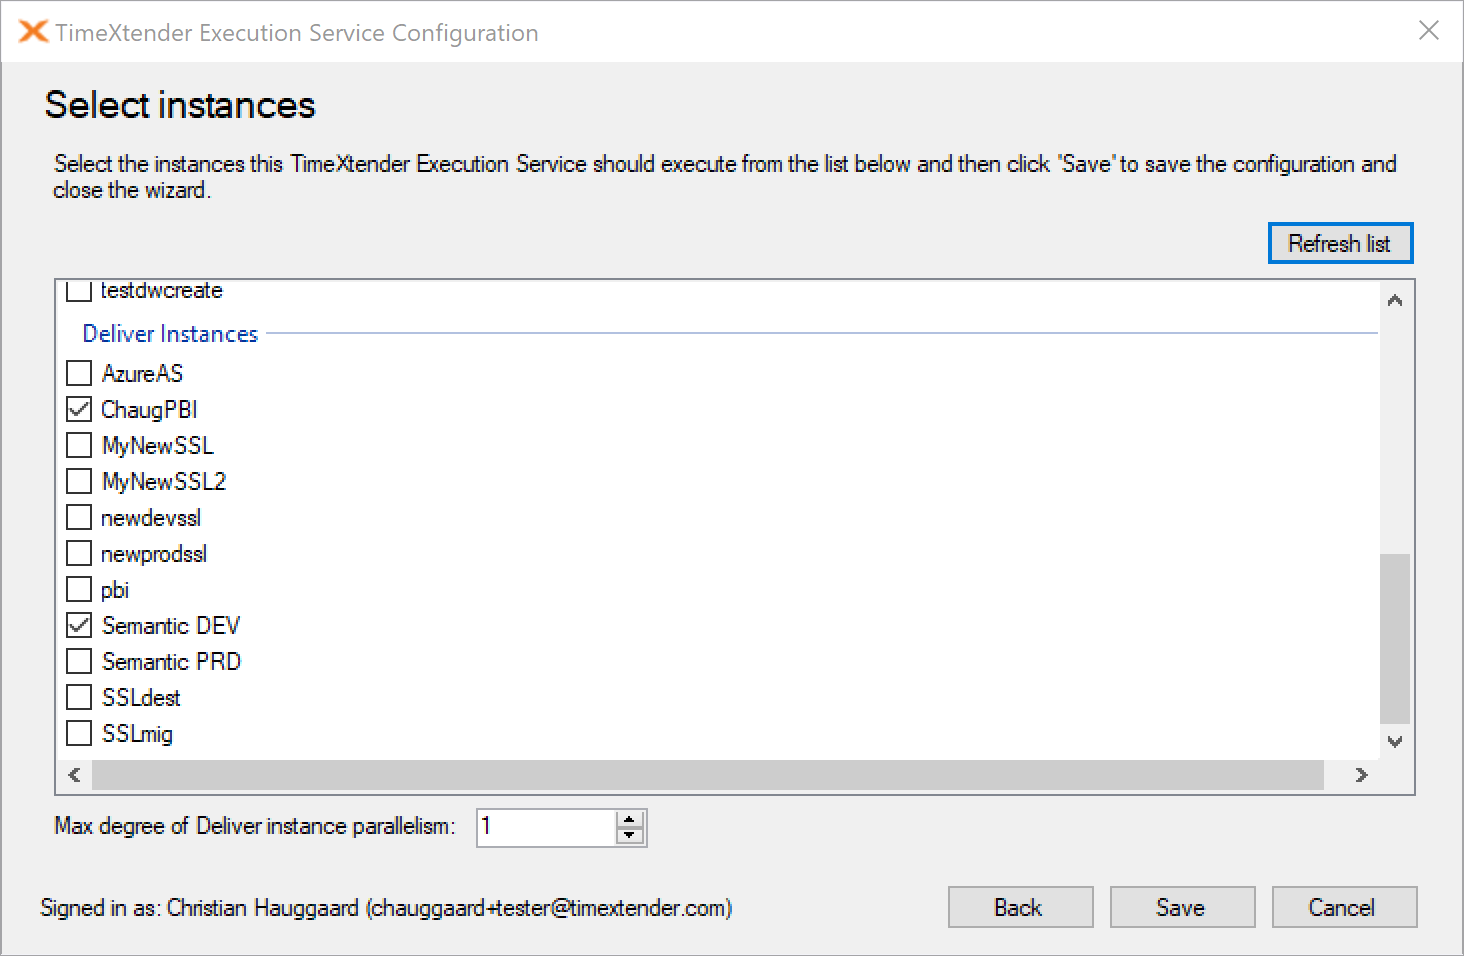
- Click Save
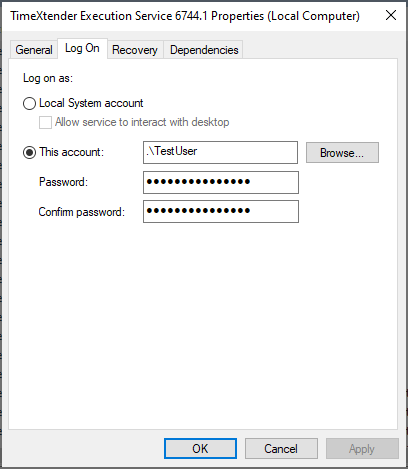
- Open up Windows Services, to ensure that the TimeXtender Execution Service is running. If it is not running, right-click on the service and select start. If you would like to use a service account to run the packages, right-click on the service and select properties, under the Log On tab change the log on as option from "Local System account" to "This account" and specify the account as domainname\useraccount and provide the password, and restart the service.

Troubleshooting
Issues Starting the Execution Service
Error 1064: An exception occurred in the service when handling the control request
Run the TimeXtender Execution Service Configuration before starting the Execution Service.