

Custom views are generated using SQL CREATE VIEW statements, which provide flexibility in the joins, groupings, and other SQL functionality you can use.
Note: When your Prepare instance uses Fabric Lakehouse storage, standard custom views are SQL views accessible only via the Lakehouse SQL endpoint and cannot be referenced from custom scripts, transformations, or table inserts.
- Before deploying the view, ensure all referenced tables have been executed, otherwise deployment will fail.
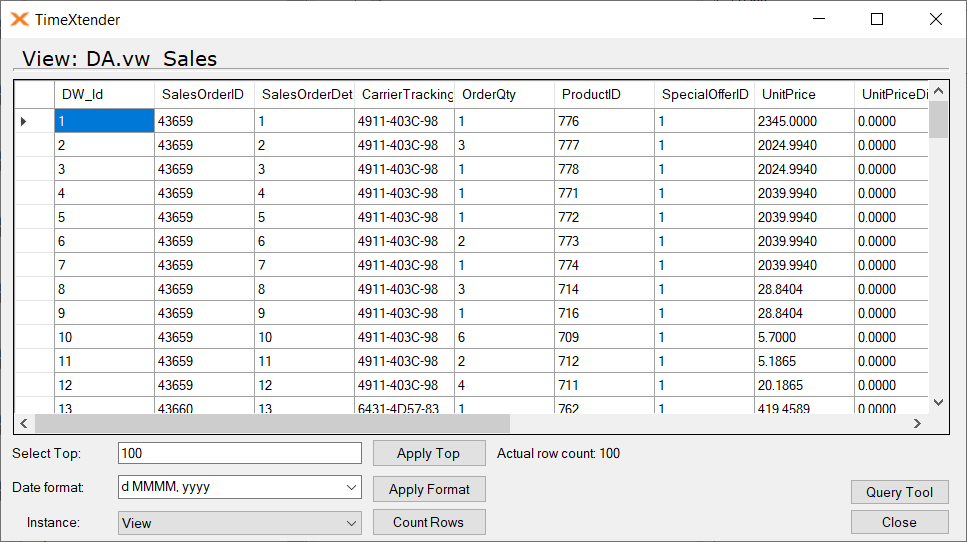
- Successfully deployed views can be previewed and their fields read directly.
To use view results in custom scripts or transformations, use a Notebook view instead.
To use view results in table inserts, right-click the view, go to Advanced, and select Persist View to store results as a Delta file (materialized view). See Persist View for details.
Adding a Custom View
To add a custom view, follow the steps below.
- Expand the relevant data area, right-click Views, and select Add Custom View.
- In the Name as in script box, enter the name of the view. The name must match the name specified in the script, including the schema.
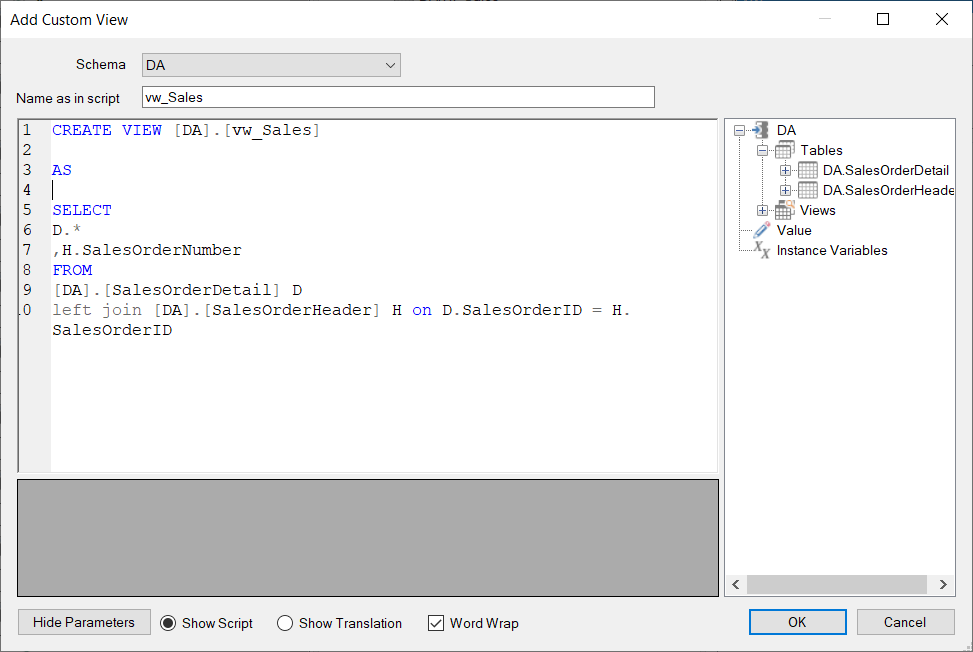
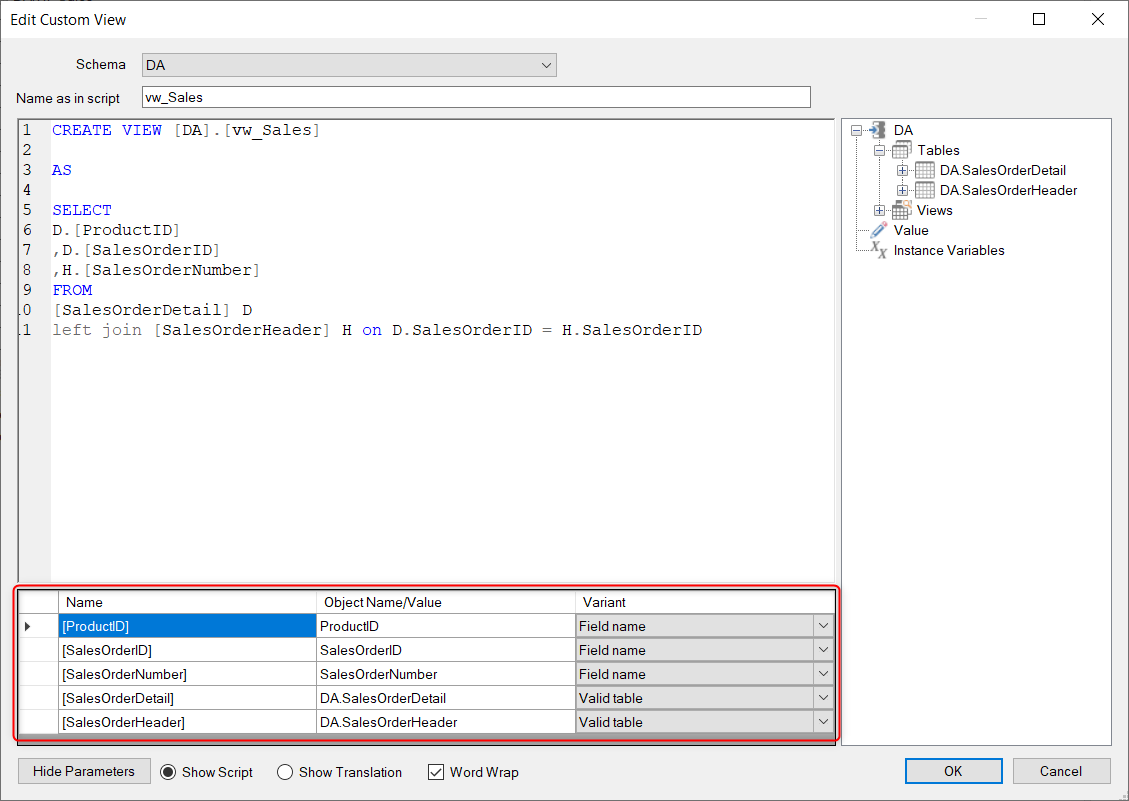
- Enter the create statement for the view using standard SQL syntax. Drag tables, fields, and variables from the right-hand pane to use them as parameters. Fields entered as parameters can be mapped to the view's fields to enable documentation and data lineage. For more information, see Mapping Custom View Fields below.
- Select OK to save the view.
- Deploy the view.
- Right-click the view and select Read View Fields.
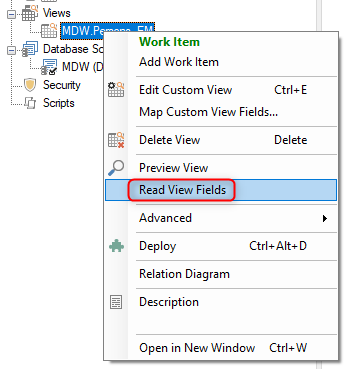
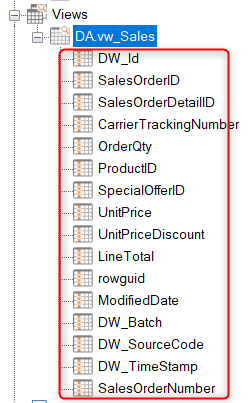
- Expand the view to show the fields, then right-click the view and select Preview View to verify the view is working correctly.
Adding a Custom View Based on a Table
To add a custom view based on an existing table, drag the table to the Views node in a data area.
Editing a Custom View
To change the view:
- Right-click the custom view and select Edit Custom View.
- Make changes to the create statement and select OK.
- Right-click the custom view and select Deploy.
- Right-click the custom view and select Synchronize View Fields.
Mapping Custom View Fields
Since a custom view is flexible, the relationship between the parameterized input fields and the view's fields cannot be mapped automatically. This means documentation and visualizations such as data lineage cannot automatically trace a field through a custom view. However, you can achieve this with manual mapping.
To map the custom view's fields to the parameterized fields, follow the steps below.
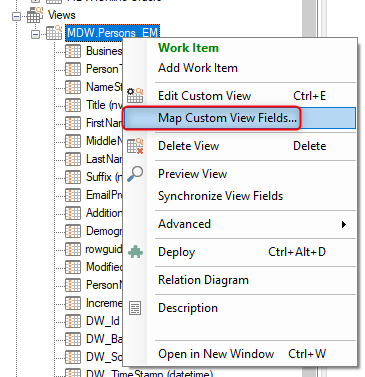
- Make sure the fields have been read, then right-click the view and select Map Custom View Fields.
- Drag each field from the View fields list to one or more fields in the Parameter fields list to create mappings. To delete a mapping, select the mapping and select Delete. Select Auto Map to map fields automatically based on name.
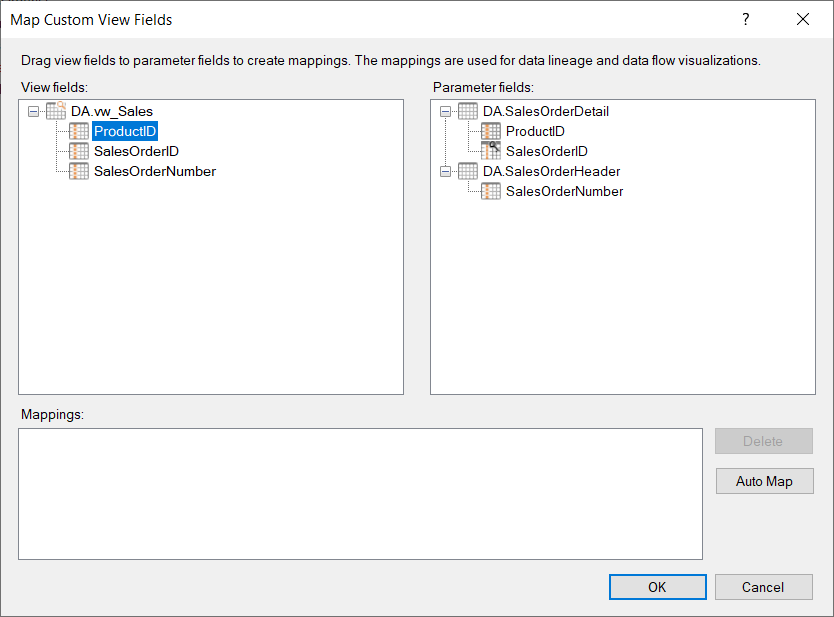
- Once all view fields have been mapped, select OK.
Notebook views (Fabric Lakehouse storage)
For Prepare instances on Fabric Lakehouse storage, a special type of view is available. Unlike standard Fabric custom views that are only accessible through the SQL endpoint, Notebook views work more like regular custom views and can be used in custom scripts and transformations.
To add a notebook view, follow the steps below.
- Expand the relevant data area, right-click Views, and select Add Notebook View.
- In the script area, enter a simple SQL SELECT statement, specifying fields as needed (for example,
SELECT * FROM AddressType). Refer to the sections above for more details on writing custom views. - Select Show translation to show the Spark code that gets deployed and confirm it looks correct.
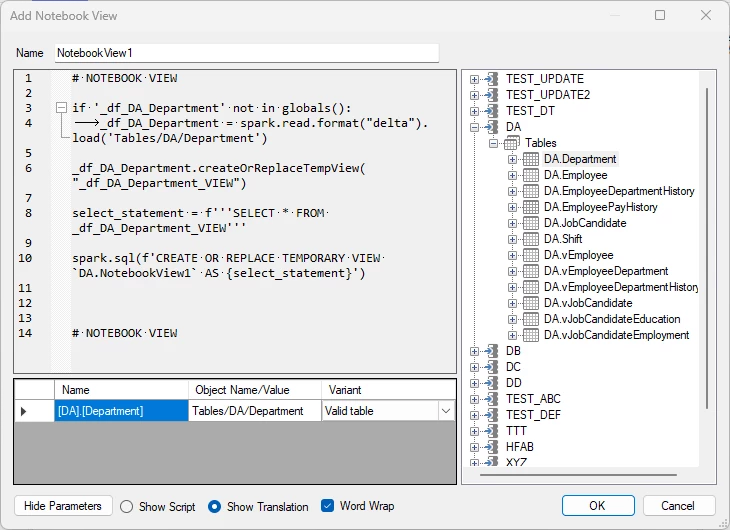
- Select OK to save the view.
Once deployed, the notebook view definition is available as a Fabric notebook.
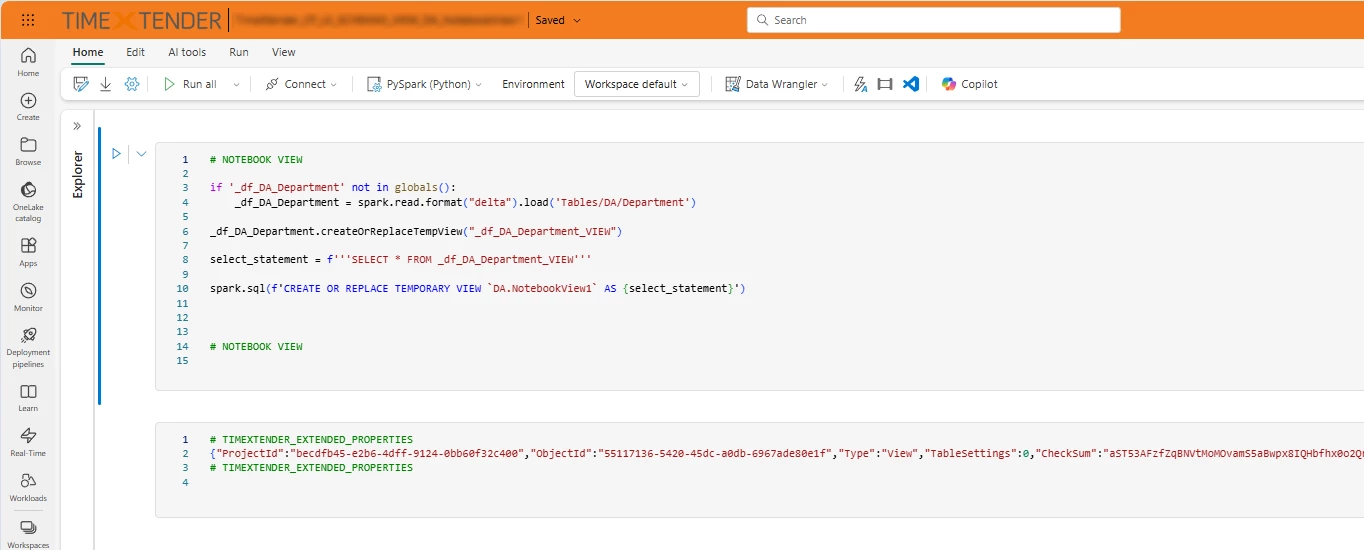
You can create custom scripts referencing these views to generate data frames or output in notebook runs.
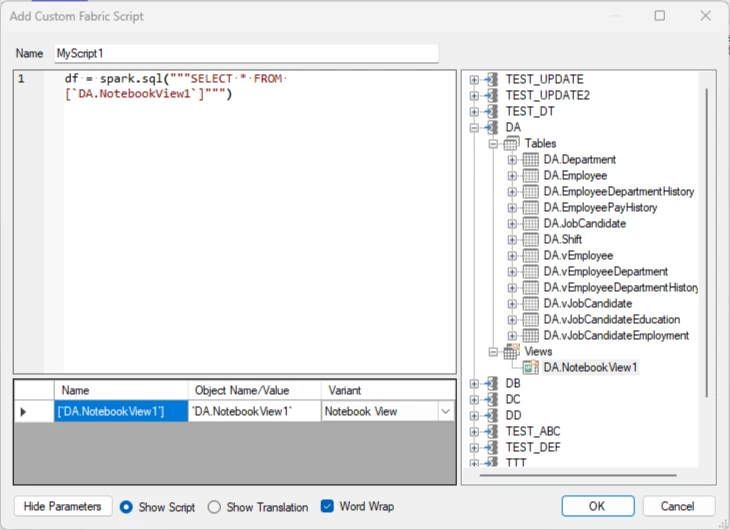
To integrate notebook views into larger workflows, add scripts to deployment notebooks that reference your views. See Customize code on Fabric Lakehouse for more information.

The referenced views enable data processing and analysis directly within Fabric notebooks.

