
To enable webhook notifications for your tests, you need to configure the necessary settings. The first step is to create and configure the external webhook. Refer to this documentation to learn how to configure Zapier webhooks. Once the external webhooks have been created and configured, the next step is to create Webhook Settings within Turnkey.
Navigate to the Settings page by clicking the Properties icon in the top left corner and select the Integrations tab.
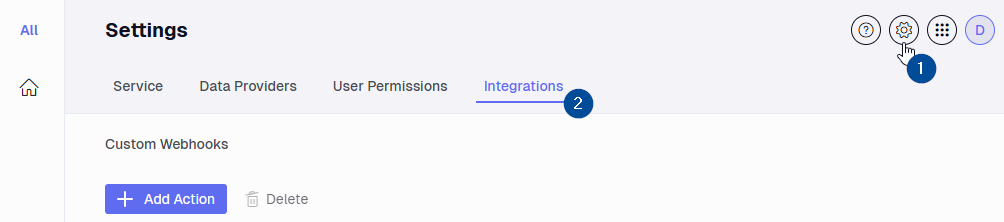
Select Add Action and configure the following fields.
- Webhook Name: Create a name that will be used to identify these settings.
- Grant access to the following Workspaces: This field will determine in which workspaces your webhook will be available for use.
- Webhook Url: URL to the external webhook. You can configure different webhook URLs depending on whether exceptions are being created (new), updated (open) or closed (close) by switching between tabs.
- Webhook Parameters: Define the information expected by your external webhook. Customize these parameters using constants or select Exmon Parameters by clicking on your desired options.
Exmon Parameters will be populated at execution time with information from each exception.
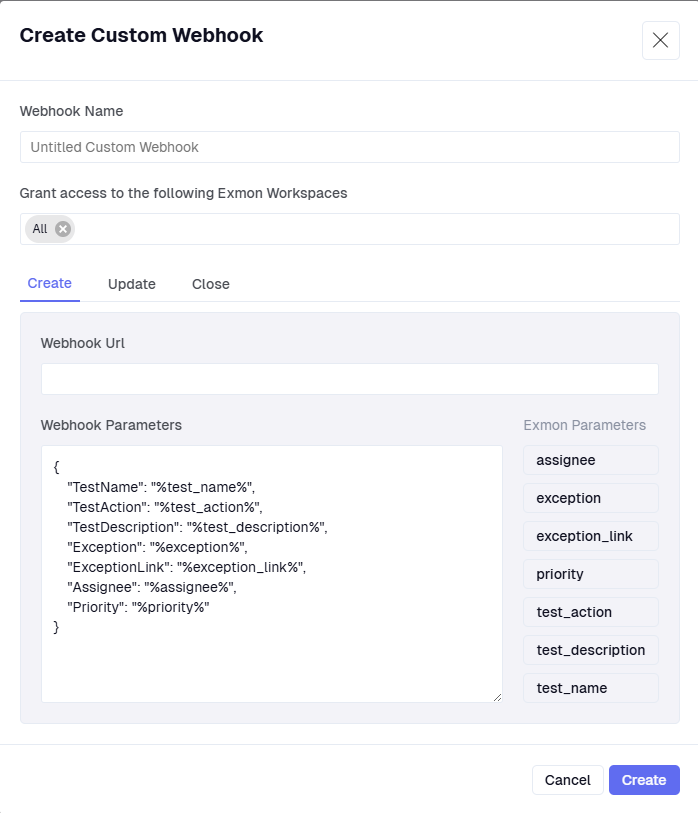
Lastly, choose Create to add these settings or Cancel to ignore your changes.
To apply these webhooks to rules, refer to this documentation.
